Azure Authentication for Captive Portal
Overview
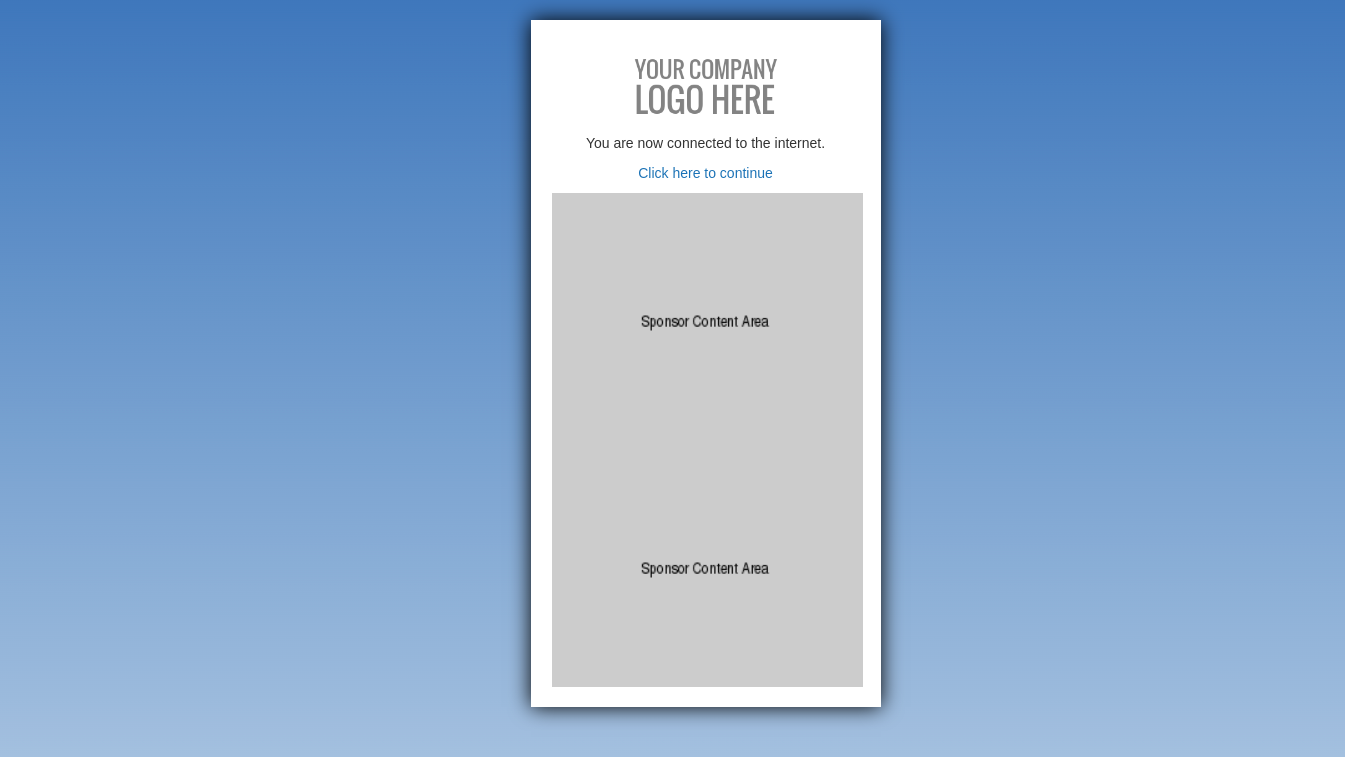
This technical documentation guides you through the process of configuring Azure authentication for a Captive Portal using the Soul template on Meraki hardware. Follow the steps outlined below to seamlessly integrate Azure for social login on your captive portal.
Template Customization with Soul Template
-
This feature is compatible with the Soul template on Meraki hardware.
-
To start the configuration, “Azure” should be integrated with Kloud Manage, and refer to the Microsoft Authentication section to know how to do it.
-
For detailed instructions on customizing templates, refer to the Customizing Captive Portal Templates section.
-
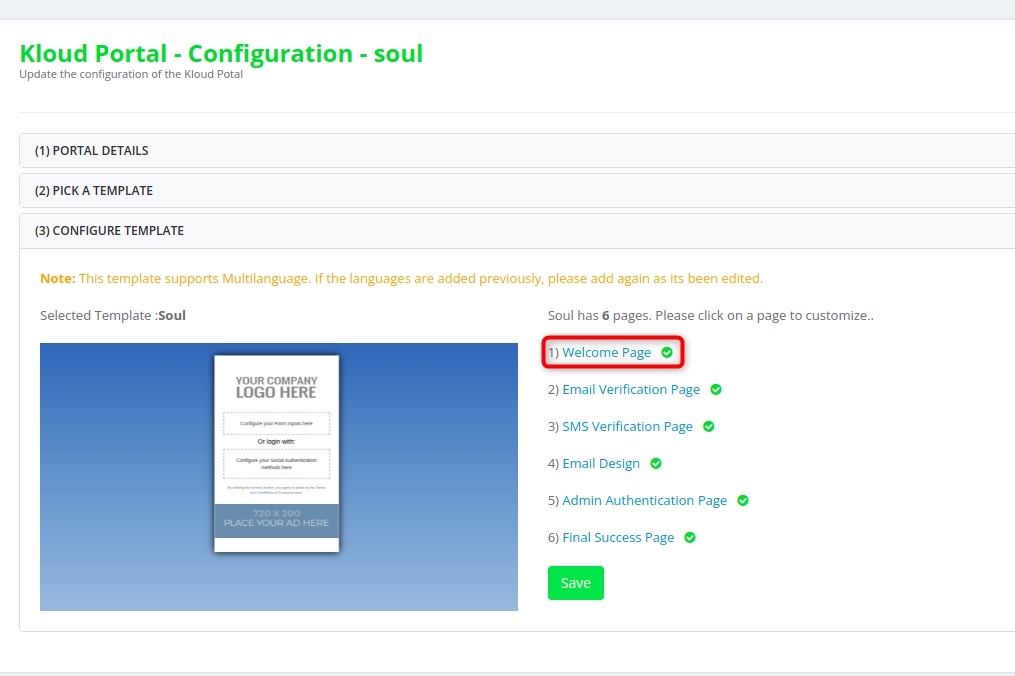
In this case, proceed by selecting the Soul template using the designated button.
-
On the “Configure Template” page, click on the Welcome Page button.
-
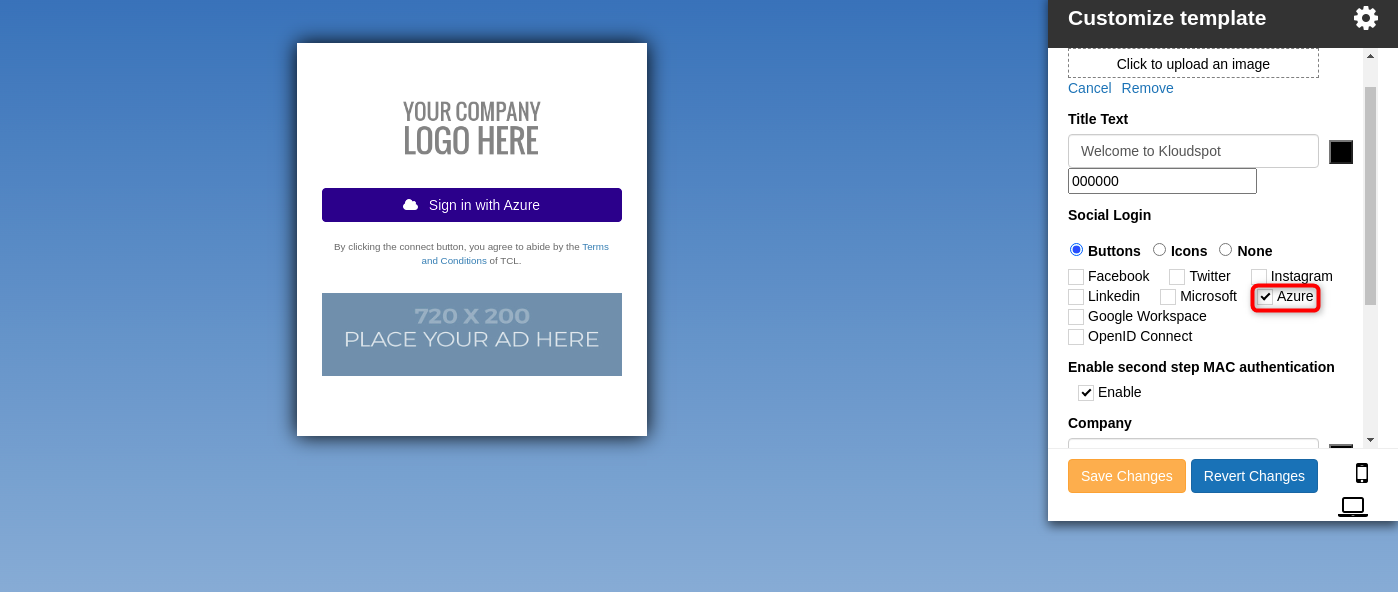
Click on the settings button to customize the Index page.
-
In the settings window, select Azure as the form of social login. If second step mac authentication is needed, please check enable second step mac authentication checkbox.
-
Adjust other configurations as needed.
-
Click the Save changes button.
-
To further customize the template, refer to the Customizing Captive Portal Templates section.
-
After customizing the portal, click on the Save button to save your settings.
Assigning the Captive Portal to Access Point
Follow the instructions in the Assign a Guest Portal to the Access Point section to assign the created captive portal to the access point.
Add Redirect URI to Azure
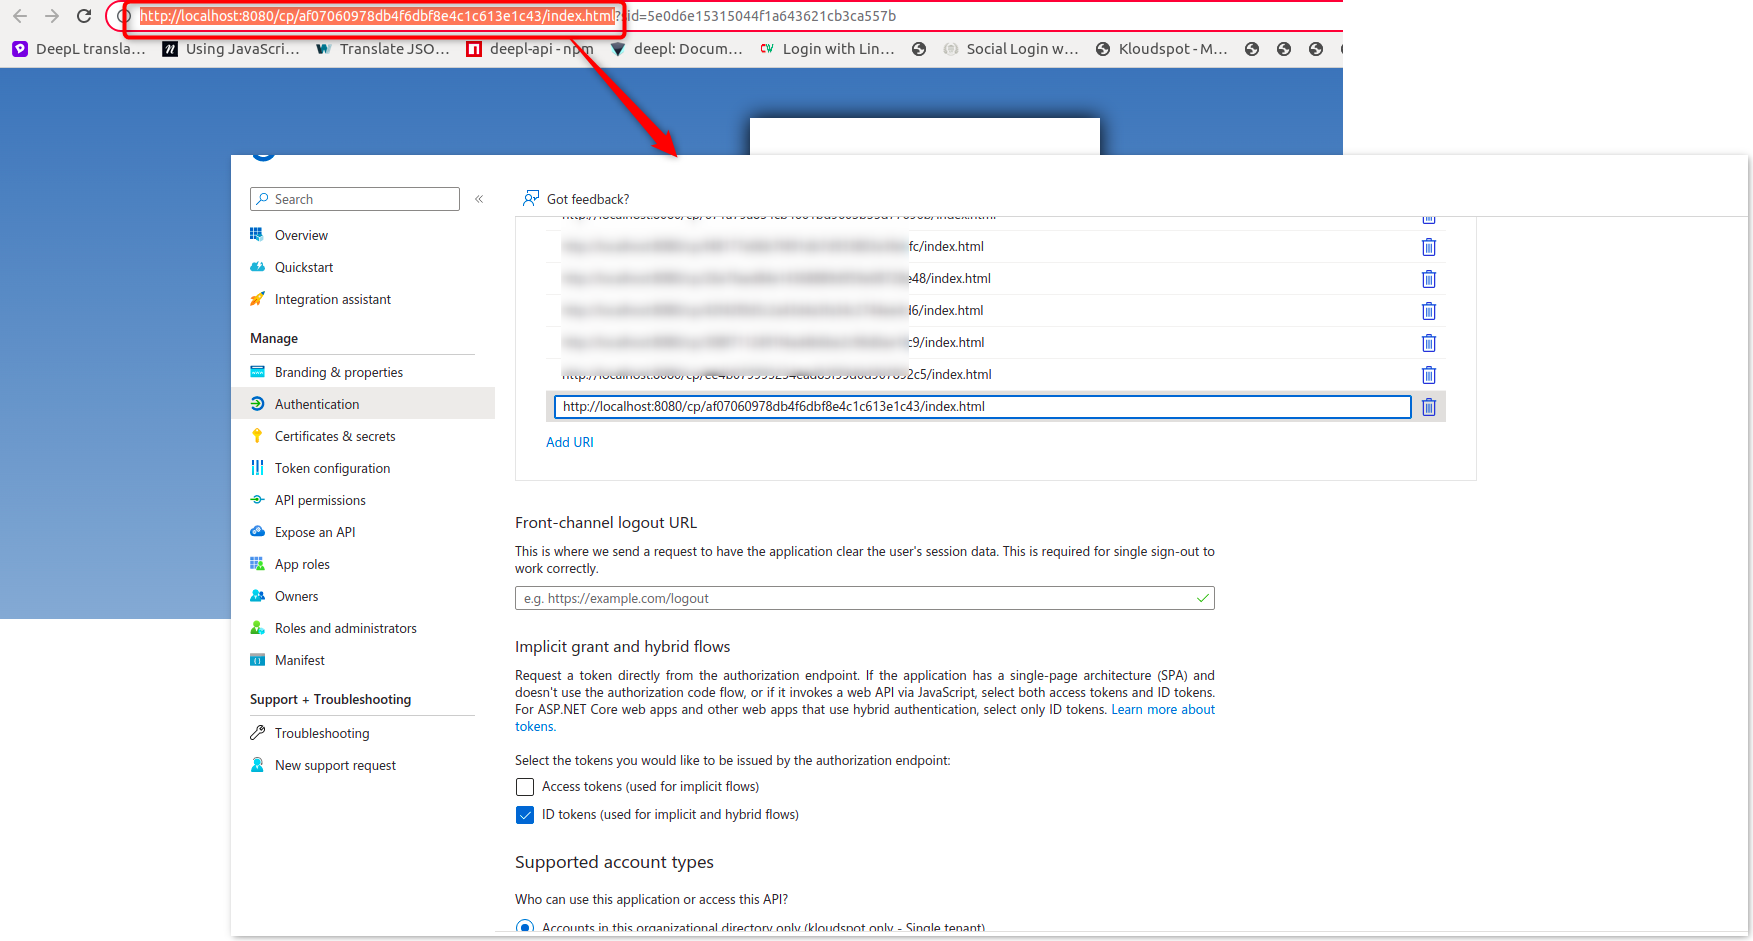
Add the redirect URL of your captive portal to the Azure portal. Refer to the Add Redirect URI section in the Microsoft Authentication documentation for detailed instructions.
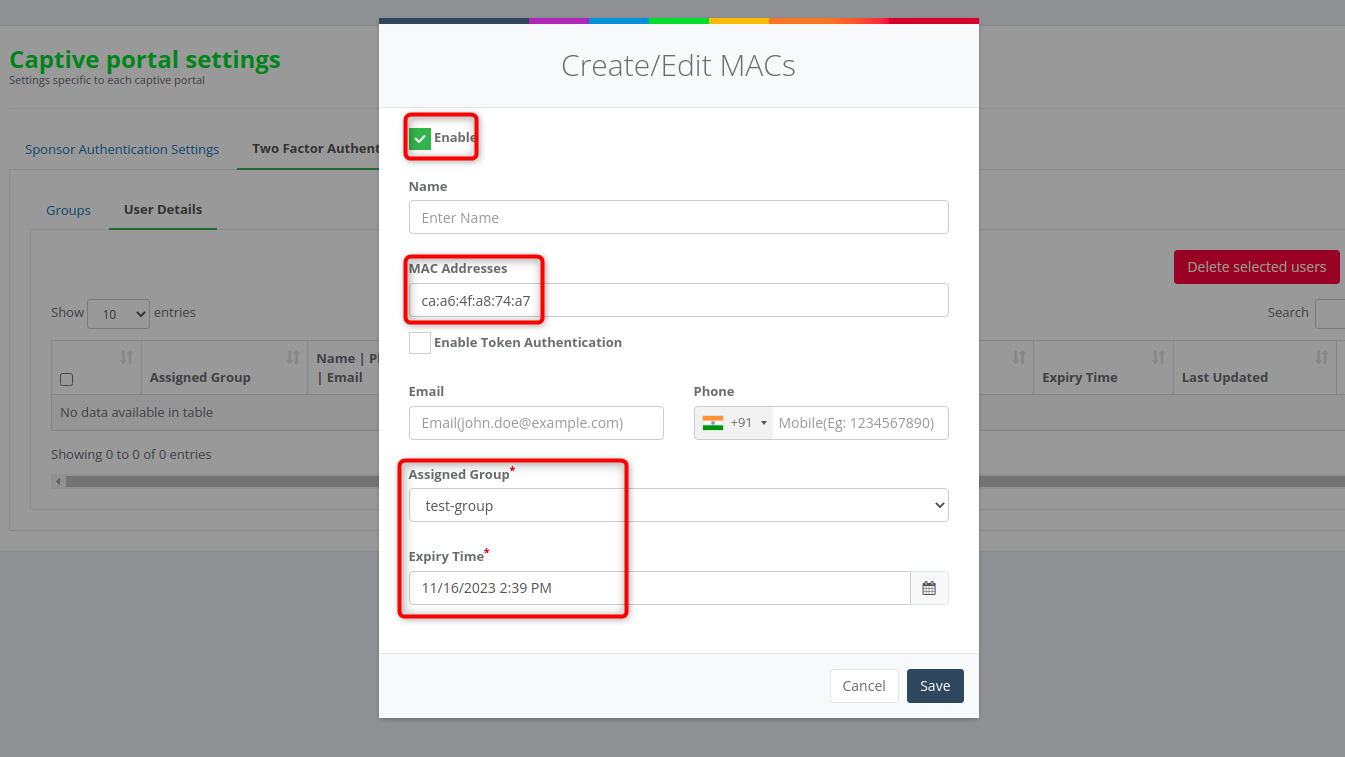
Creating a Two-Factor Authentication Group
- In case of a MAC address not found error, create a group.
- Refer to the Creating a Two-Factor Authentication Group section for detailed steps. In this case, the Enable token authentication checkbox can be ignored.
- Only adding the MAC address is necessary for this Azure authentication.

- Assign the user to the created group. Also, you can add expiry time also.
- Save the changes.
- Multiple MAC addresses can be added in this manner.
- Once the above steps are completed, users can log in to the captive portal using Azure authentication.