Customizing Captive Portal Templates
Your network’s welcome page, often the first point of interaction between users and your brand, can leave a lasting impression. To ensure this impression is a positive one, Kloud Portal offers robust customization options for your captive portal templates.
Continuing from our exploration of third-party authentications, where we enabled a range of options for user login, we now delve into the realm of customizing captive portal templates. This crucial step allows you to tailor the welcome page that users encounter when they connect to your network. Whether you’re operating a bustling coffee shop, a boutique hotel, or a corporate enterprise, this customization process empowers you to create an immersive and brand-consistent experience.
Through the following sections, we will guide you through the process of fine-tuning your captive portal templates. This includes adjusting text, images, colors, and layout to align with your brand identity and messaging.
Refer the Configure 3rd Party Authentications section for guidance on setting up third-party authentication.
To discover the hardware options supported by the Captive Portal and explore the templates compatible with each hardware, please refer to the “Hardware and Templates " guide. This guide will also provide insights into which templates are designed to support various authentication methods.
Create New Portal
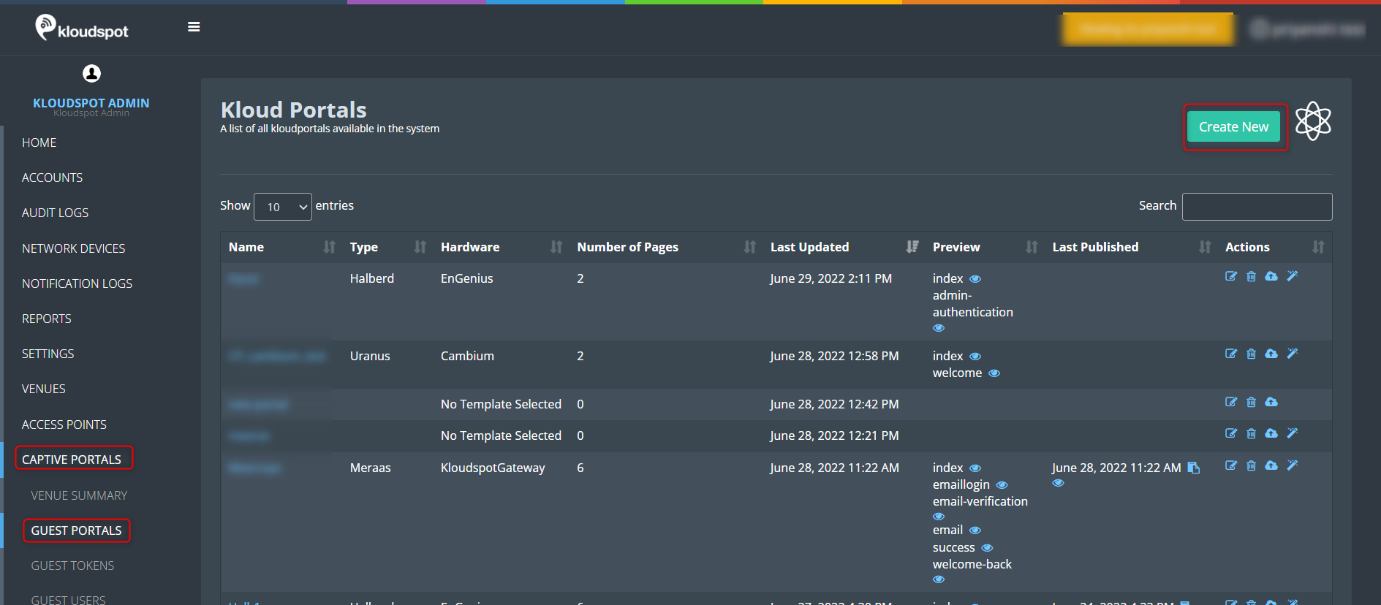
1. Log in to your Kloud Manage account.
2. Then Navigate to CAPTIVE PORTAL > GUEST PORTAL > Create New.
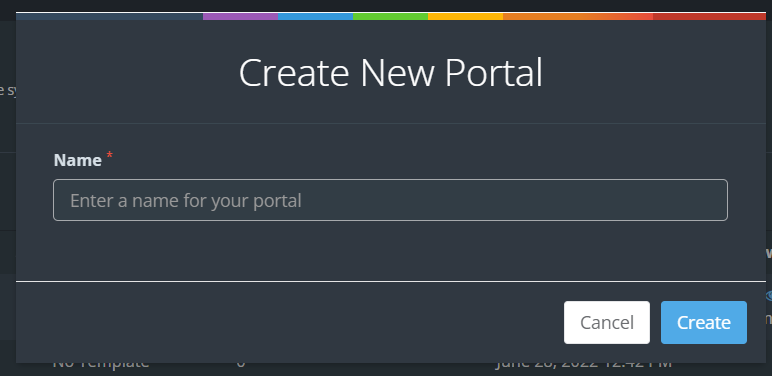
 3. Enter a name for the portal in the popup window that appears and click the
Create button.
3. Enter a name for the portal in the popup window that appears and click the
Create button.
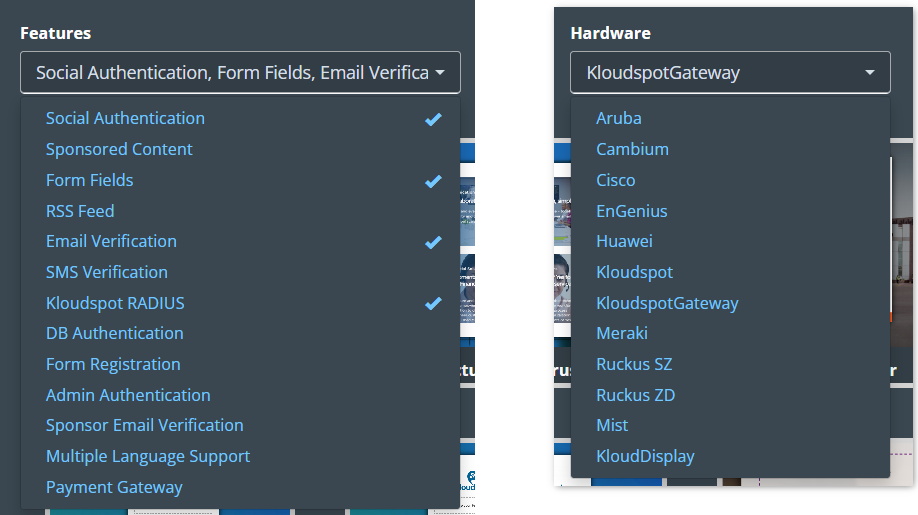
 4. In the features dropdown menu, select the features you want. Then select
Hardware from the hardware dropdown list.
4. In the features dropdown menu, select the features you want. Then select
Hardware from the hardware dropdown list.
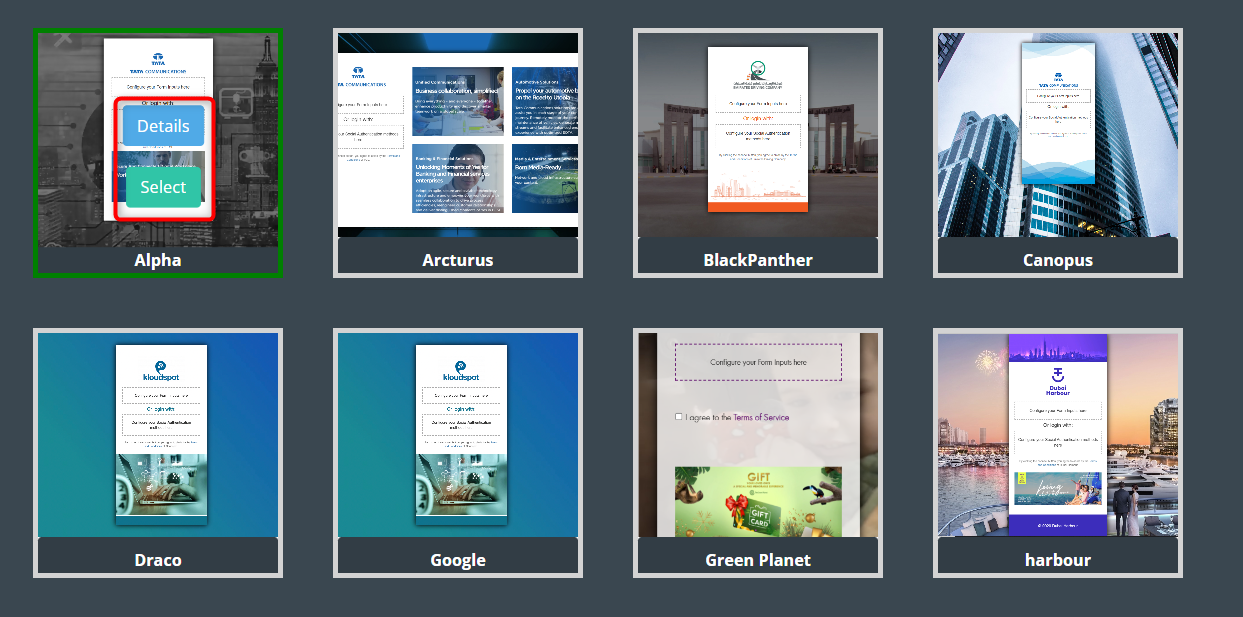
 5. Then select your desired template from the template list. Click on the
Details button to preview the template. Click on the Select button to
edit.
5. Then select your desired template from the template list. Click on the
Details button to preview the template. Click on the Select button to
edit.
 6. The selected template can be edited in the following steps. We can change
it to suit your needs.
6. The selected template can be edited in the following steps. We can change
it to suit your needs.
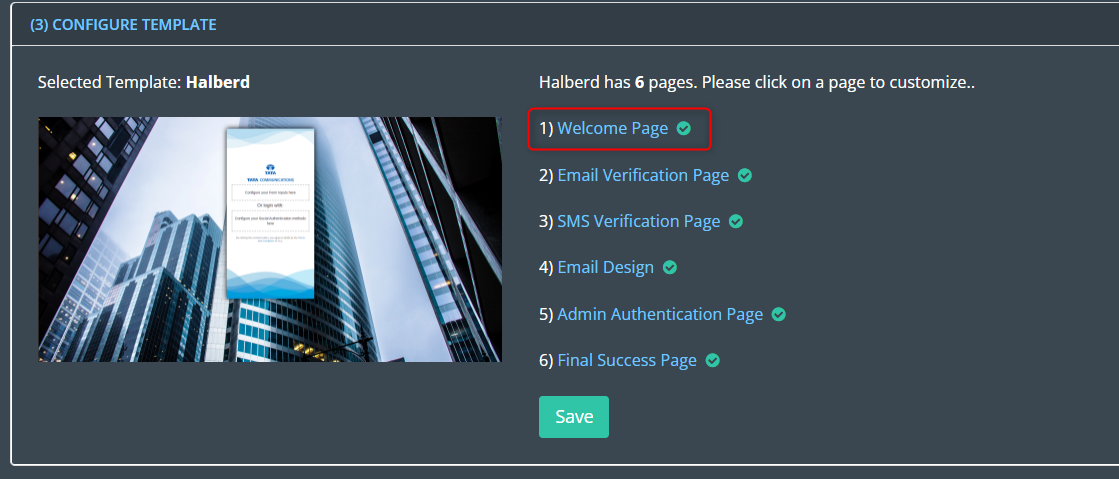
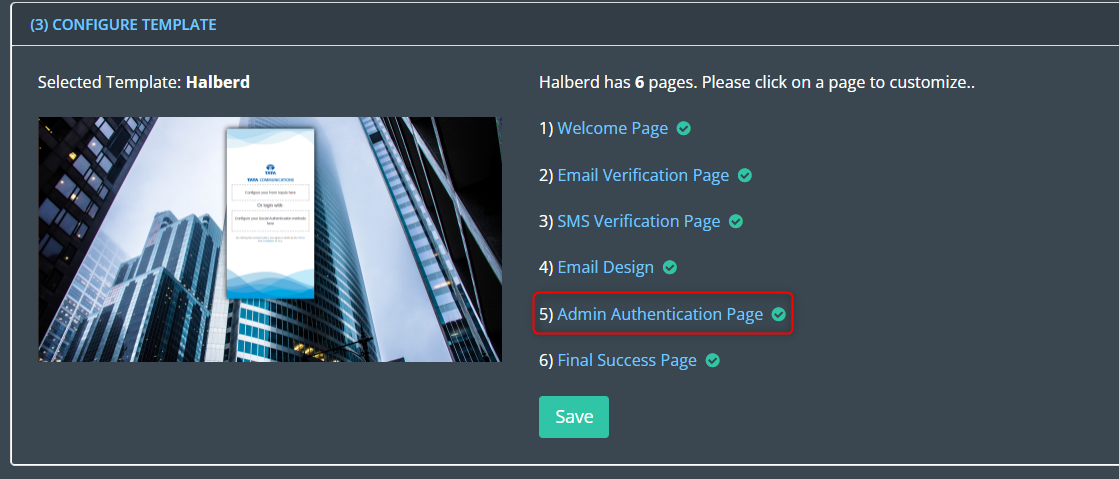
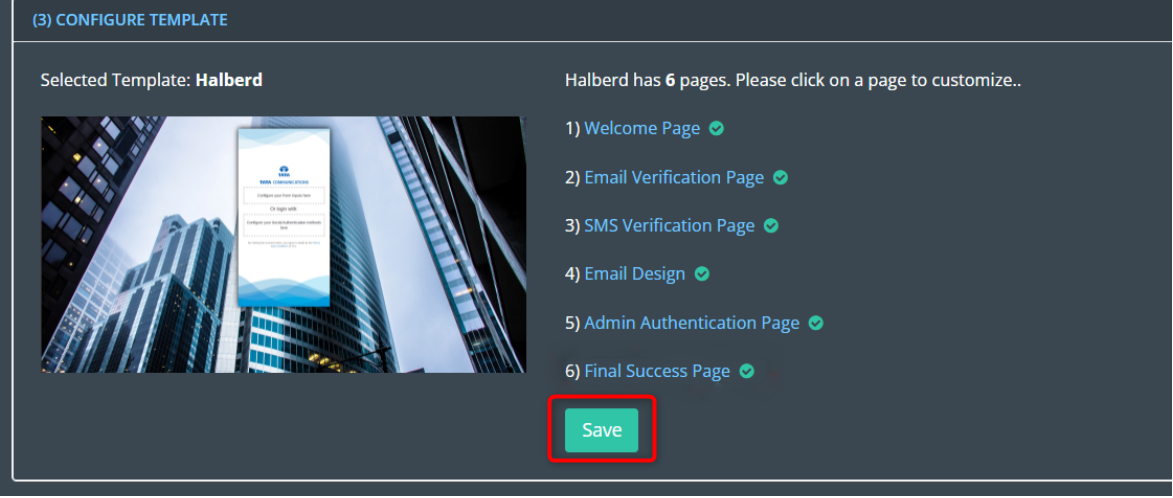
7. To do so, select the page you want to edit. the click on the CONFIGURE TEMPLATE.
Note: The portal can be saved only if all the pages shown in the configure template page have been edited.

Edit Welcome Page
1. Click on the welcome page button.
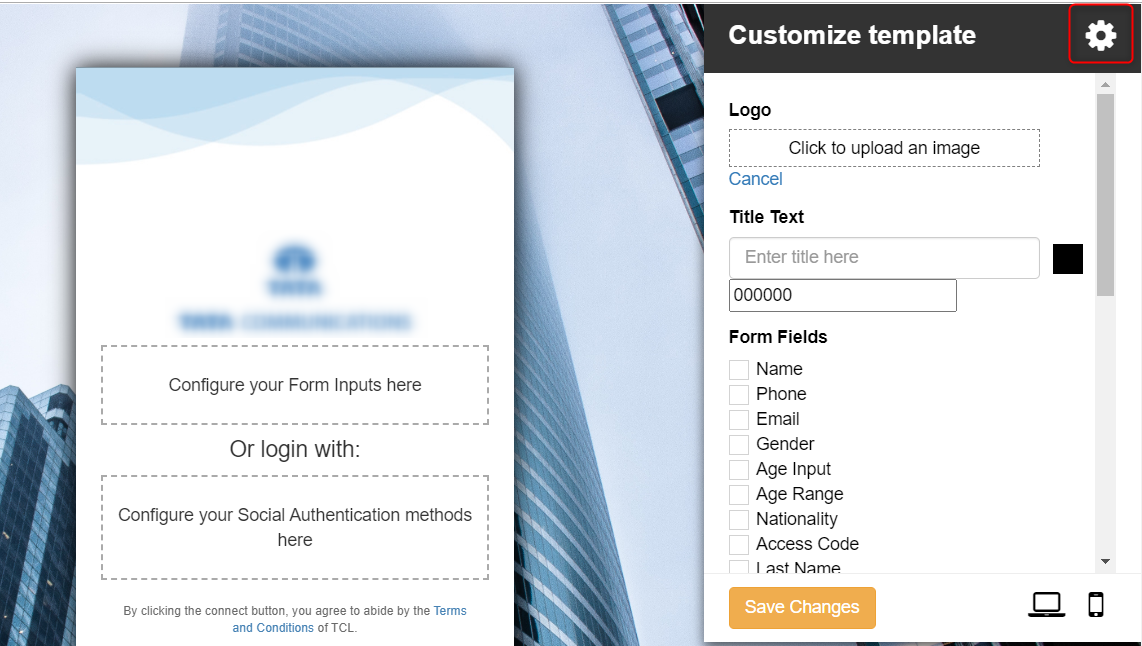
 2. In the window that opens, click on the Settings button. Here you can edit
the following.
2. In the window that opens, click on the Settings button. Here you can edit
the following.
- Logo
- Title text
- Form field
- Authentication Types
- Social login
- Background image
- Company
3. Once edited, click on the Save changes button.
Enable Authentication Type
1. Click on the Settings button from the welcome page.

2. Scroll down and find the Authentication Types. Here you can find the 6 Authentication types.
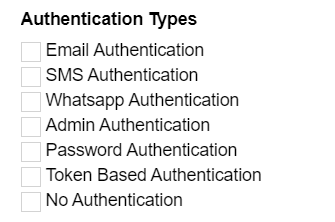
Email Authentication: You will receive a link to the registered email ID, and by clicking on it, you will be able to log in.
SMS Authentication: This can be verified by receiving an OTP to the phone number from which you intend to log in.
Whatsapp Authentication: This can be verified by receiving an OTP to the Whatsapp number from which you intend to log in.
Token Based Authentication: This enables you to log in using a token generated by the administrator.
Password Authentication: This allows you to log in with the username and password provided by the organisation.
Admin Authentication : This allows you to check and approve each user manually. Each new user is notified, and the admin can manually approve or decline it.
No Authentication: Allows the user to use the portal without any restrictions.
3. Apart from these 6 authentication methods, there are two other methods. It is not available in all templates.
DB Authentication: Upon the user logging in, the system prompts them to provide their username and password. The credentials are subsequently verified against those stored in the database. If there is a match between the provided credentials and the existing ones, the user is then directed to a success page.
Sponsor Email : A staff can sponsor users. Users can request permission to use the captive portal by providing the sponsor’s email id.
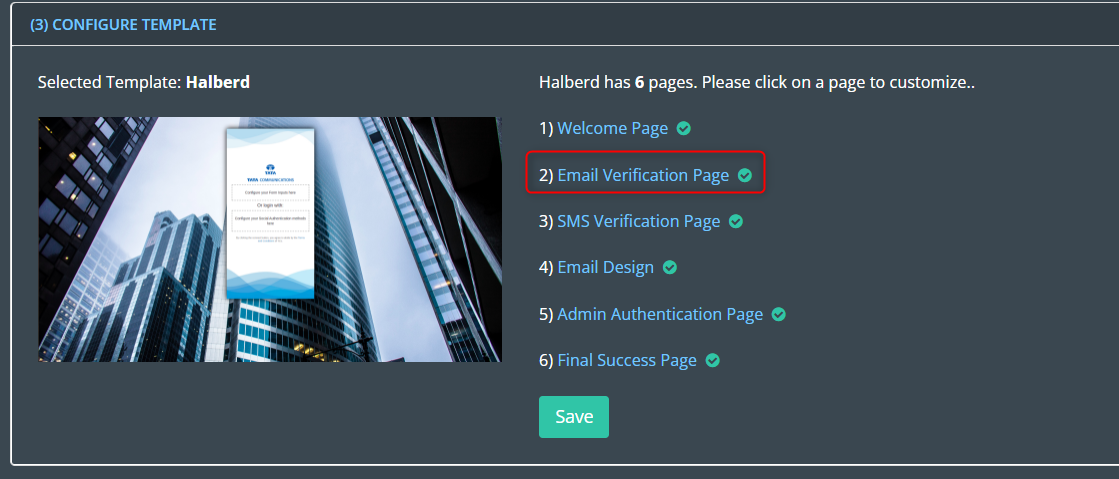
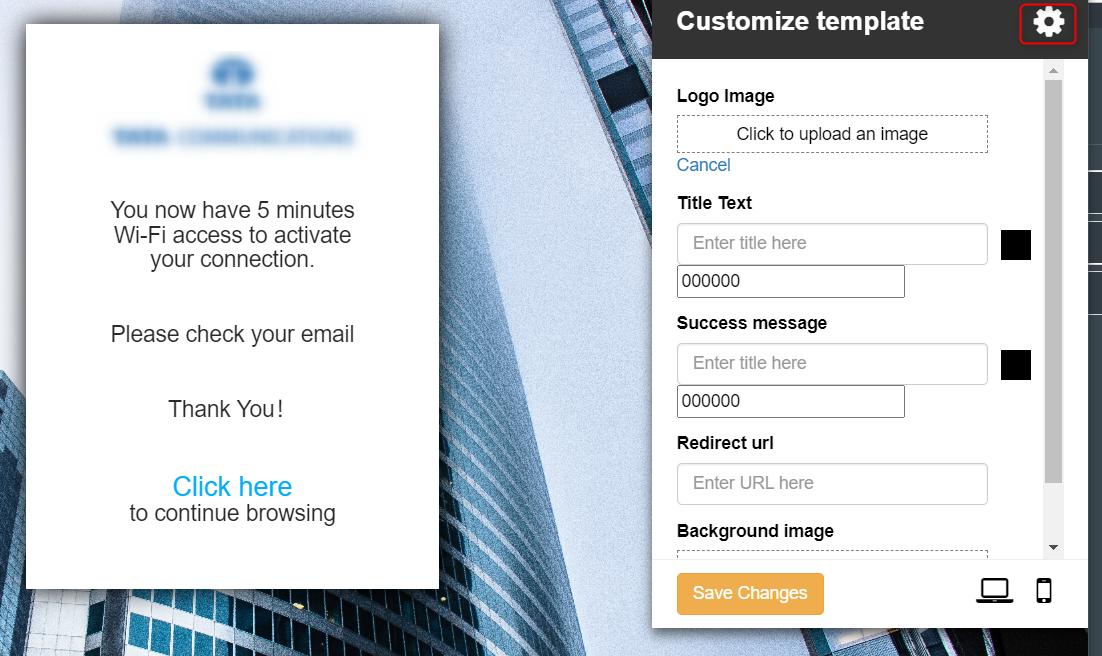
Edit Email Verification Page
1. If the Email is selected as the authentication type on the welcome page, this page can be edited.
2. Click on Email verification page button.
 3. In the window that opens, click on the Settings button. Here you can edit
the following.
3. In the window that opens, click on the Settings button. Here you can edit
the following.
- Logo Image
- Title text
- Success message
- Redirect url
- Background image
4. Once edited, click on the Save Changes button.
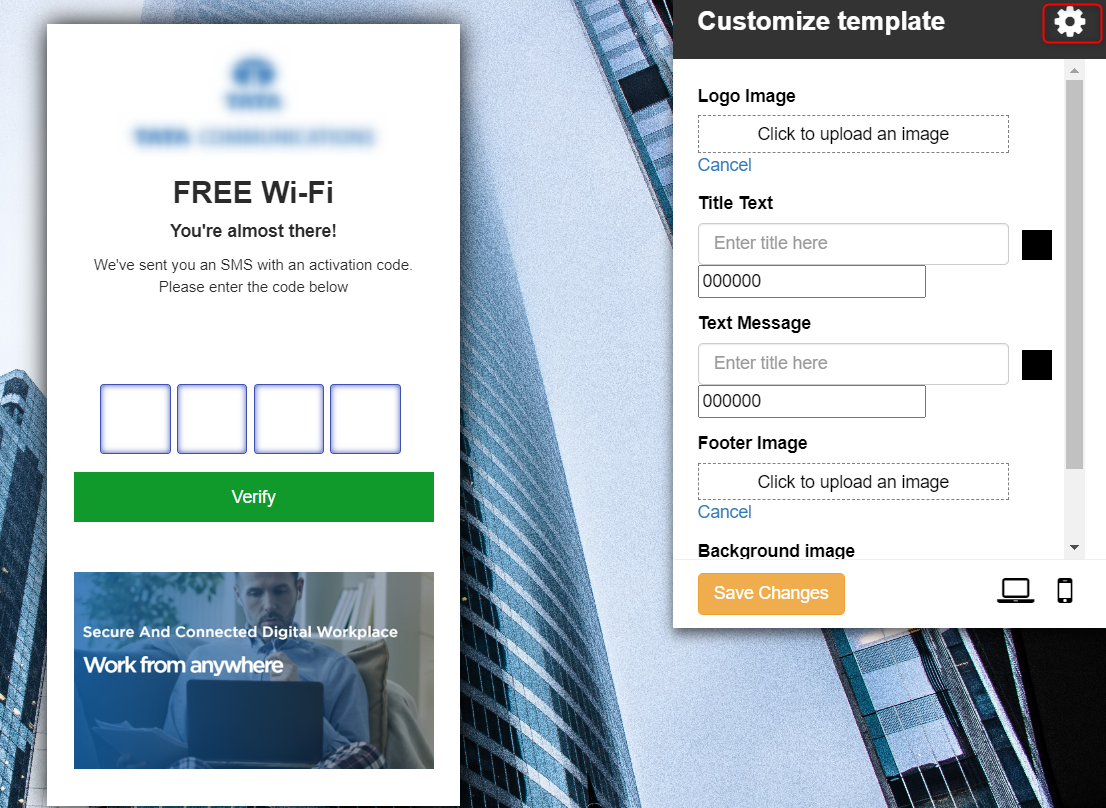
Edit SMS Verification Page
1. If the SMS is selected as the Authentication type on the welcome page, this page can be edited.
2. Click on the SMS verification page button.
 3. In the window that opens, click on the Settings button. Here you can edit
the following
3. In the window that opens, click on the Settings button. Here you can edit
the following
- Logo Image
- Title text
- Text message
- Footer Image
- Background image
4. Once edited, click on the Save Changes button.
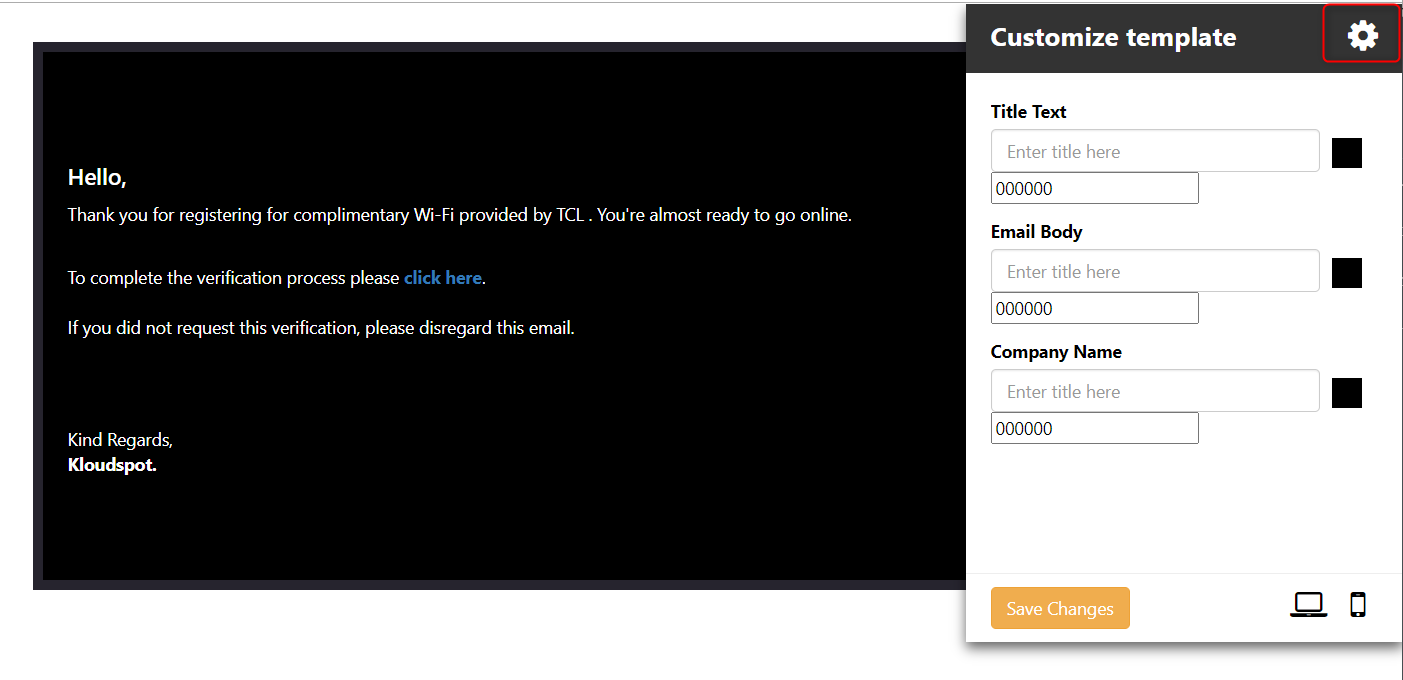
Edit Email Design
1. This is a confirmation email informing the user that their registration was successful. It can be customize as needed.
2. Click on the Email Design button.

3. In the window that opens, click on the Settings button. Here you can edit the following
- Title text
- Email body
- Company Name
4. Once edited, click on the Save Changes button.
re
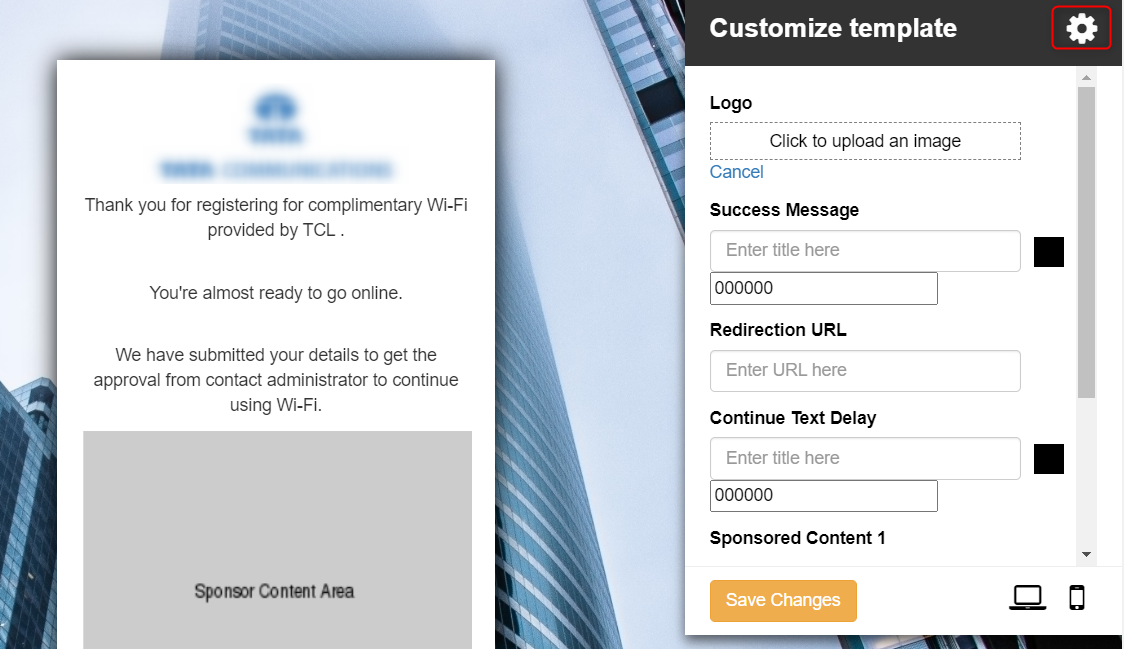
Edit Admin Authentication Page
1. If the Admin Authentication is selected as the Authentication type on the welcome page, this page can be edited. To learn more about admin authentication, see Approve or decline the user request section.
2. Click on Admin Authentication Page button.
 3. In the window that opens, click on the Settings button. Here you can
edit the following.
3. In the window that opens, click on the Settings button. Here you can
edit the following.
- Logo
- Success Message
- Redirection URL
- API Interval (in sec): Helps to determine the waiting time after admin approval. Default It will be 30 sec. maximum- 120 sec.
- Sponsored Content
- Background Image
4. Once edited, click on the Save Changes button.
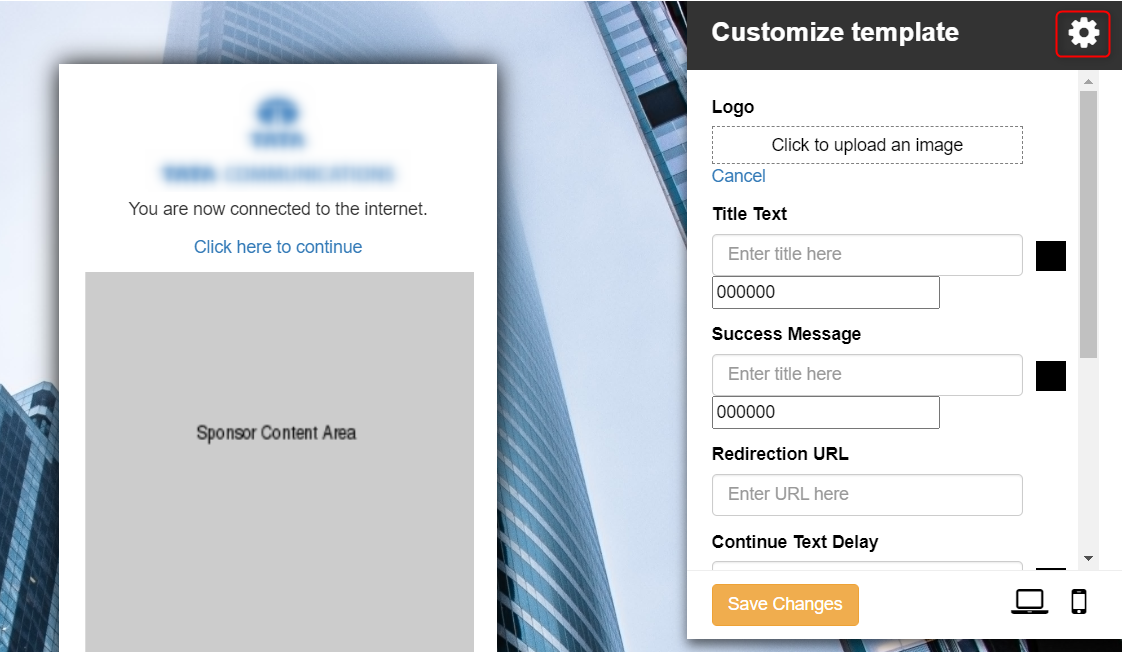
Edit Final Success Page
1. If you want to make changes to the Final Success Page, click on the Final Success Page button.
 2. In the window that opens, click on the Settings button. Here you can edit
the following.
2. In the window that opens, click on the Settings button. Here you can edit
the following.
- Logo
- Title Text
- Success Message
- Redirection URL
- Continue Text Delay
- Sponsored Content
- Background Image
3. Once edited, click on the Save changes button.
4. After editing all pages click on Save button.
 5. After adding the guest portal, the next step is to assign it to an access
point. For that see the article Assign a guest portal to the Access
point.
5. After adding the guest portal, the next step is to assign it to an access
point. For that see the article Assign a guest portal to the Access
point.