Google Workspace Oauth 2.0 Authentication
1. By adding Google Authentication, Captive Portal users can log in using their Google account credentials. Click the link given below to access the login page.
https://console.cloud.google.com/
2. Login with the Admin account.
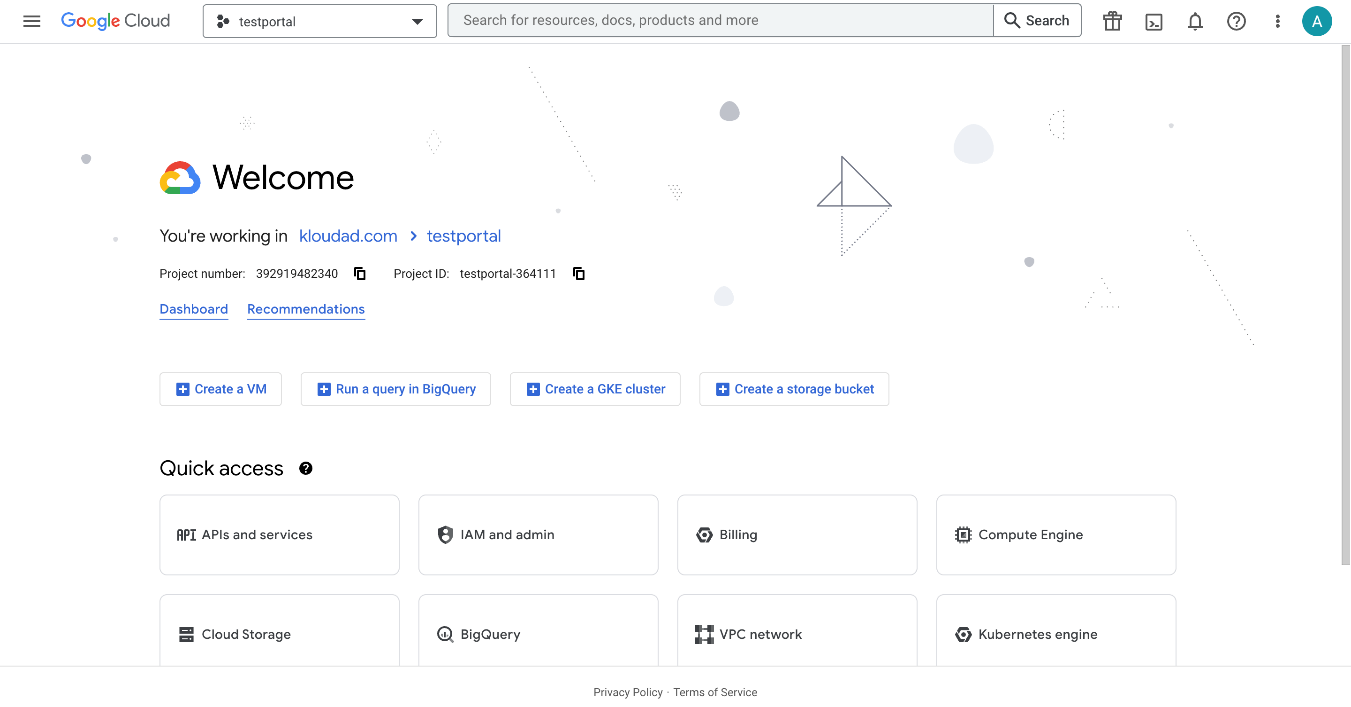
3. Now select the project or create a project by clicking on the dropdown at the top right corner.
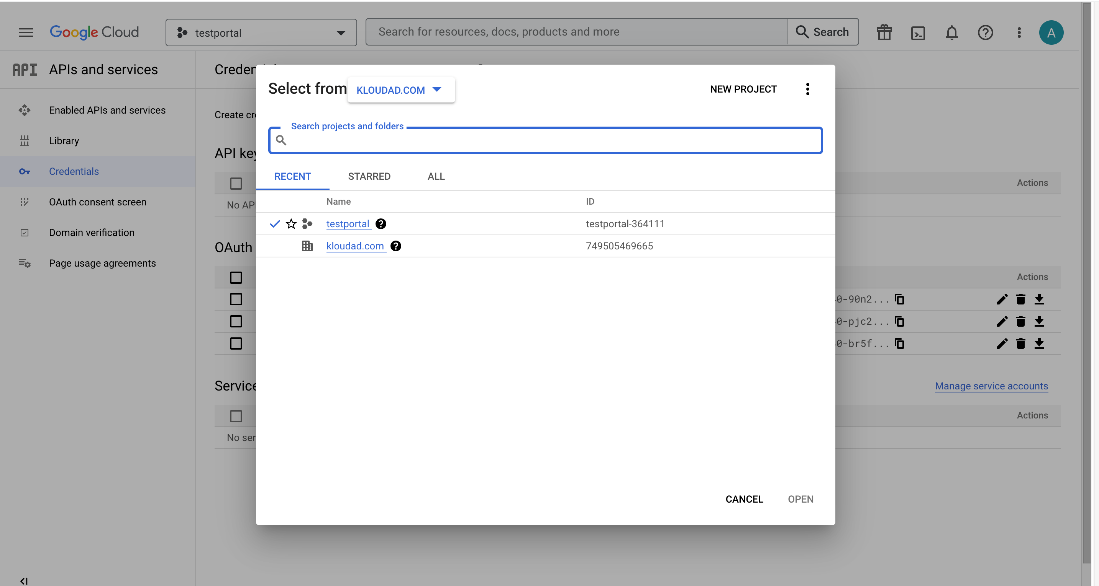
4. This popup will contain all your projects and also gives you the flexibility to create a new project.
5. After selecting an existing or a new project the below window will open.
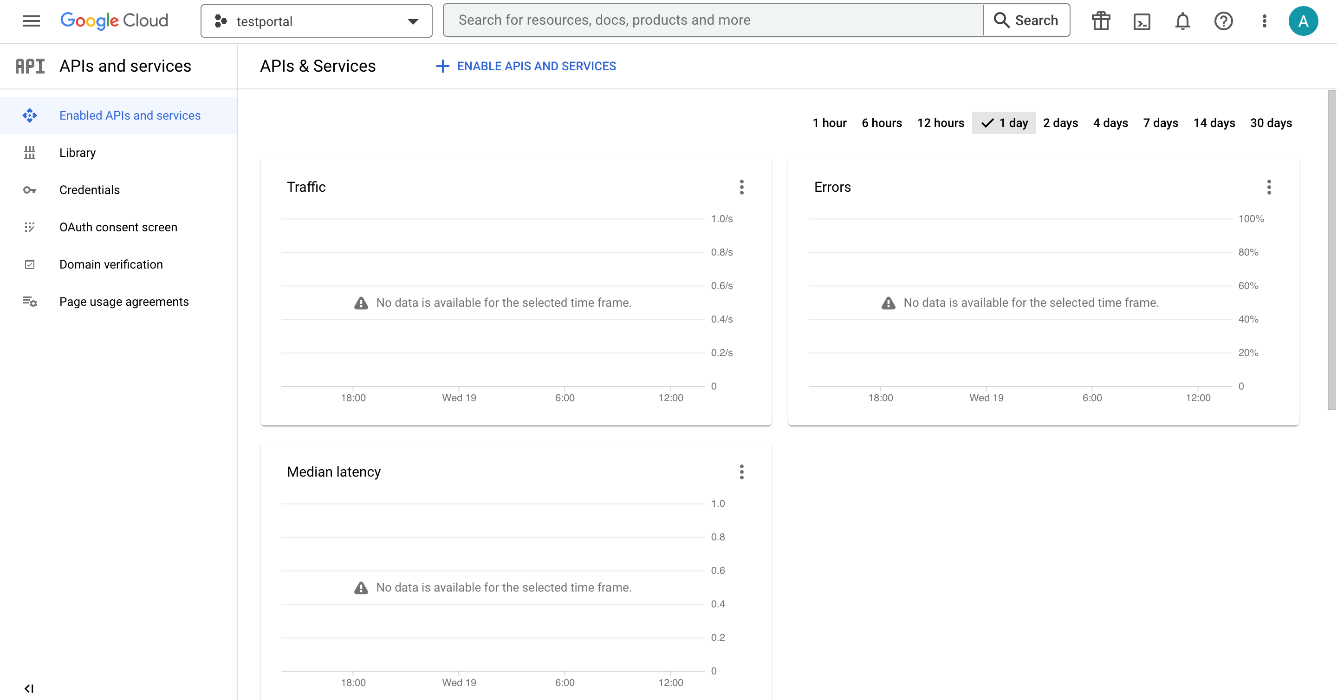
6. Next, you need to enable the Google Workspace Marketplace SDK. For that navigate to Enabled APIs and Services.
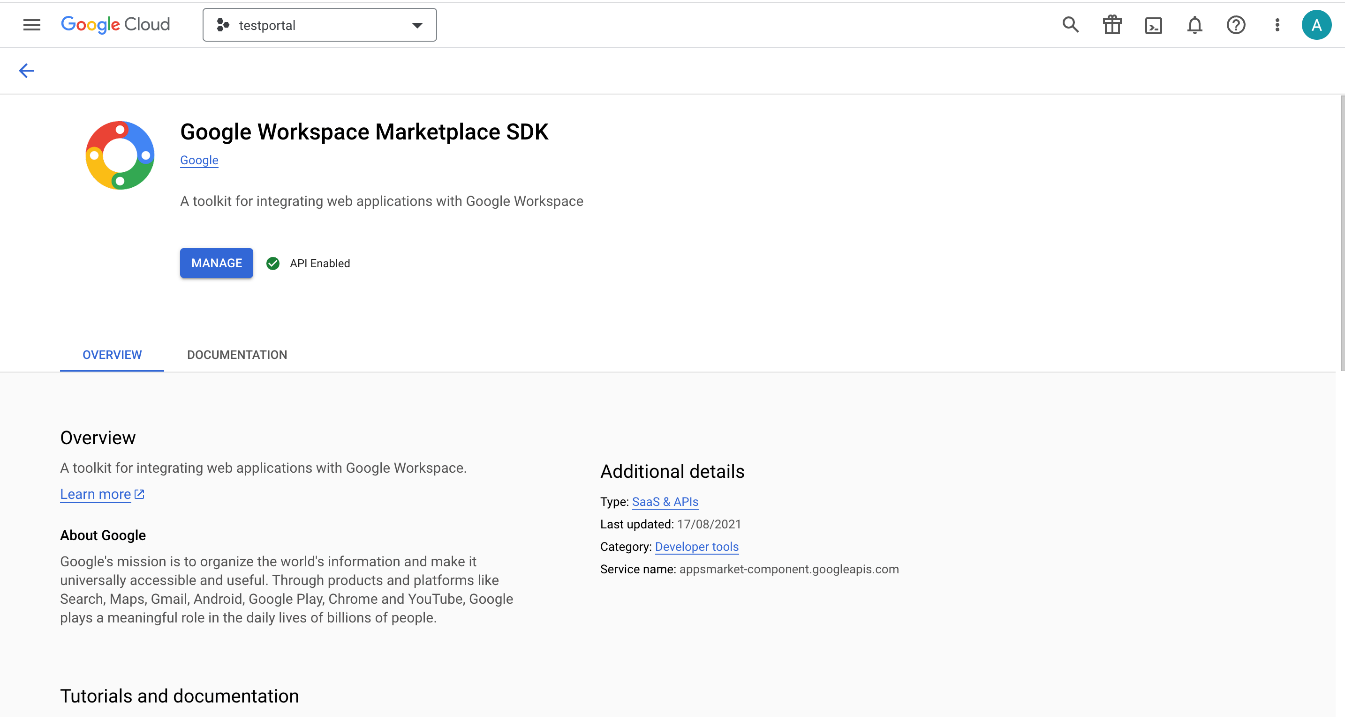
7. Then search for Google Workspace Marketplace SDK and enable it.
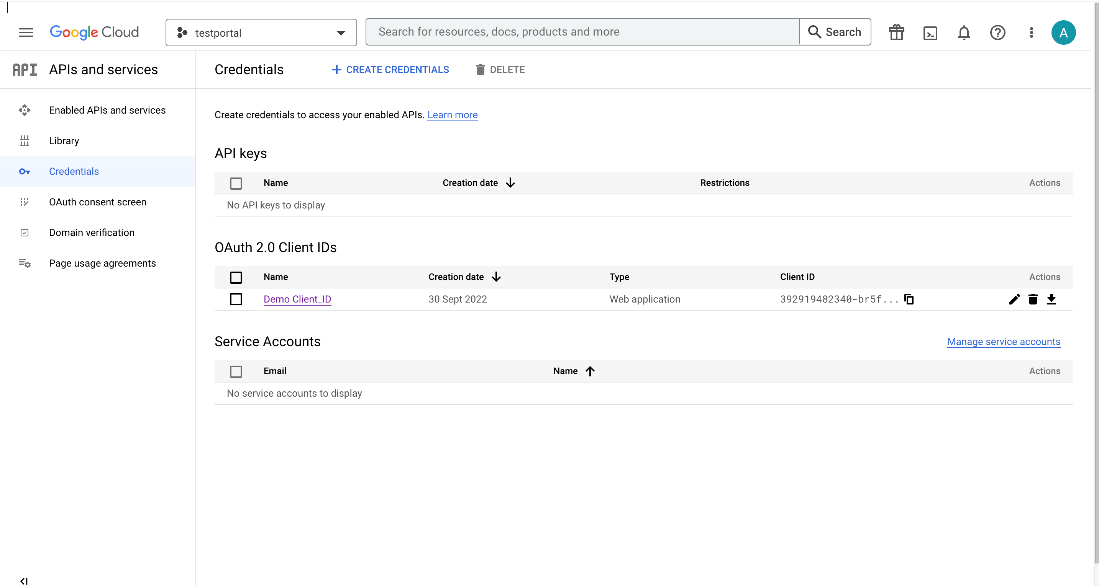
8. Then navigate to Credentials to create Client ID and Secret.
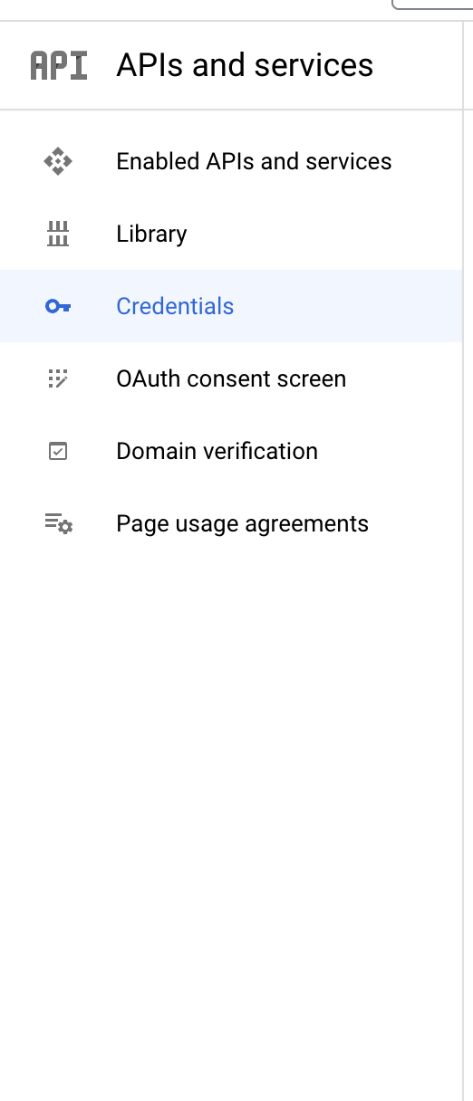
9. In the window that appears, there are several login options.
10. In this case, the captive portal supports OAuth2. 0.
11. To configure OAuth you need to create a Client ID and Secret.
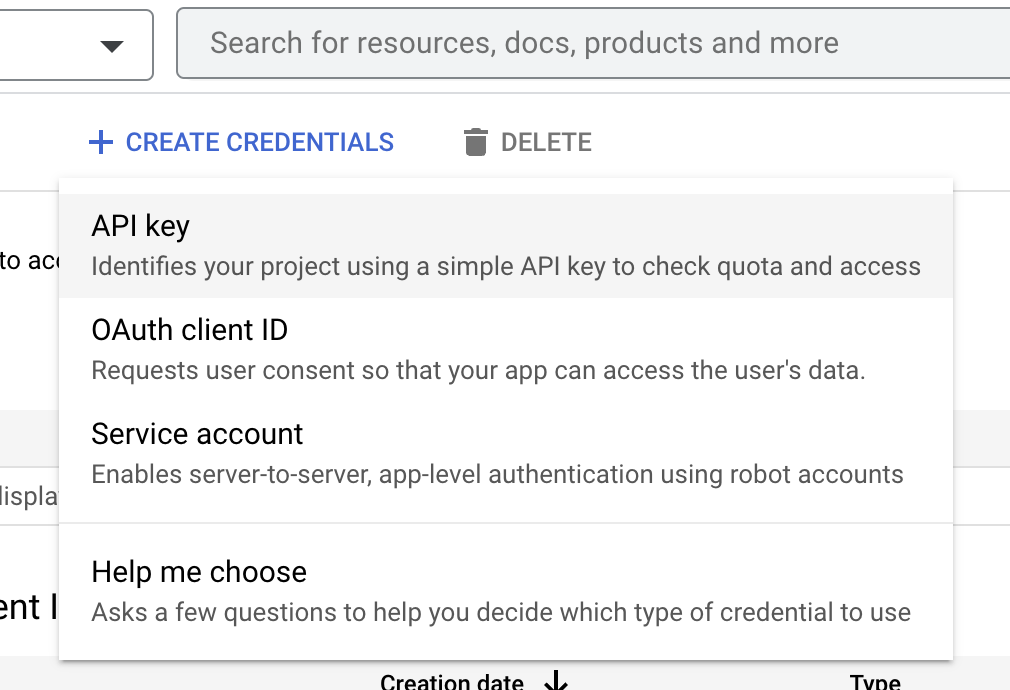
12. Click on CREATE CREDENTIALS button at the top and select the OAuth Client Id from the dropdown list.
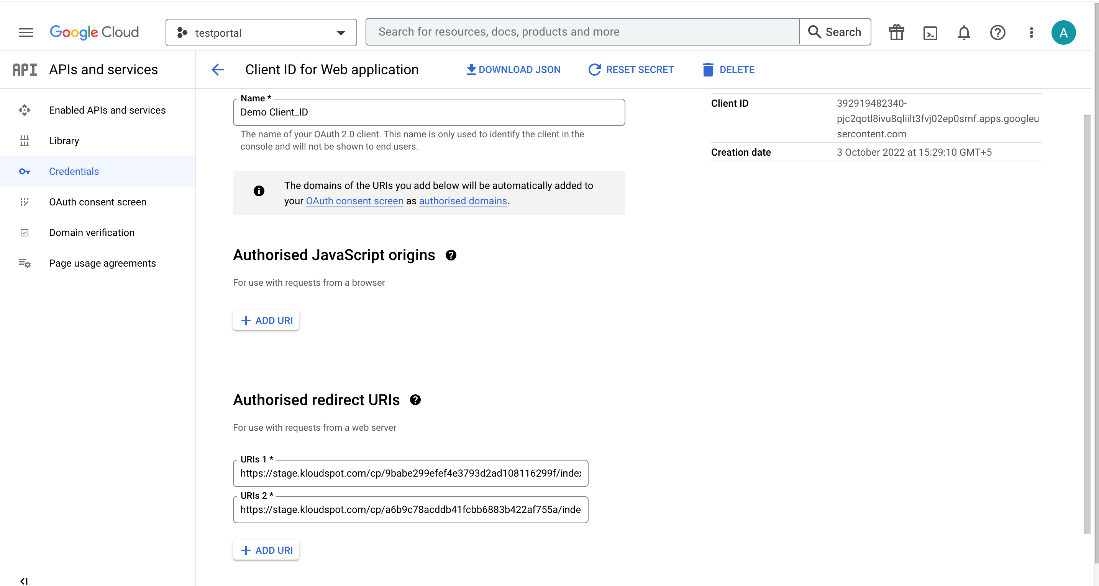
13. Then Create your Client ID. The screen below will be displayed once it has been created.
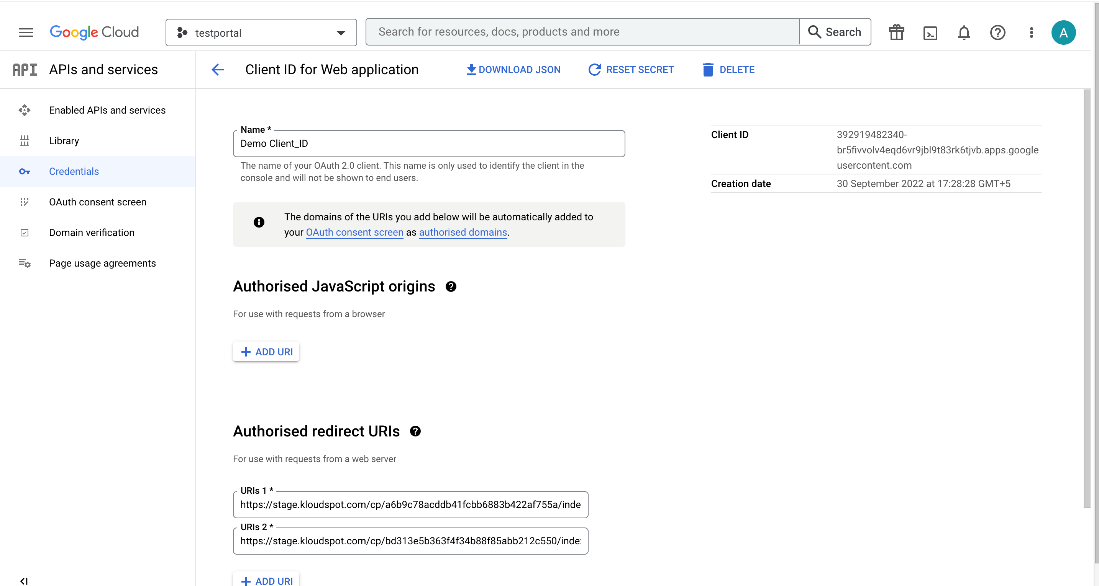
14. This screen contains the Client Id and Secret. Copy it and paste it somewhere else for later use.
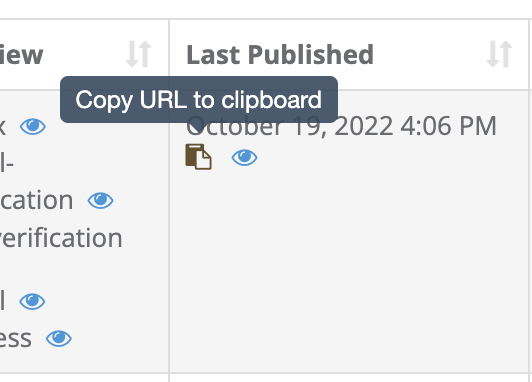
15. Next you have to copy the captive portal URL, for that login to the captive portal and open the guest portal section.
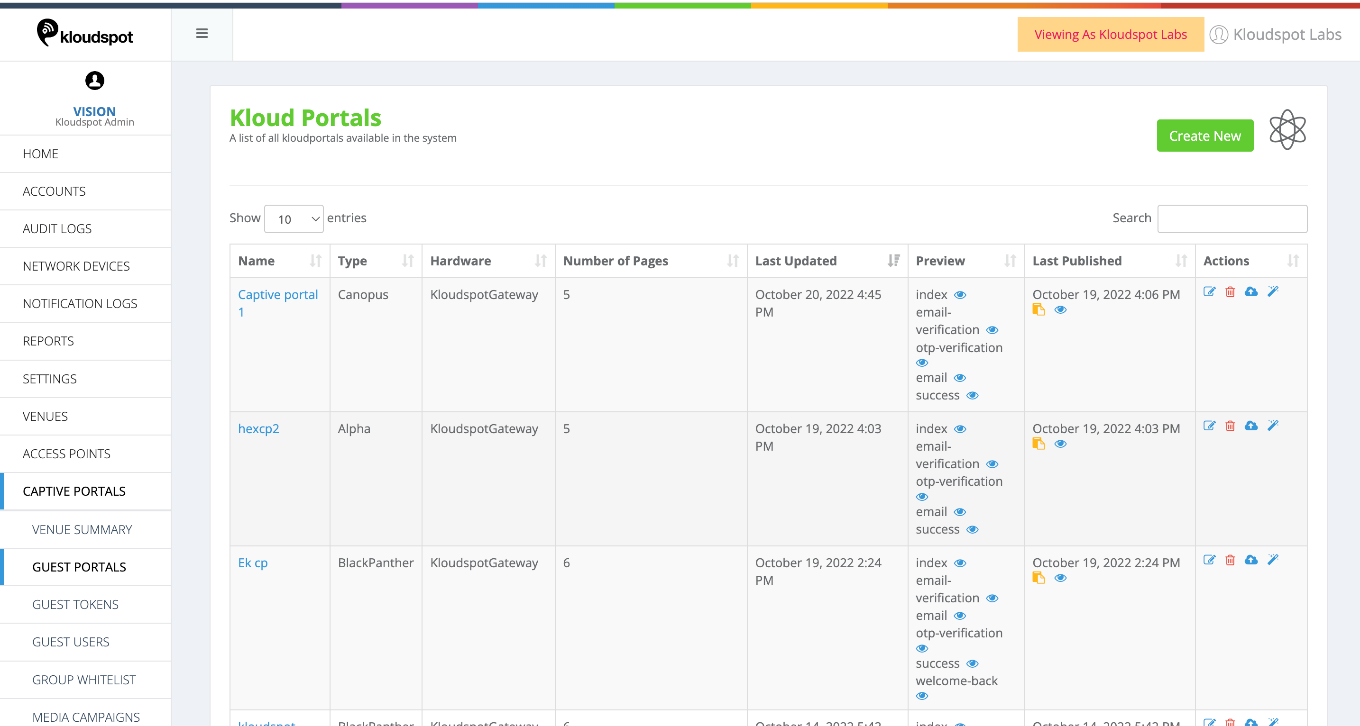
16. Copy the URL by clicking on the yellow icon from the Captive portal’s Last Published column.
17. Then click on The +Add URI button and add the Captive Portal URI. Then click the Save button.
18. Log in to Captive Portal and navigate to NMS settings- >Third party Integrations -> Social Authentication Setup .
19. Here, pastes the Client Id and Secret that you copied earlier.
20. OAuth2.0 has been integrated successfully.
21. People within the organization or in the same domain can then use it.