Assign a guest portal to the access point
Assigning a guest portal to your access point is a crucial step in ensuring that users connecting to your network have a seamless and branded experience. In this section, we’ll walk you through the process of linking your customized captive portal templates to your access points, making it easy for users to access your network while enjoying a cohesive and user-friendly interface.
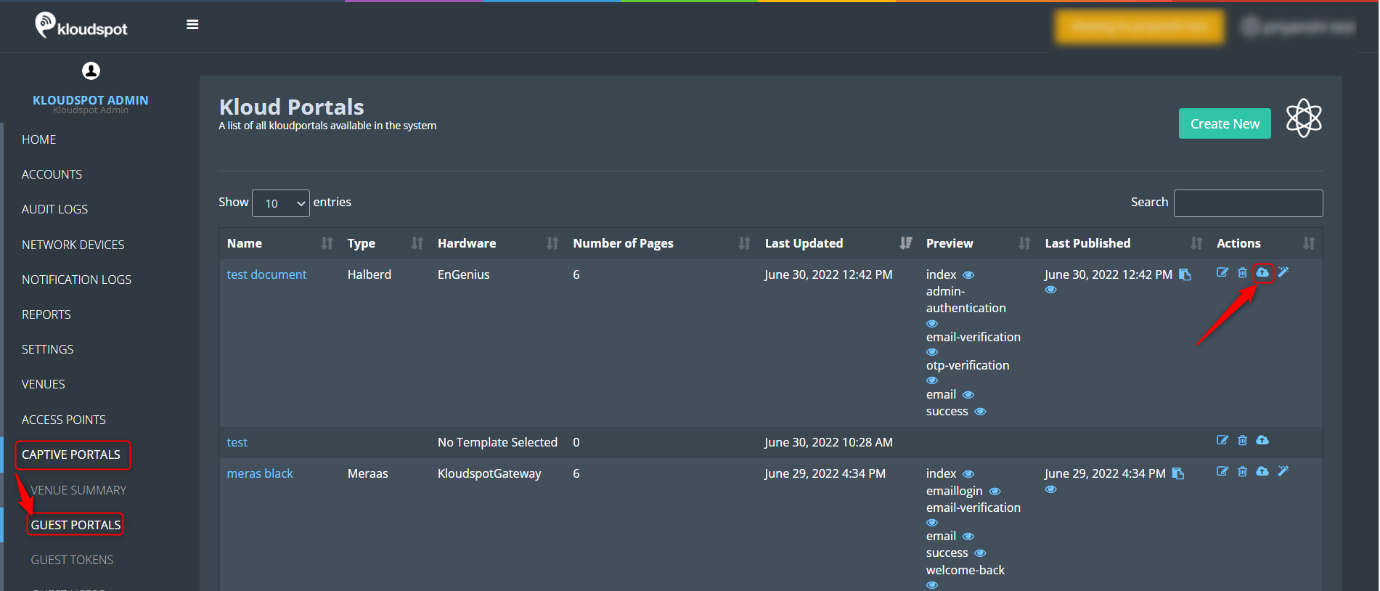
1. You must first publish the newly created guest portal before adding it to the access point. To do so, navigate to the guest portal and press the publish button.
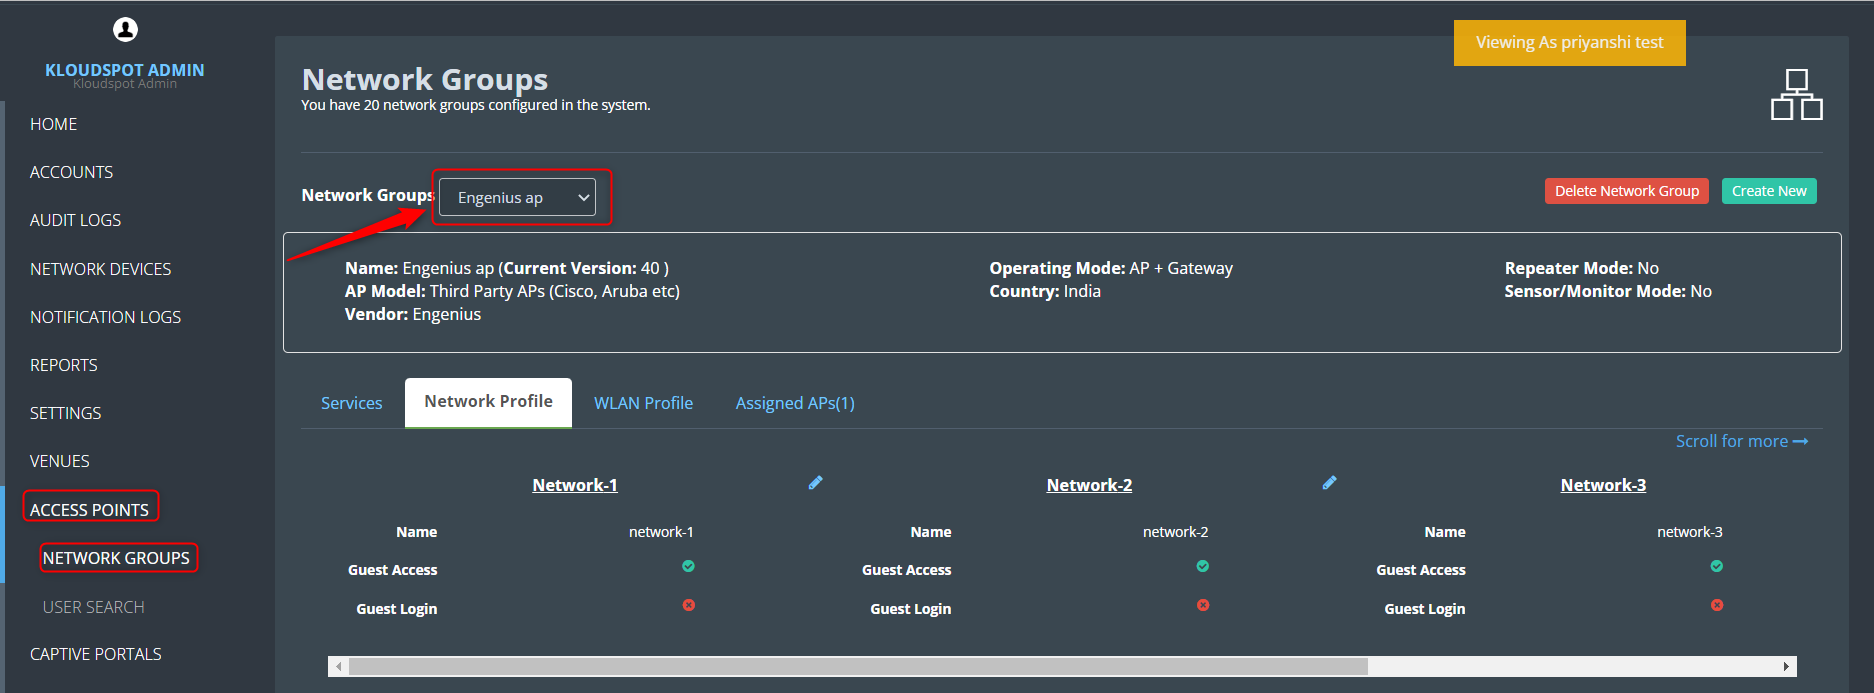
 2. Navigate to ACCESS POINTS > NETWORK GROUPS. Select the Network groups
from the drop-down list.
2. Navigate to ACCESS POINTS > NETWORK GROUPS. Select the Network groups
from the drop-down list.
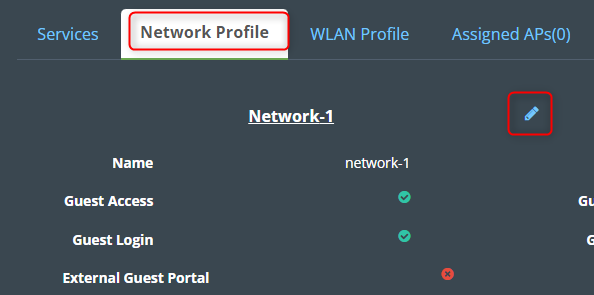
 3. After adding the network group, go to the Network profile tab and click
the edit button.
3. After adding the network group, go to the Network profile tab and click
the edit button.
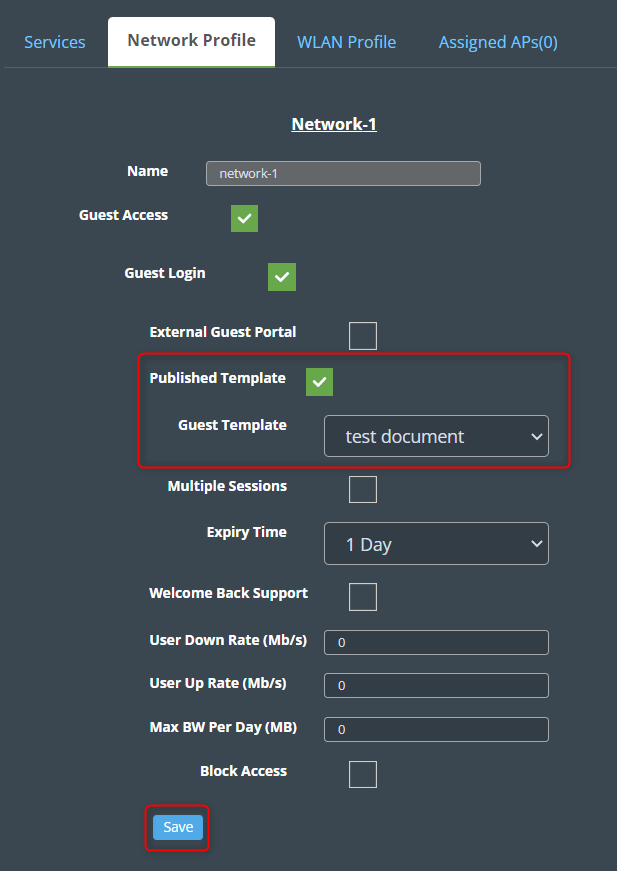
 4. Then, in the edit window that appears, check the Published template box,
and select the guest portal to which you want to assign it. Click Save.
4. Then, in the edit window that appears, check the Published template box,
and select the guest portal to which you want to assign it. Click Save.
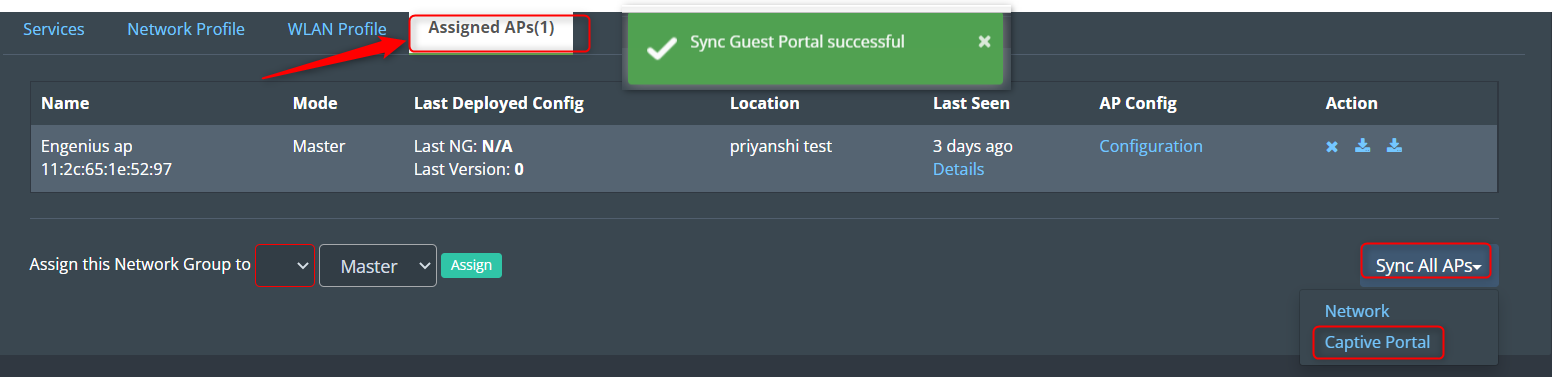
 5. Then, on the Assigned APs tab, navigate to Sync All APs > Captive
Portal. You will receive a successful message notification immediately.
5. Then, on the Assigned APs tab, navigate to Sync All APs > Captive
Portal. You will receive a successful message notification immediately.
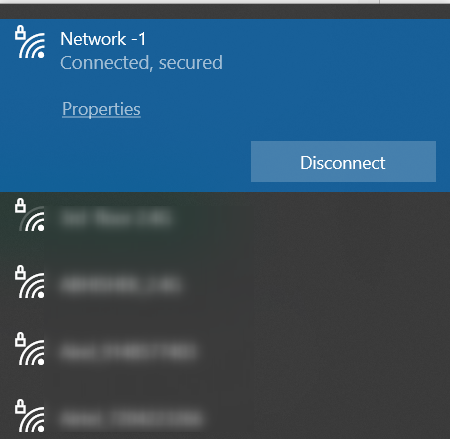
 6. The guest portal has been added to the access point successfully. To test
the guest portal, connect with the wifi. The guest portal you created can be
found here. If not, repeat steps 1–5.
6. The guest portal has been added to the access point successfully. To test
the guest portal, connect with the wifi. The guest portal you created can be
found here. If not, repeat steps 1–5.