Add KloudPortal to KloudManage
1. Once you have obtained your login credentials from Kloudspot, you can proceed to the next step, which involves adding the captive portal’s controller to KloudSpot’s Device management system.
2. For that Log in to your KloudManage account.
3. Navigate to NETWORK DEVICES > Add Network Devices.
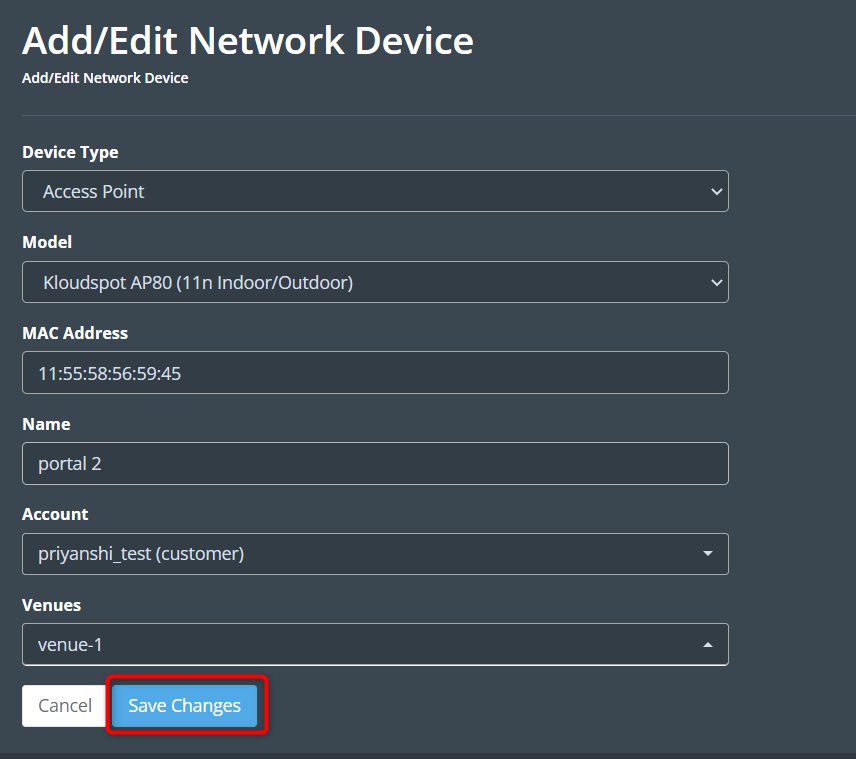
 4. Enter the following in the window that opens and click the Save
Changes button.
4. Enter the following in the window that opens and click the Save
Changes button.
Device Type: Select the Access Point or Gateway device from the dropdown list depending on the controller you are using. Select Access point if you are using a third-party controller.
Model: Select your controller model from the dropdown list.
Note: If you are using a third-party controller, select the option “Third Party Aps (Meraki, Cisco, Aruba etc)” from the model list.
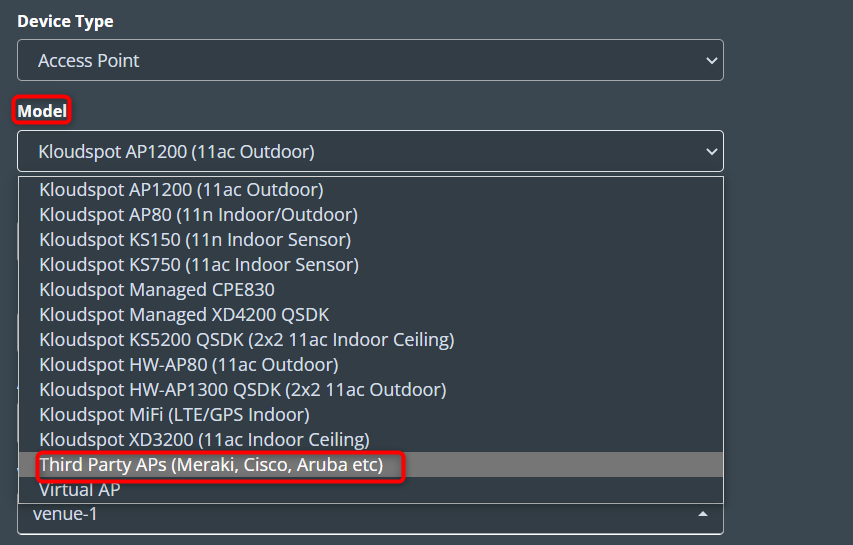
Vendor: If you are selected a third party device, select the vendor name from the vendor list.
MAC address: Enter the MAC address of your controller.
Name: Give a name for the controller.
Account: Kloudspot provides this information during account creation, and it is advised to keep it as is.
Venues: During the account creation process, KloudSpot provides information about the venue.
5. Click the Save Changes button to save the controller.