OpenID Connect Configuration
Overview
This document provides step-by-step instructions for configuring OpenID Connect with Okta for KloudManage integration. OpenID Connect is a secure authentication protocol that allows KloudManage to authenticate users through Okta. Follow the steps below to set up this integration.
Note: In the same way you can add Google authentication and Azure authentication.
Prerequisites
Before you begin, ensure you have the following:
-
KloudManage admin account credentials.
-
Okta developer account credentials.
-
Access to KloudManage settings as an administrator.
Configuration Steps
-
Open your web browser and navigate to KloudManage.
-
Log in to the KloudManage admin account using your credentials.
-
Navigate to Settings > Third Party Integration within the KloudManage admin interface.
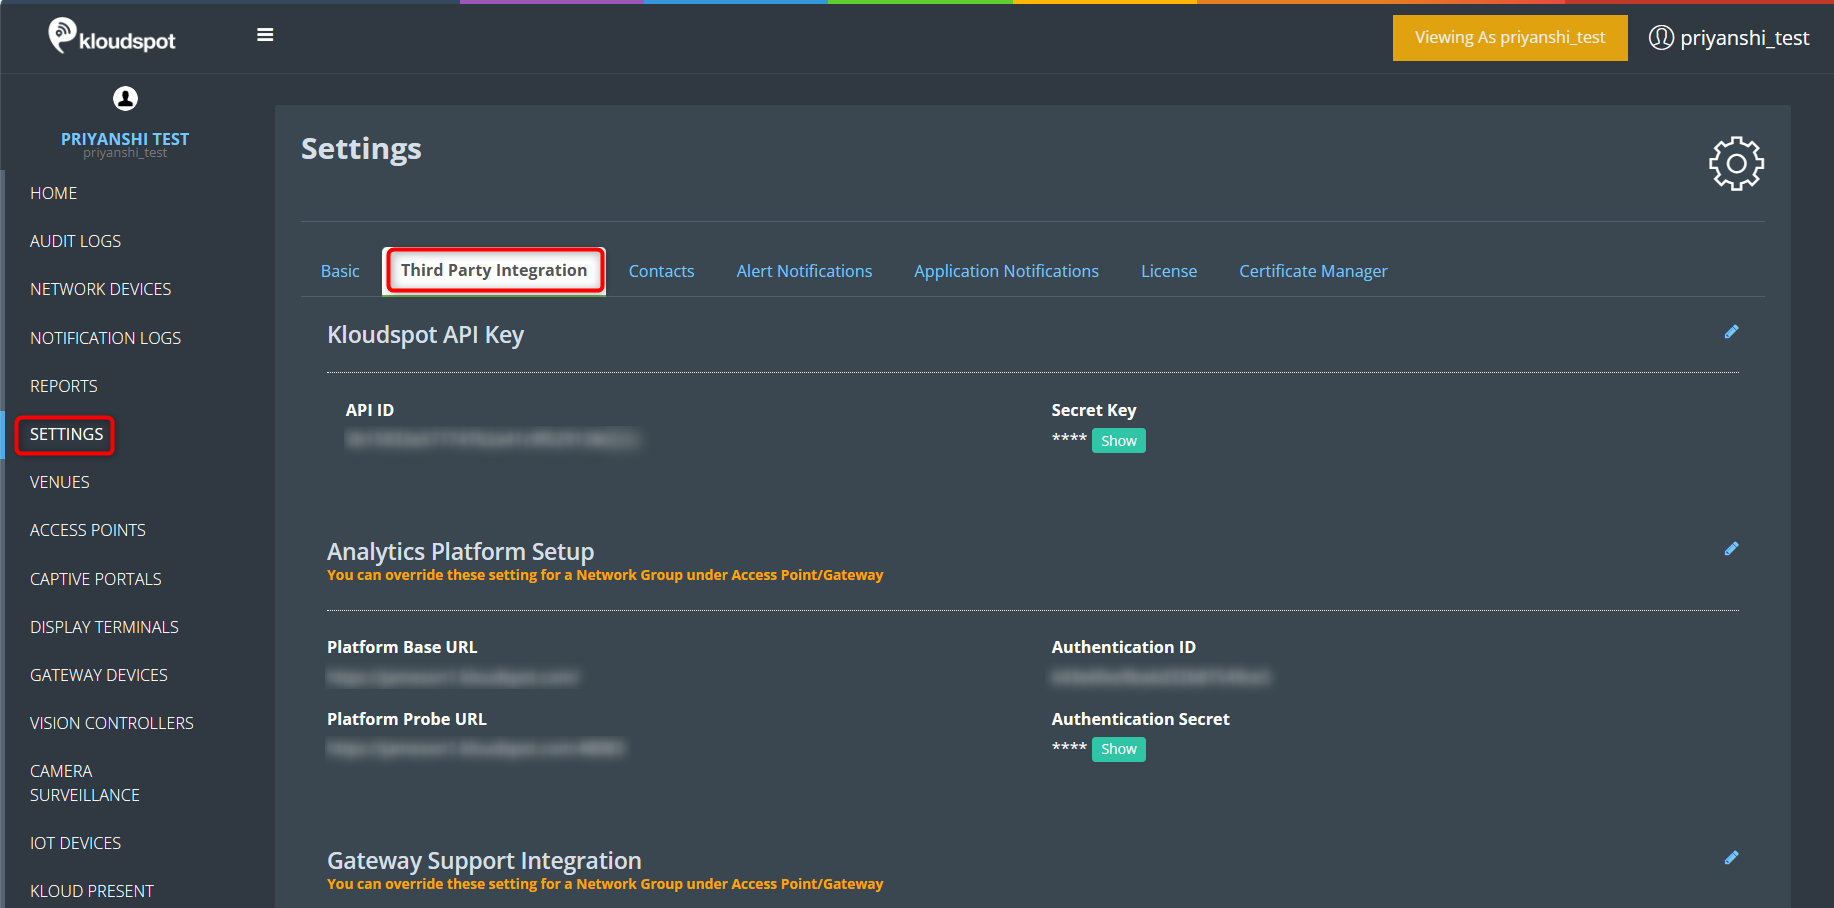
-
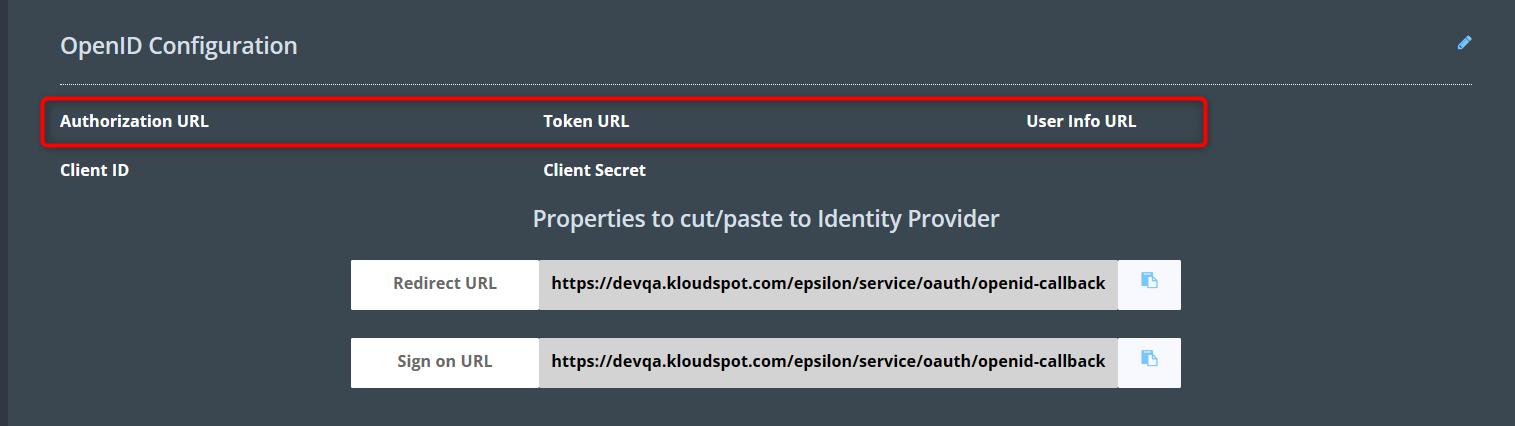
Then, Scroll down to the OpenID Configuration section.
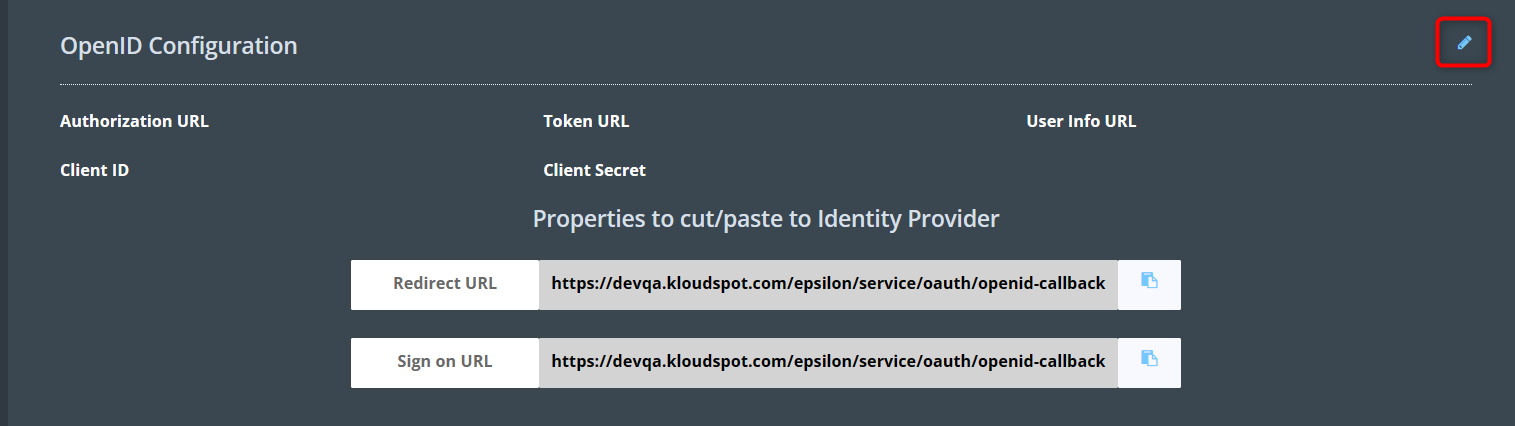
-
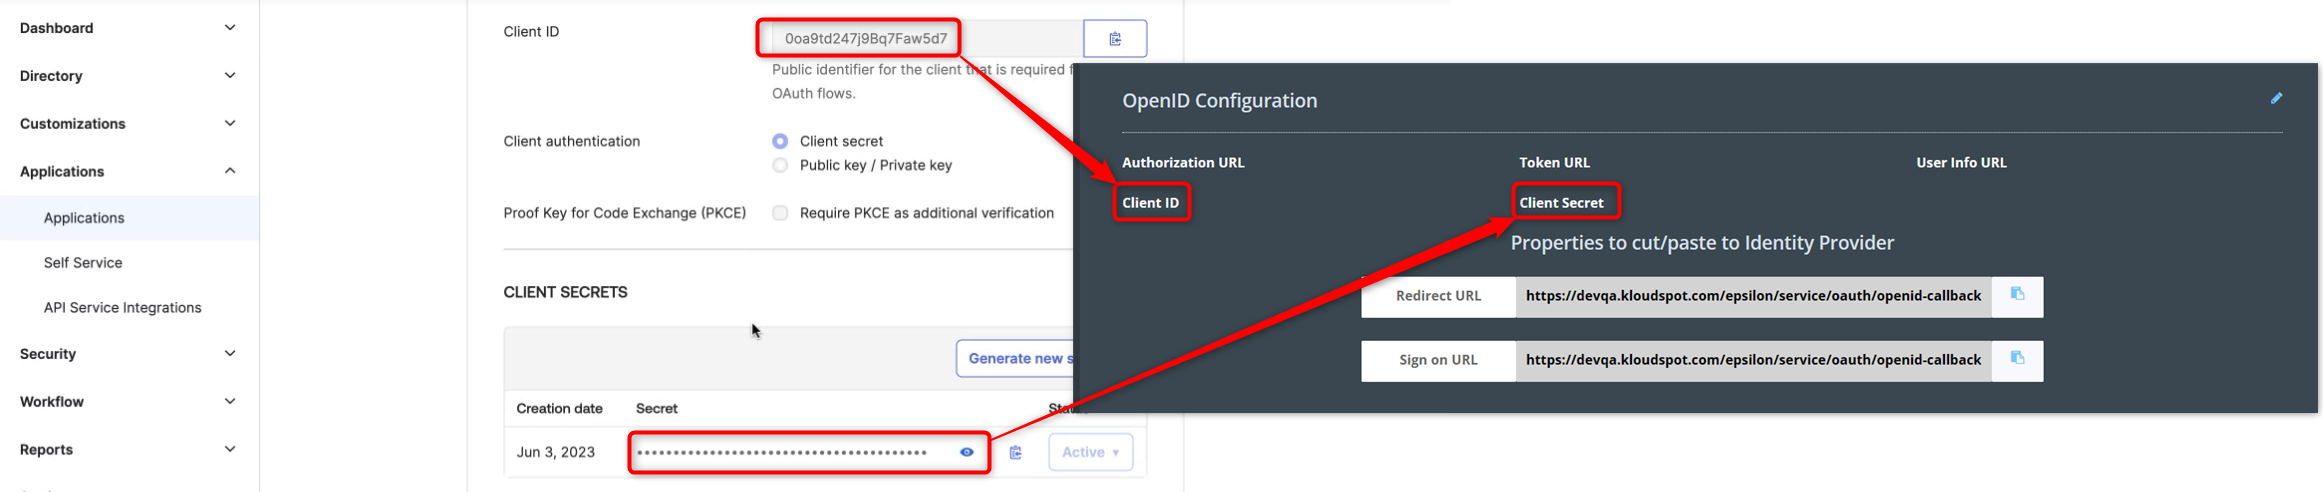
Here click on the edit button and add the Authentication URL, Token URL, User Info URL, ClientID, and Client secret.
-
Log in to your OKTA developer account to get this information.
-
In your Okta developer account, create a new app with the sign-in method OpenId Connect > Web Application.
Refer Okta developer document for more details.
https://developer.okta.com/docs/guides/build-sso-integration/openidconnect/main/

- Then fill the general settings section in the OKTA and configure as shown in the image.
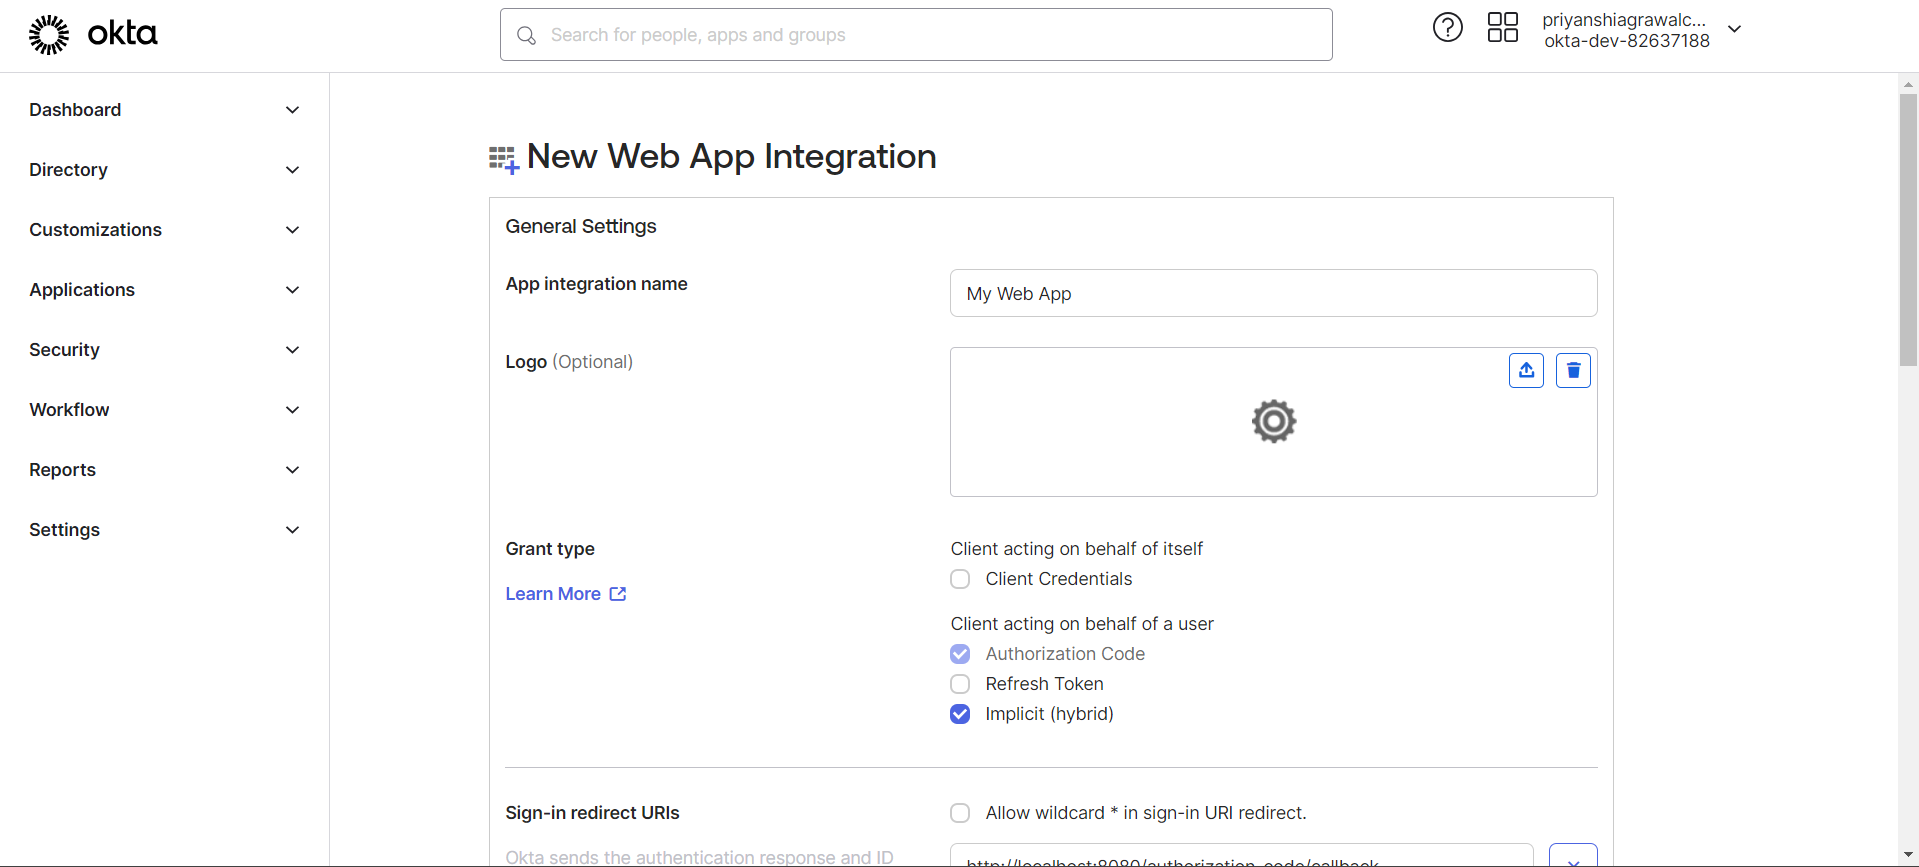
- Click on the +Add URI button in the Login section and add the Redirect URL. You can find the Redirect URL from KloudMange. Finaly, click the save button to save the changes.

-
Copy the Client ID and Client Secret from the Okta app.
-
Return to KloudManage.
-
Click on the Edit button in the OpenID Configuration section.
-
Paste the Okta Client ID and Client Secret.
- Provide the Authentication URL, Token URL, and User Info URL in the following format, where ${baseUrl} represents the issuer URI of your OKTA account. For additional details, refer the OKTA developer documentation
-
Authorization URL: ${baseUrl}/oauth2/v1/authorize
-
Token URL: ${baseUrl}/oauth2/v1/token
-
User info URL: ${baseUrl}/oauth2/v1/userinfo
-
Click the Save button to save the changes in KloudManage.
-
Users can now log in to KloudManage using OpenID Connect. Refer to the User Roles and Permissions section to learn how to add a new user.
-
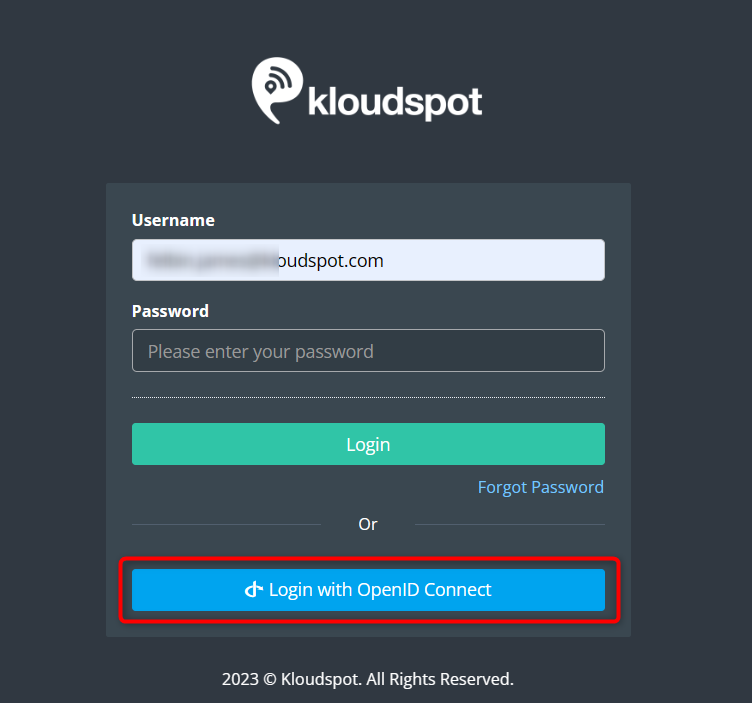
On the KloudManage login page, enter the user’s company email ID.
-
Click on the Login with OpenID Connect button.
-
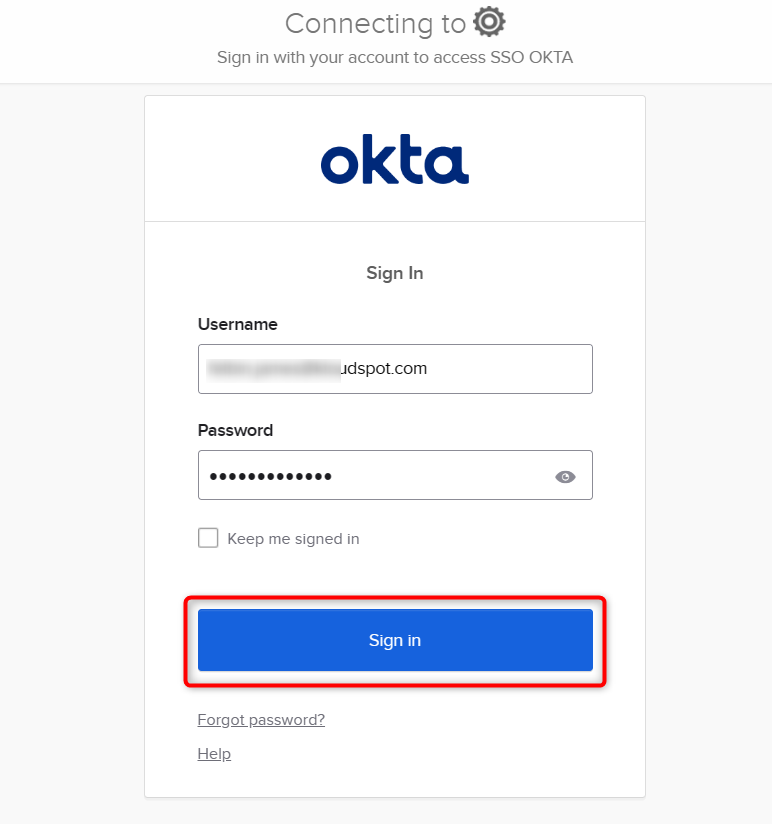
Users will be redirected to the Okta login page.
-
Enter the Okta username and password and click on the Sign In button.