Creating and Editing Venues
-
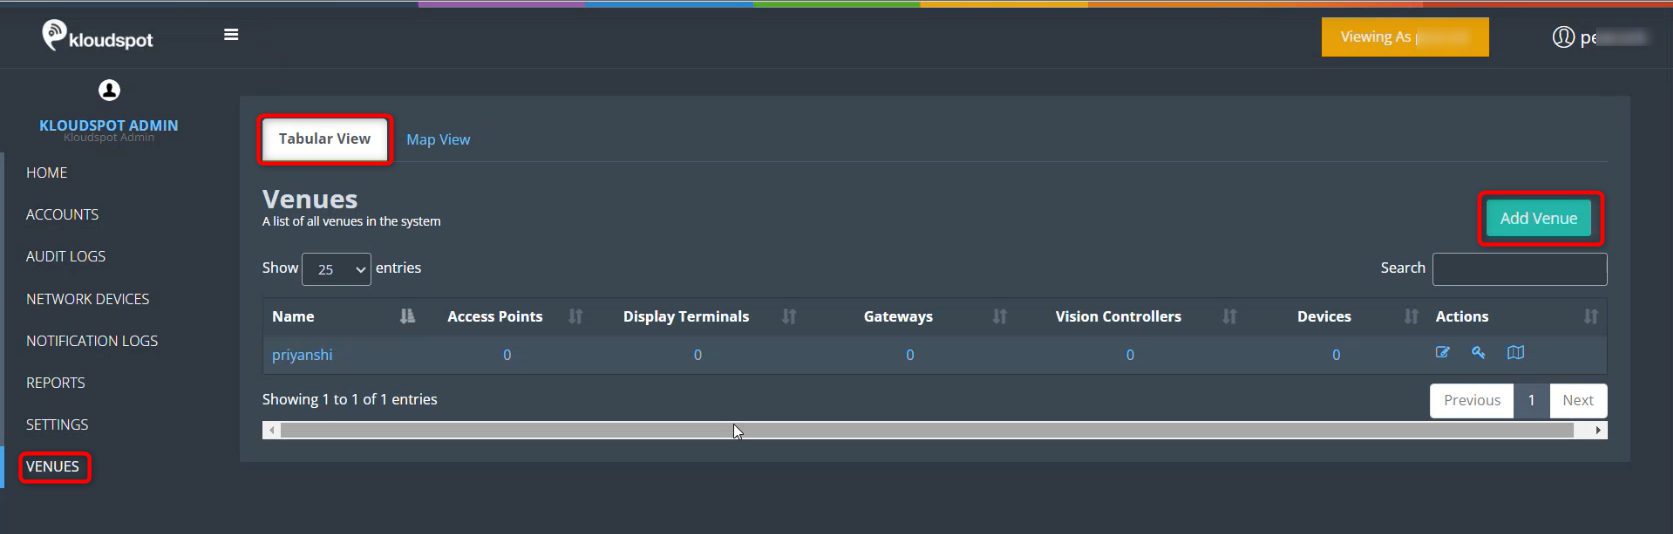
By default, a KloudManage account will already have a venue associated with it. To add additional venues, click on the “Venues” button.
-
In the “Tabular View” tab of the window that opens, locate and click on the “Add Venue” button.
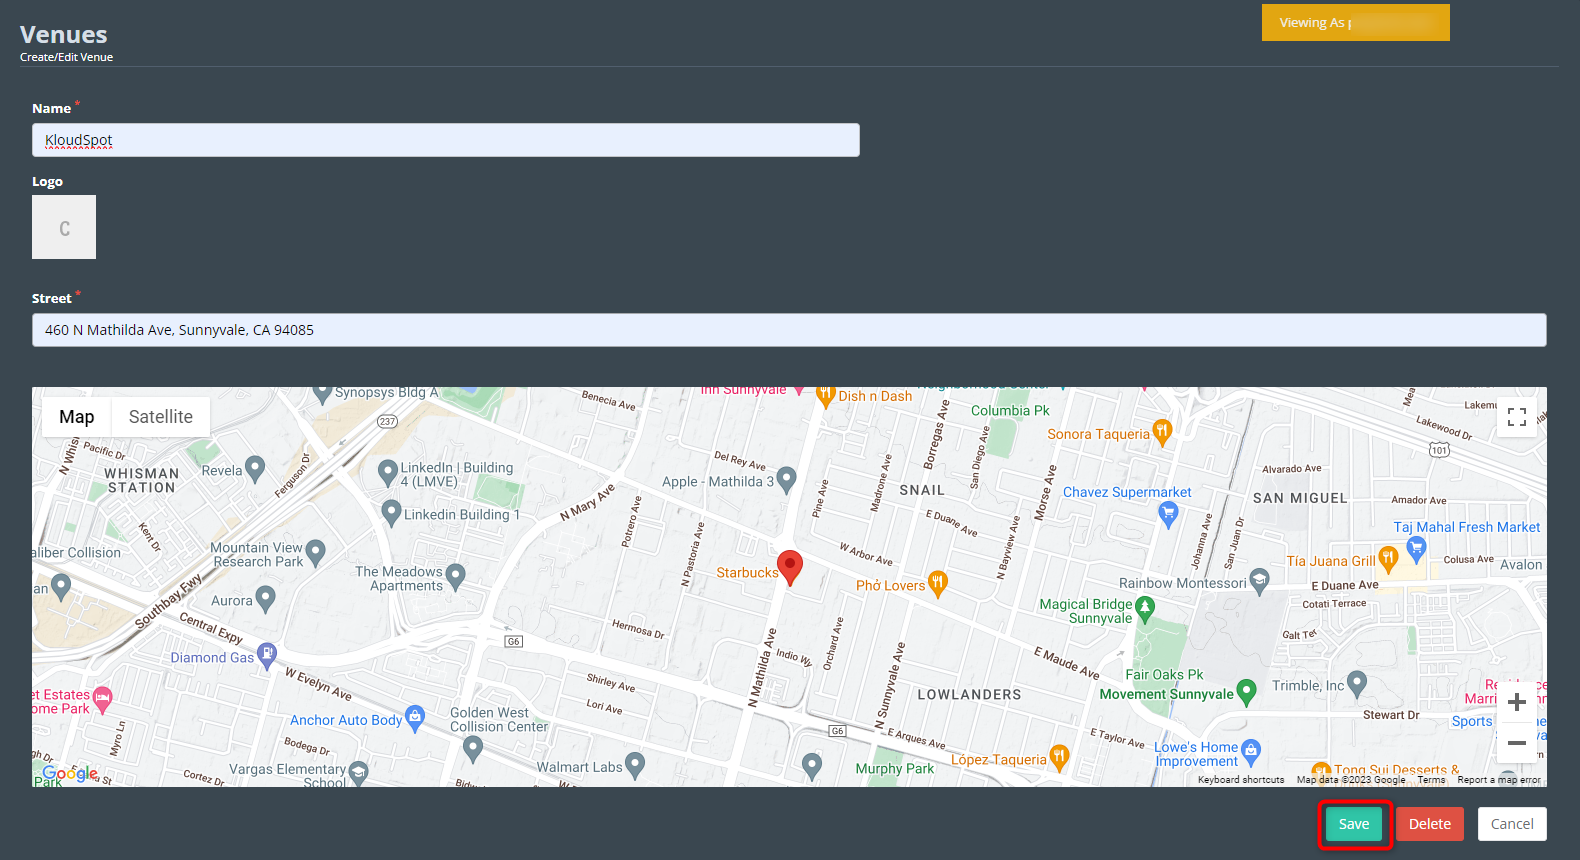
- Enter the venue name, and optionally, add a logo. Also, provide the street address in the window that appears. Click “Save” to confirm. As soon as you enter the address, your location will be pinpointed on the map view.
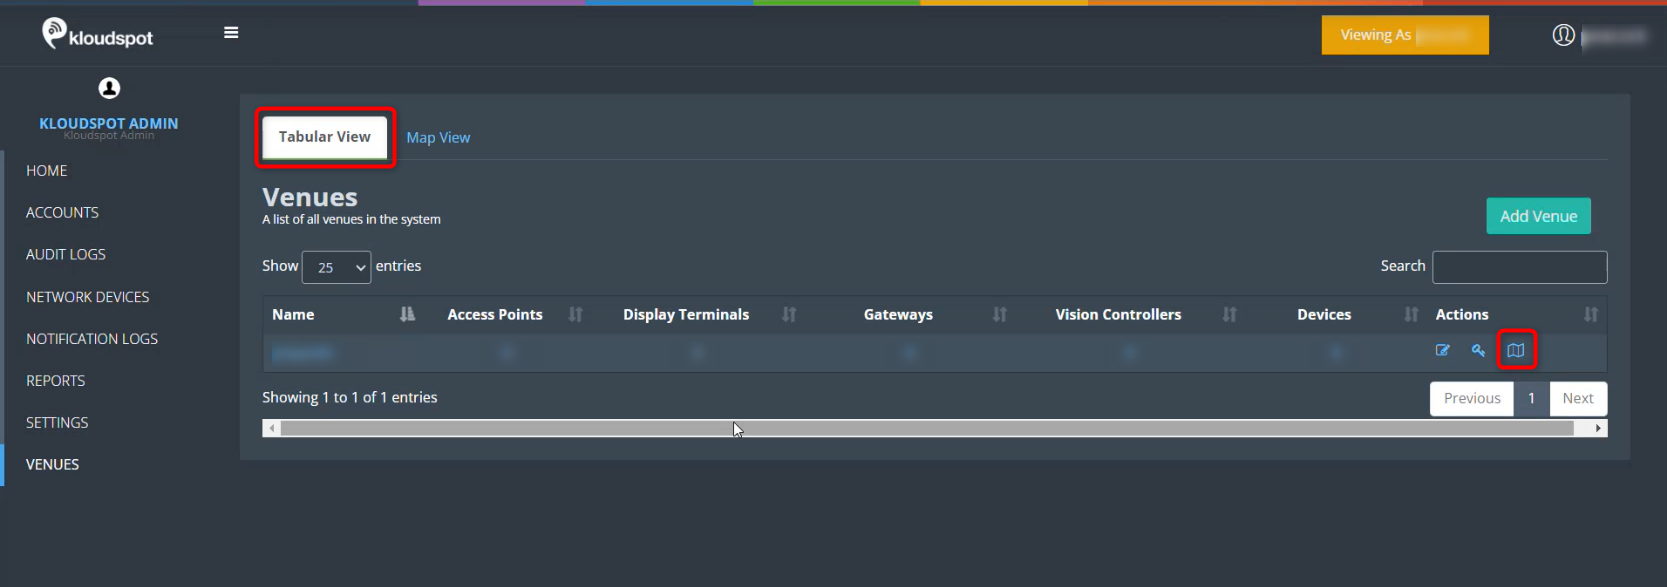
- If needed, you can incorporate a floor map for the location. Click on the “Floor Map” button found in the action column.
- In the subsequent window, click “New” to add a new floor.
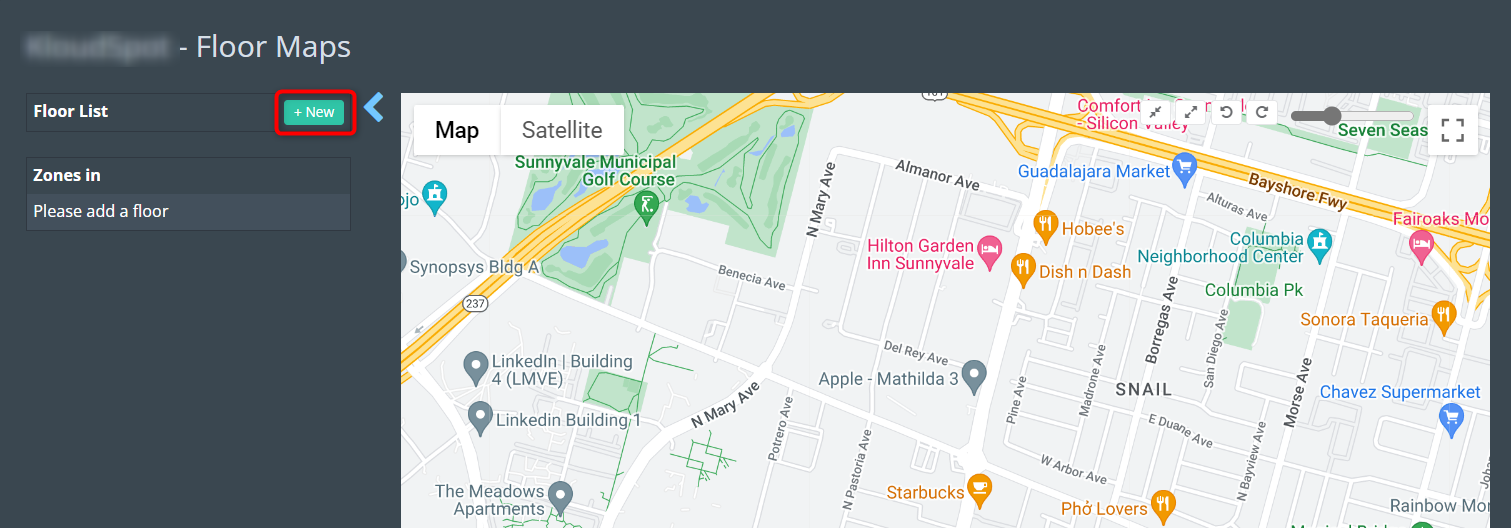
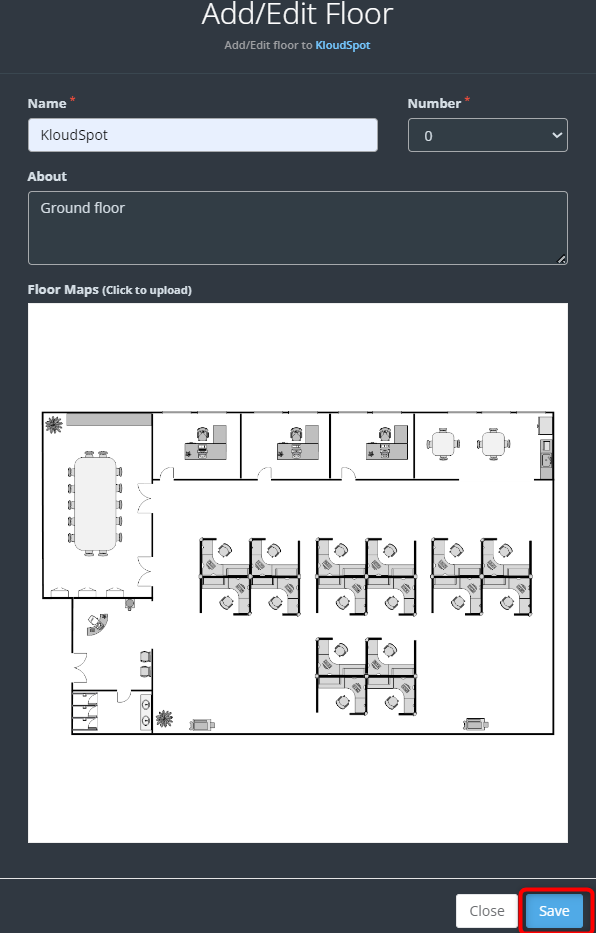
- When adding a new floor, enter the floor name and floor number. To include a map, click on the “Floor Maps” button and upload the map.
- You can use the “Draw a Shape” tool to define zones on the map for more level of detail.
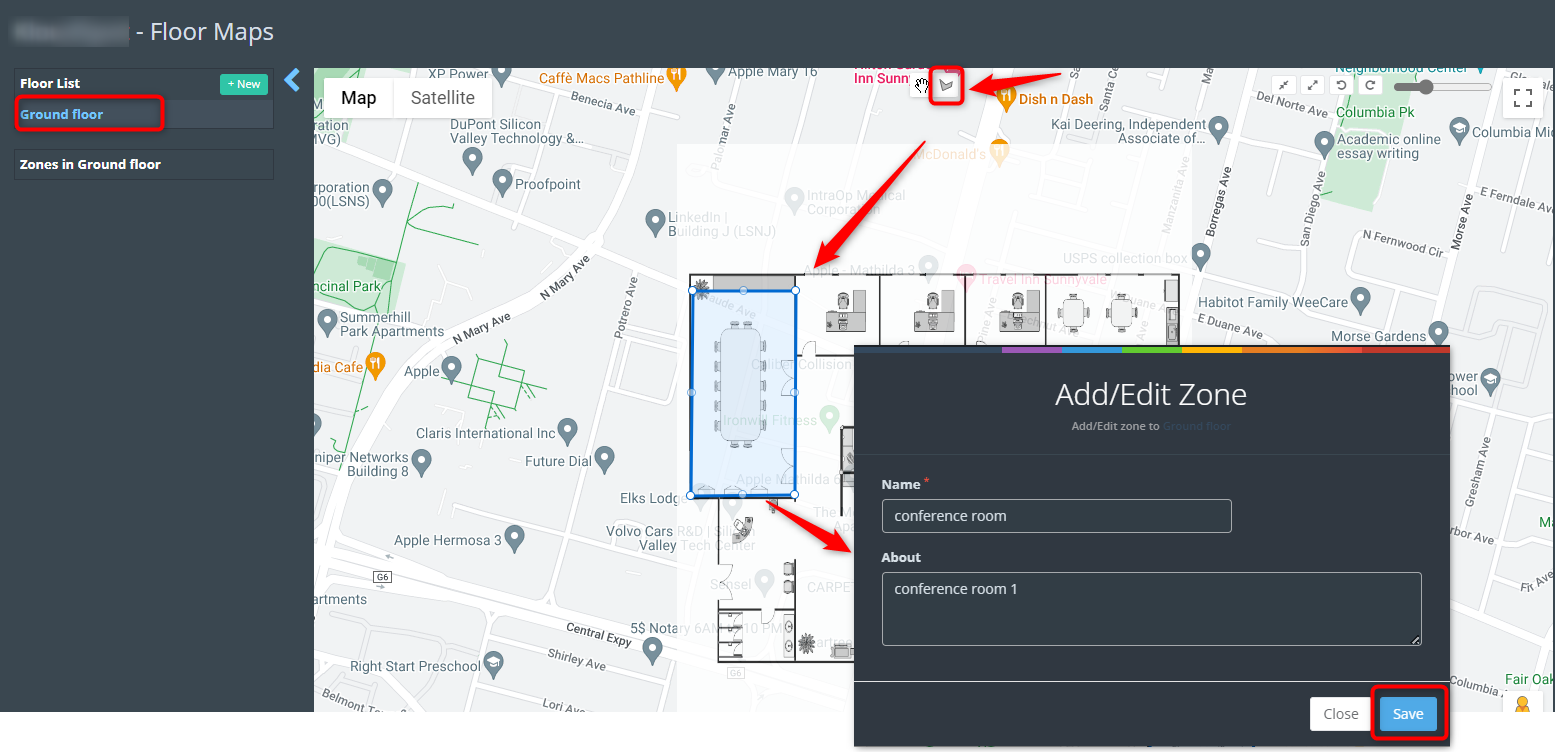
- All venues can be viewed in the Map View tab. Click on a specific location to access various insights presented in graph form.

- Following the addition of users and venues, proceed to configure the settings menu according to your specific requirements. For more detailed information, refer to the Account Settings section.