EnGenius Configuration
Introduction
Services such as CRM tools, presence analytics, or location-aware services need to constantly collect data. EnGenius Cloud Access Points are sufficient for this. EnGenius Presence Service, continuously gathers data and sends the data to KloudInsights.
For this, the device needs to be registered on the EnGenius portal and KloudInsights. This document describes how to do this.
Step 1: Register a device in the EnGenius portal
Before adding the access point to KloudInsights, the device needs to be registered in the Engenius portal. Refer to the Engenius help files to learn how to register a new device.
https://docs.engenius.ai/cloud-white-papers/presence-service
The server location requested during registration will be in the given format.
https:/engenius/events
Step 2: Add a new AP to the Insights location
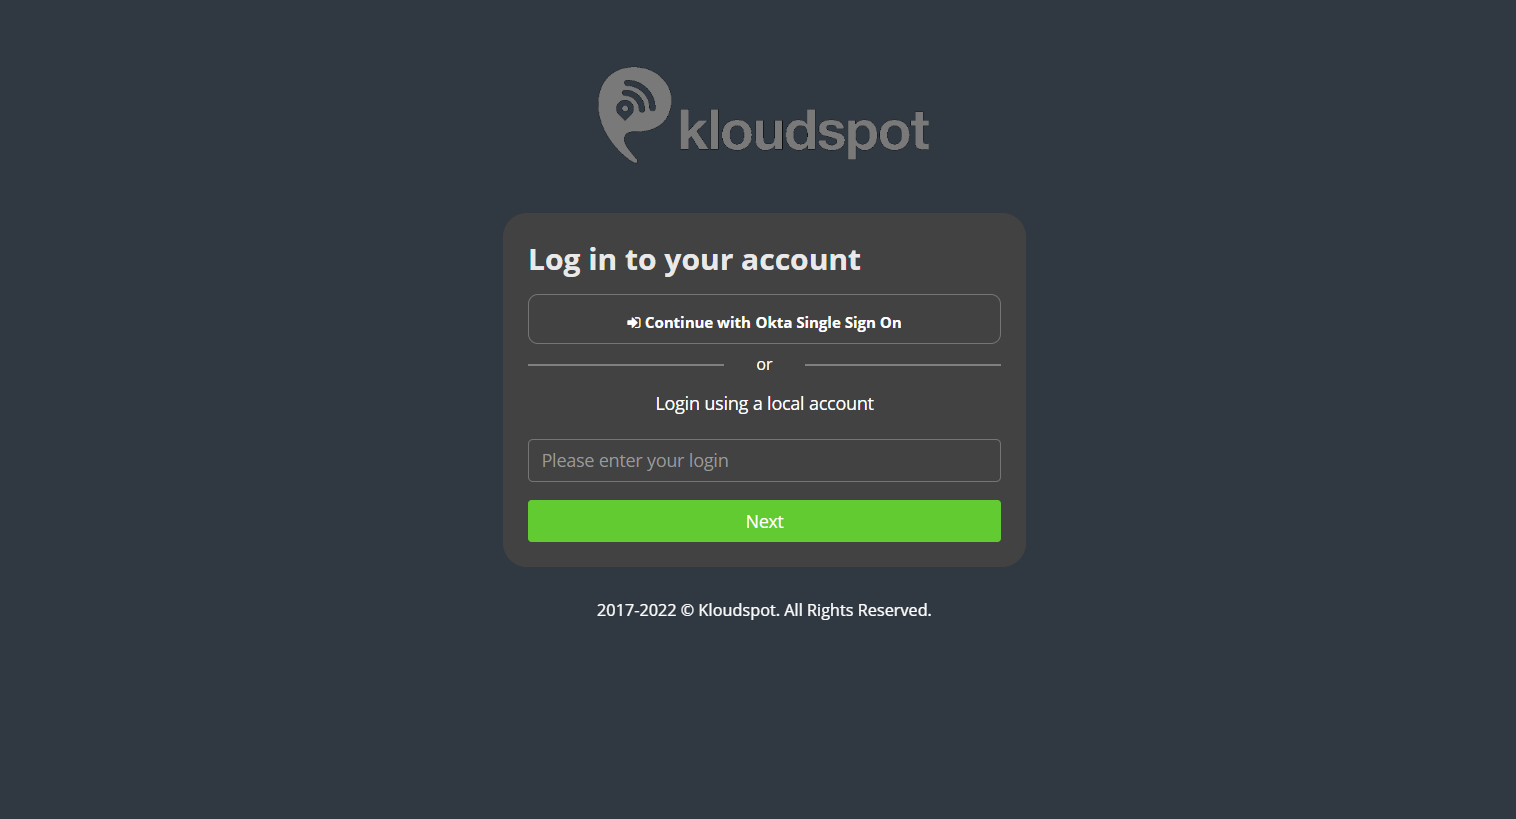
- After configuring the device in the EnGenius portal, the next step is to add the device to Insights. To do so Log in to KloudInsights.
2. Then navigate to Configuration > Location > (Select location) > Access Points.
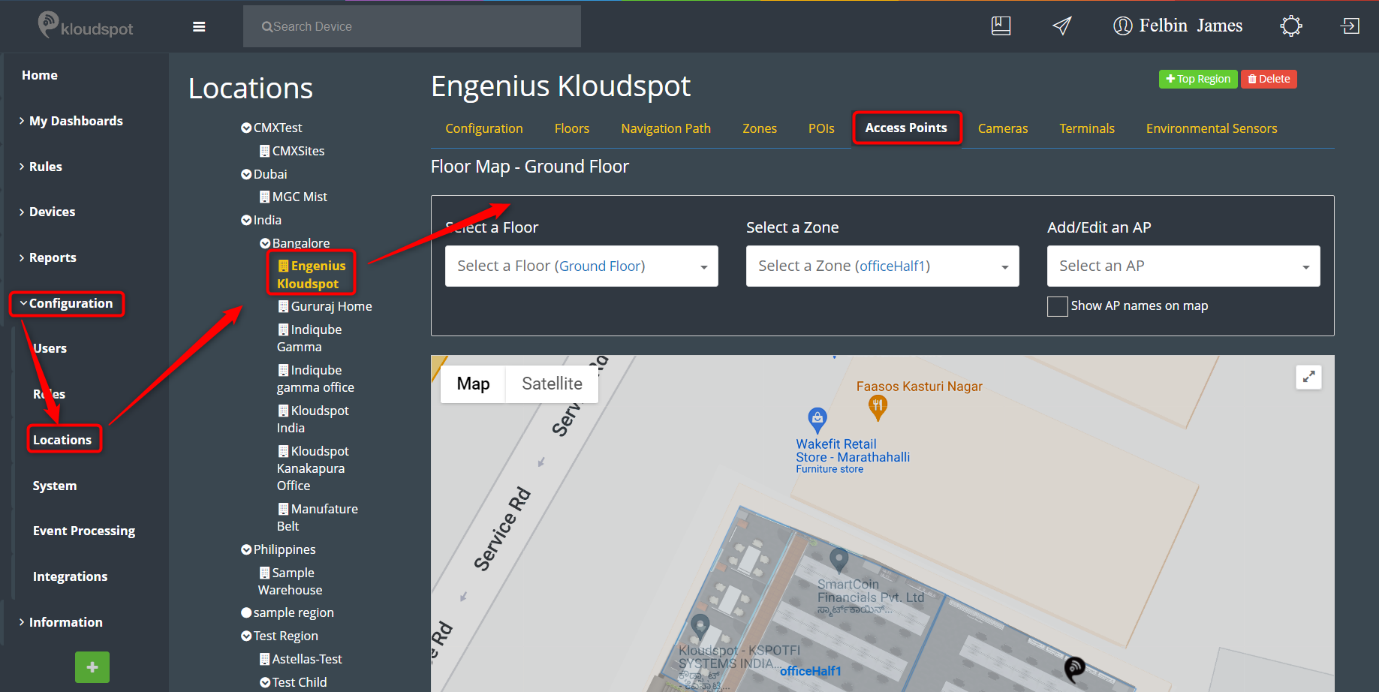
3. Select the floor and zone to which you want to add the access point from the newly opened window.
4. Then click the Add AP button from the Add/Edit an AP dropdown menu.

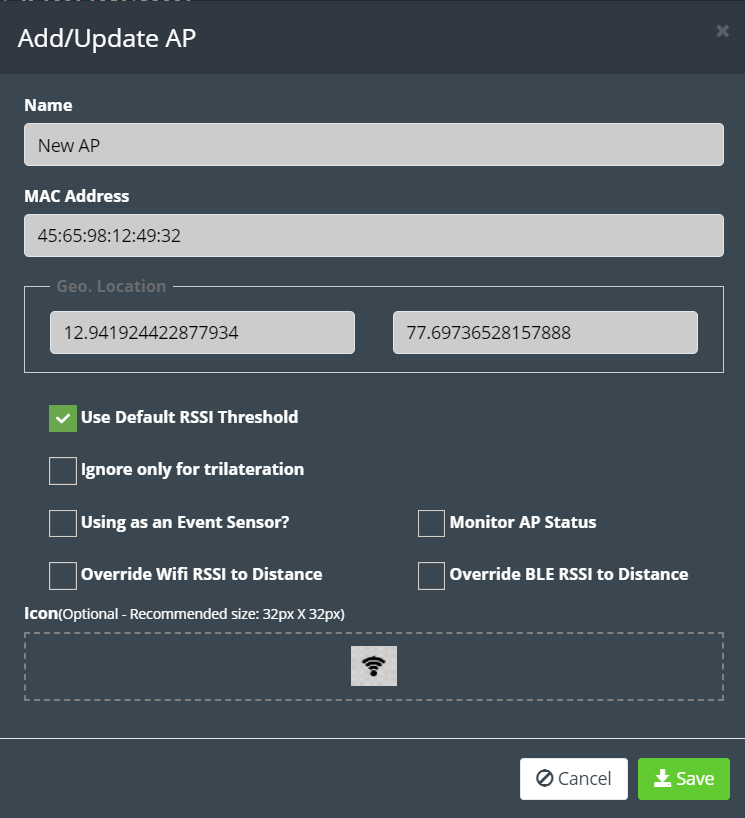
5. In the popup window that appears, add the Name, Mac address and Logo.
Note: In Mac address field, you must enter the radio Mac address.
6. Then click the Save button to save the changes.
Note: To learn more about adding an access point, check the Insights admin manual.
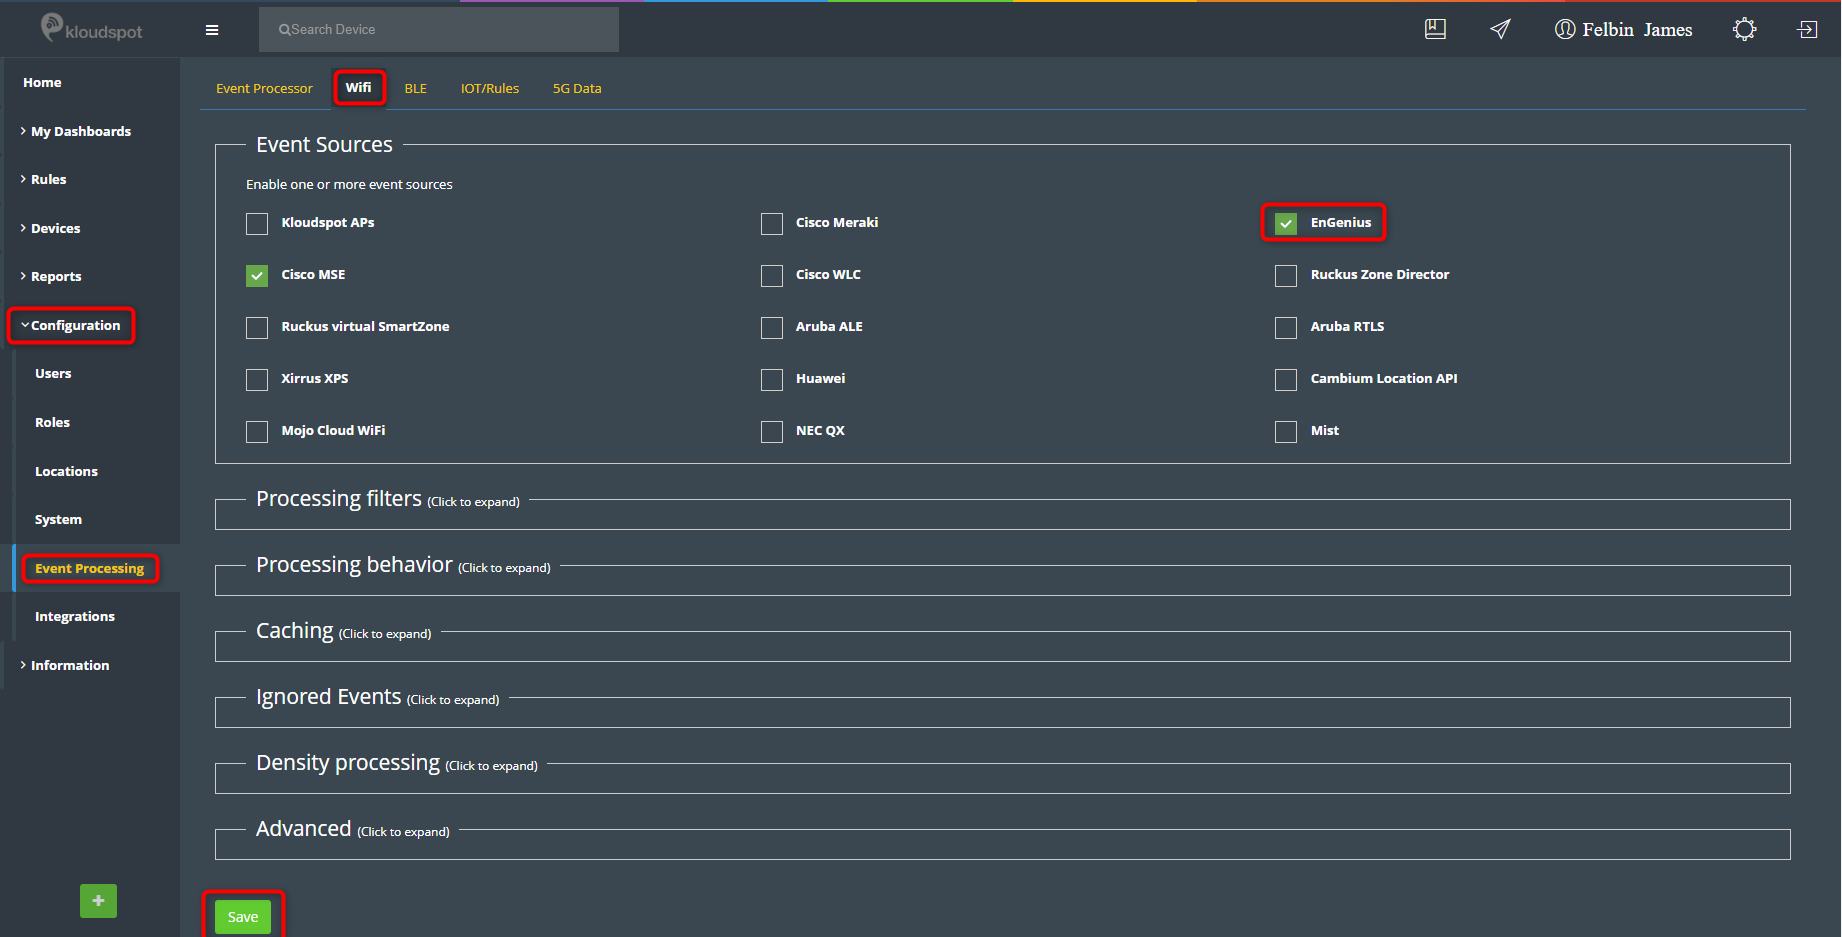
Step 3: Enable Engenius in KloudInsights
- Data analysis is only possible if EnGenius data processing is enabled. To do so, follow the steps below.
- Navigate to Configuration > Event Processing > Wi-Fi tab.
- Enable EnGenius under Event sources and click the Save button.
- Once enabled, you can use the information received from the Access point to create a variety of widgets.
Note: Check the Insights Admin guide for more information about widgets.