Create Profile Info
Provide essential information about yourself in your profile. From professional details to personal interests, create a comprehensive profile that showcases who you are.
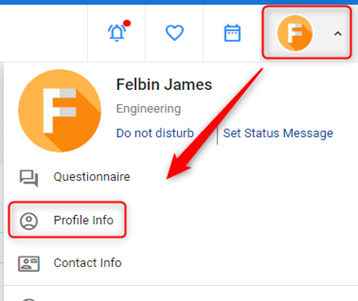
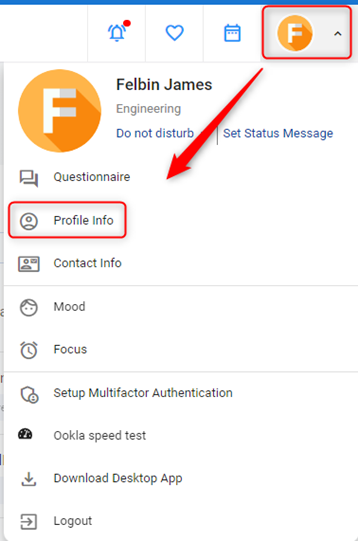
- Navigate to the Avatar button.
- Then click on the Profile Info button. This will take you to the Profile info page. This page contains the below options.
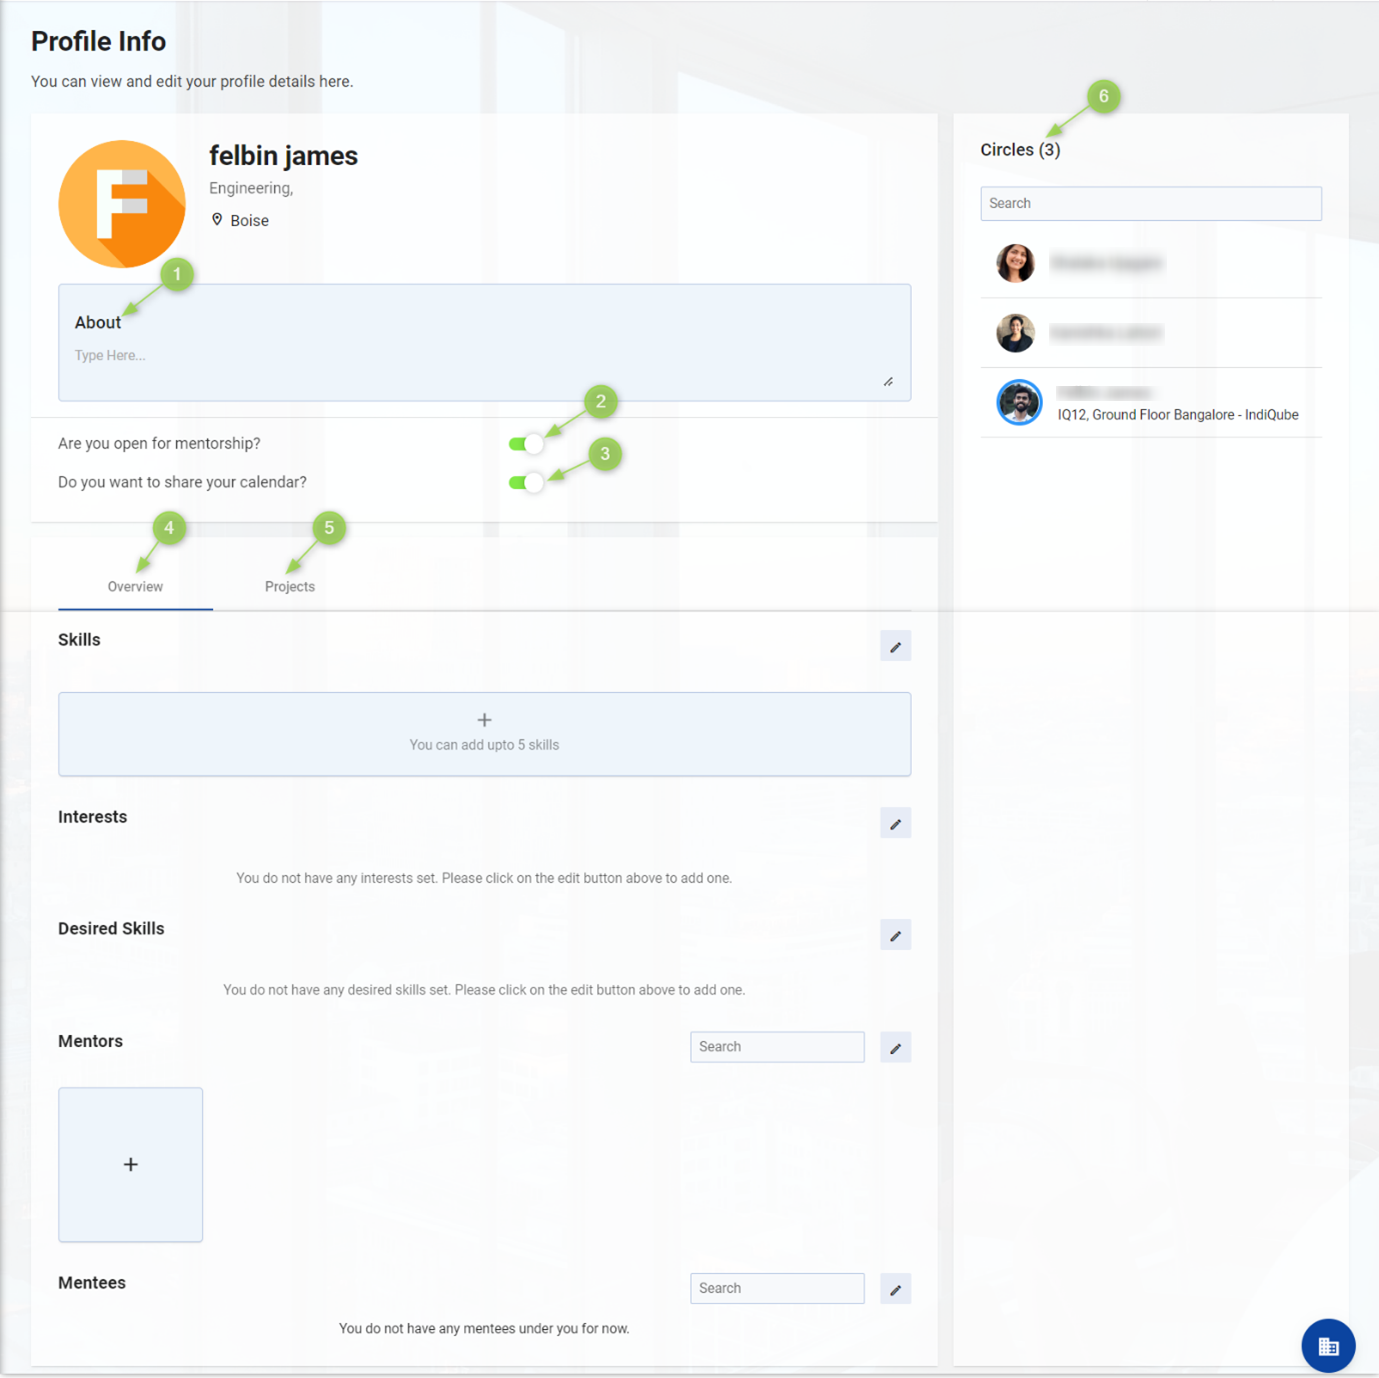
1. About
- In this section, you can briefly describe yourself.
2. Enable mentorship
- If you want to share your knowledge with others, you can enable this button. It will be enabled by default. You can turn it off if necessary.
- By enabling this, others will be able to add you as a mentor.
3. Share your calendar
- By enabling this, others will be able to see your calendar.
4. Overview Tab
- Here you can add skills, Interests, desired skills, and mentors.
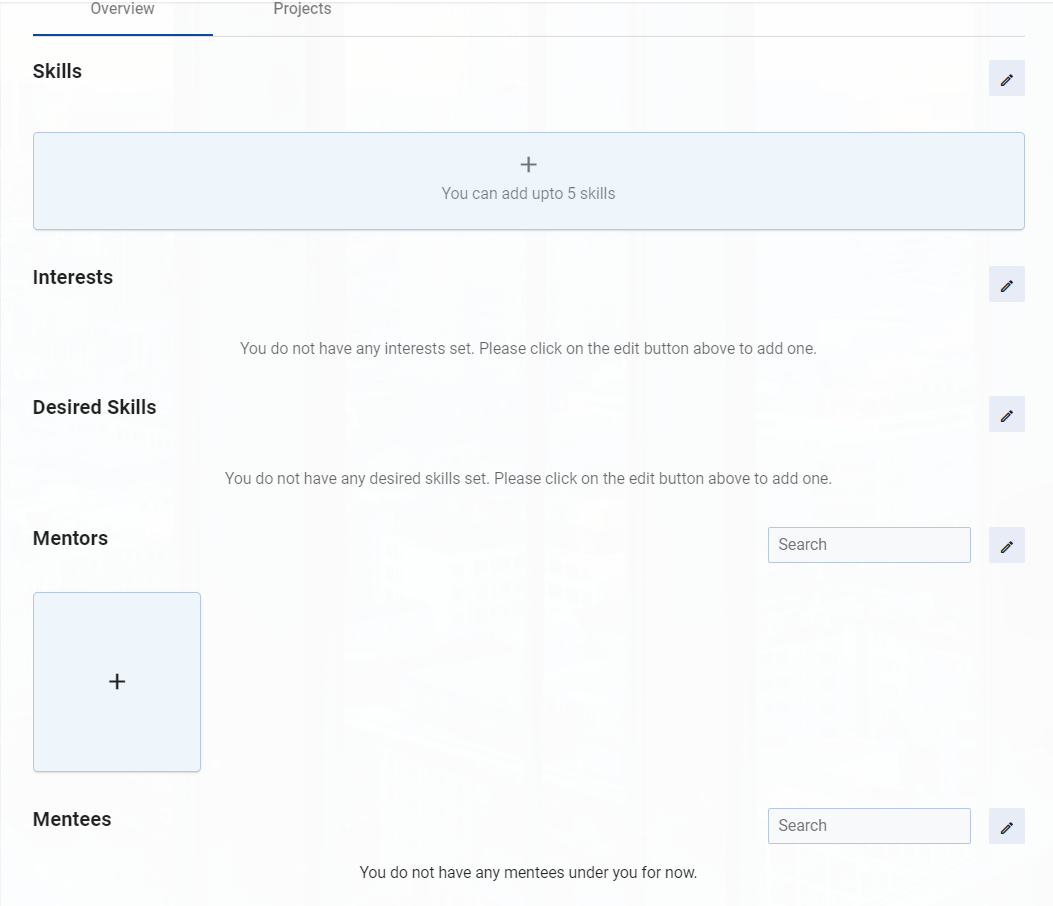
How to Add Skills?
- Click on Add button.
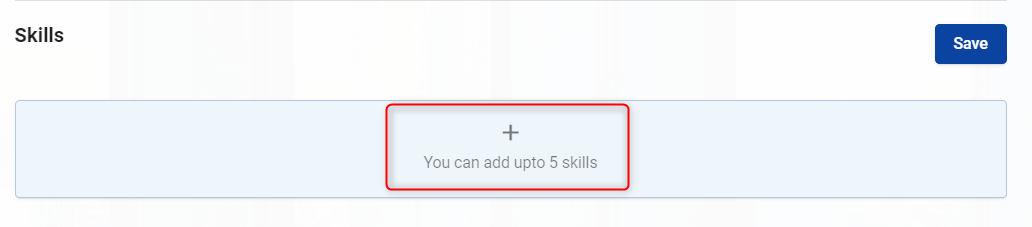
-
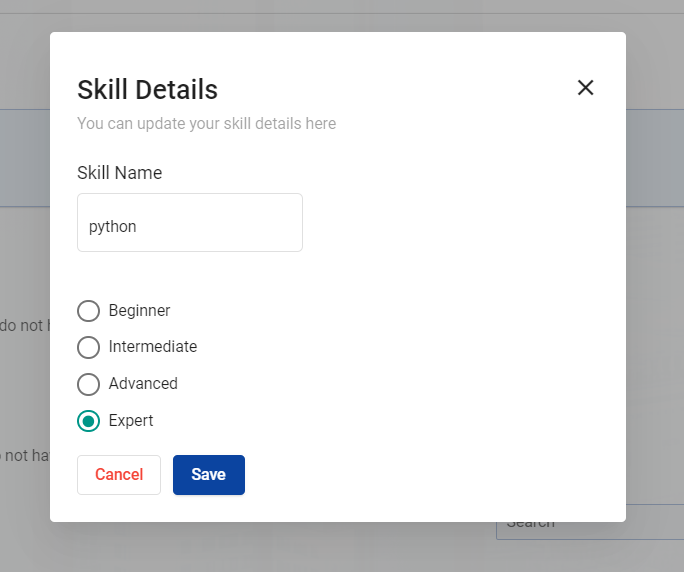
Skill details pop-up window will appear.
-
Enter the first few letters of the skill you want to add, then choose it from the dropdown list that appears. Then select your level from the Level checklist.
Note: Only the skills that the admin has added to the skills list can be added to it.
- Click on the Save button. A new skill is added successfully.
How to Add Interests?
- Click on Edit button.

-
An editable text box will open.
-
Enter your interests and press Enter Key.
-
Click on the save button. New interests are added successfully.

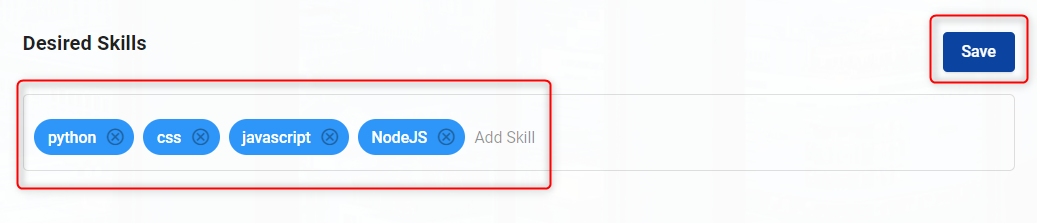
How to Add Desired Skills?
- Click on the Edit button.

-
An editable text box will open.
-
Enter the first few letters of the skill you want to add, then choose it from the dropdown list that appears.
Note: Only the skills that the admin has added to the skills list can be added to it.
- Click on the Save button. A New Desired skill is added successfully.
How to Add Mentors?
- Click on Add button.
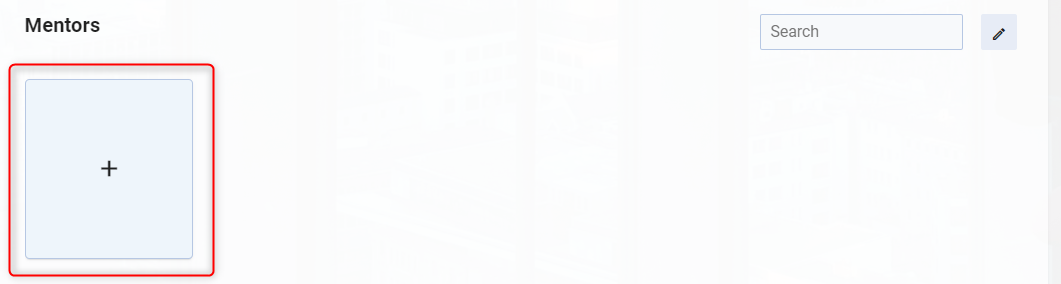
-
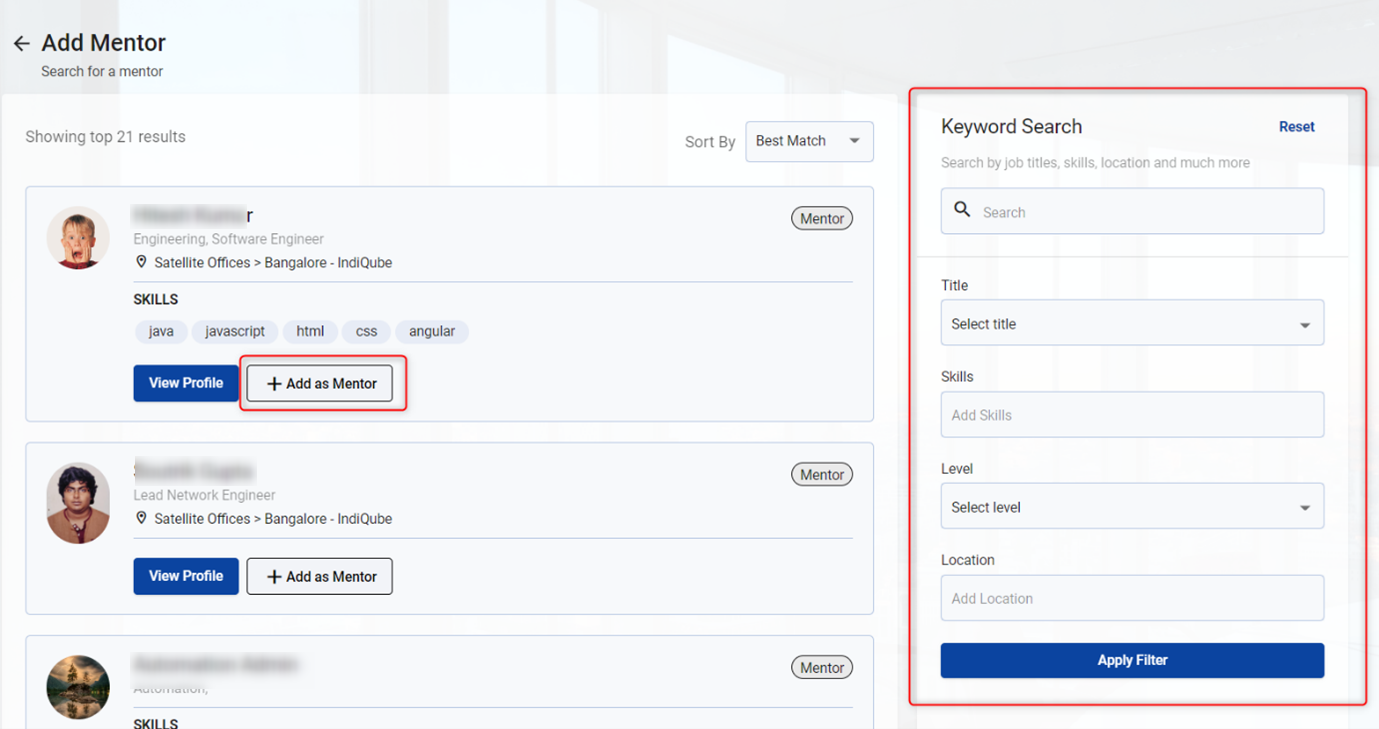
Add Mentor window will appear. This window contains a list of people who want to be mentors.
-
Select the person you want to add from the list by clicking on the + Add as mentor button. It can also be filtered by name, title, skills, level, and location.
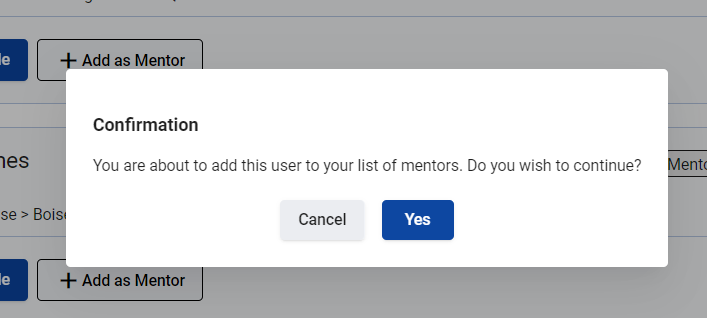
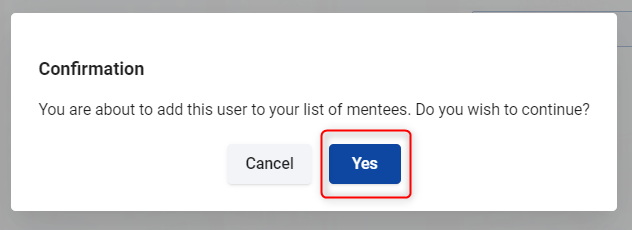
- After clicking on the + Add as mentor button, click the yes in the confirmation popup window that opens.
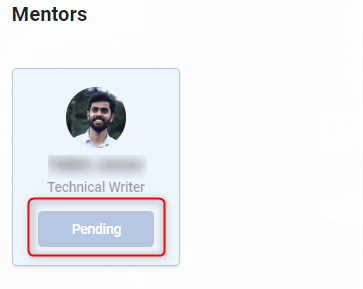
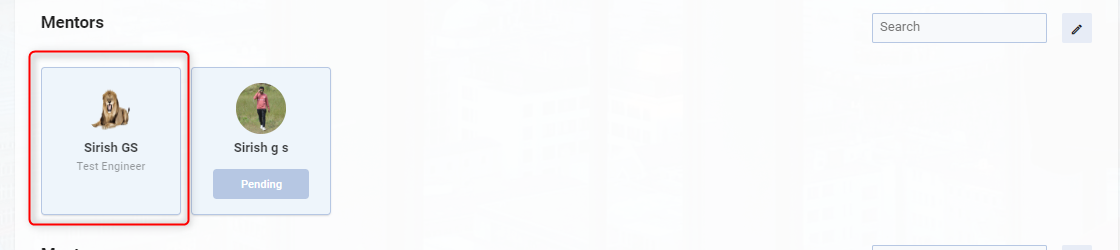
- As soon as it is added, a notification will be sent to the mentor’s email address. Until the mentor accepts it, the status will be pending.
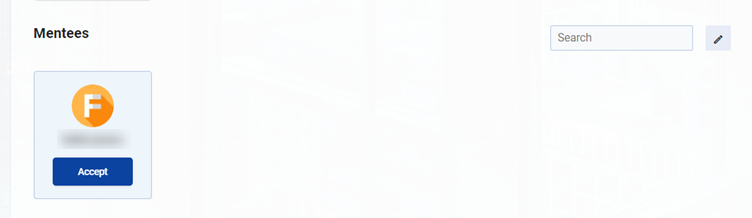
How to accept mentor request?
- Navigate to Avatar Button > Profile info. Then scroll down and find the new request in the mentee section.
- Click on Accept button, then click yes in the confirmation popup window that opens.
How to set up a meeting with a mentor?
- A meeting with the mentor can be scheduled if the mentor’s assistance is required in any situation. Click on the mentor’s name
or
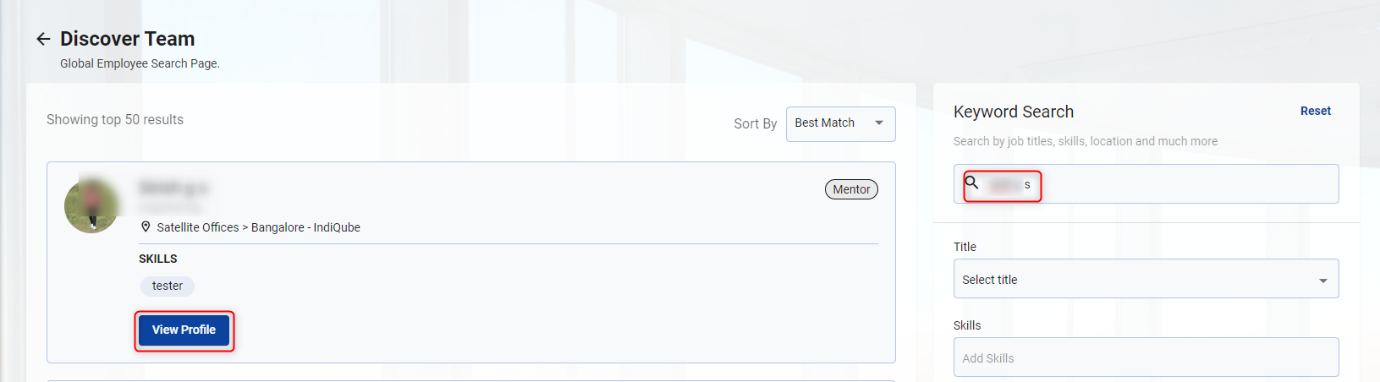
- Navigate to My Office > Company Hub > Discover.
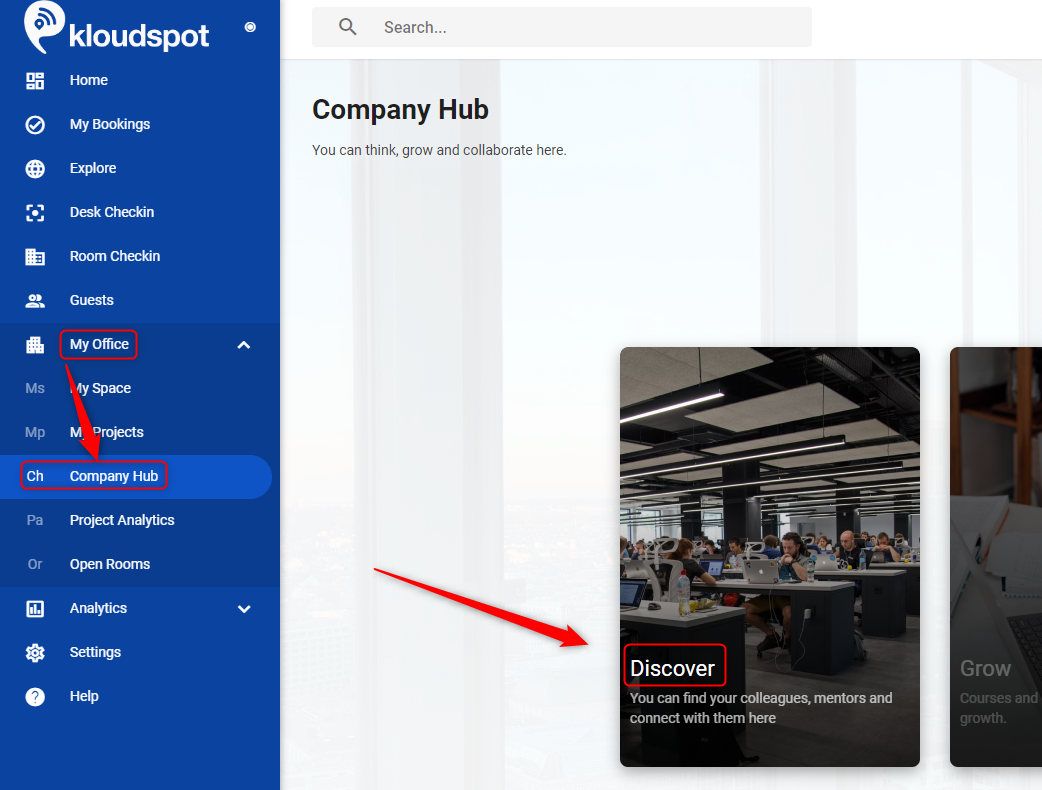
- Then search the mentor’s name in the window that opens and click on the View Profile button.
- Then, in the profile information window, choose a date and time from the available sessions. After you have chosen a time, click the Confirm button in the popup window that appears.
Note: Only those who log in using external authentication can see the mentor’s calendar.
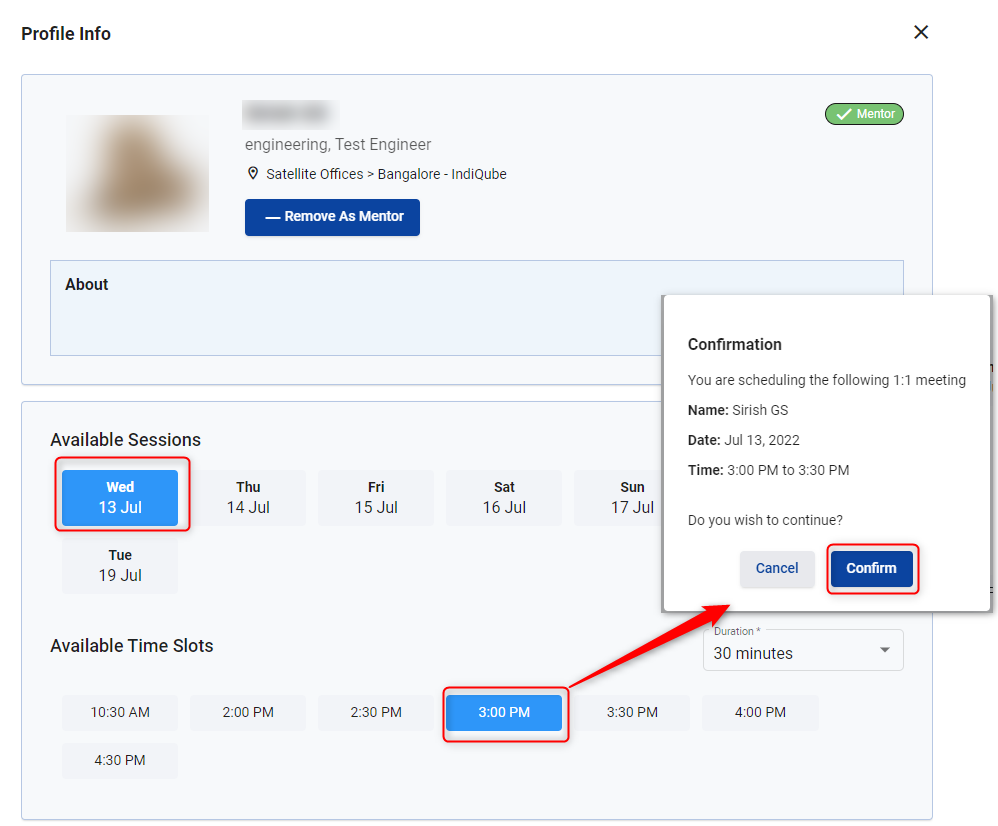
- The mentor will receive the notification of the meeting by mail. He can accept it and confirm the meeting.
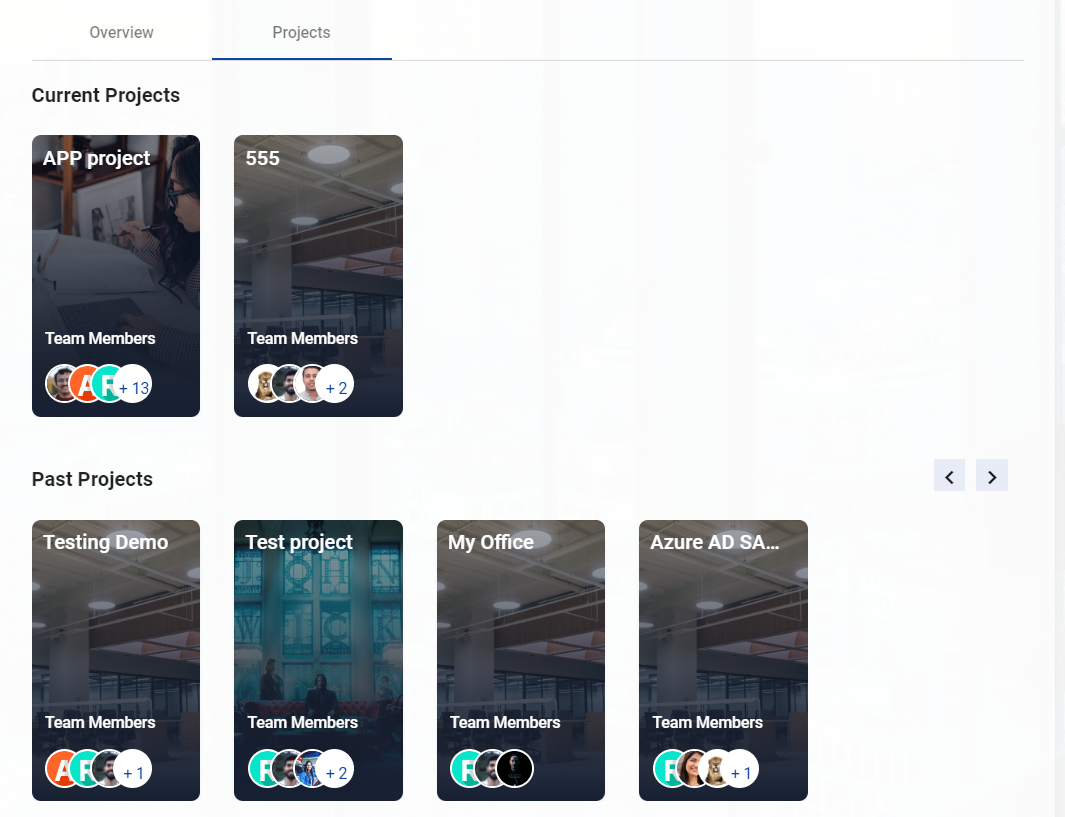
5. Projects Tab
It is useful for viewing current and previous projects.
Note: Only accounts with the My office feature enabled can see the Project tab. To learn more about and enable the My Office feature, contact your Kloudspot representative.
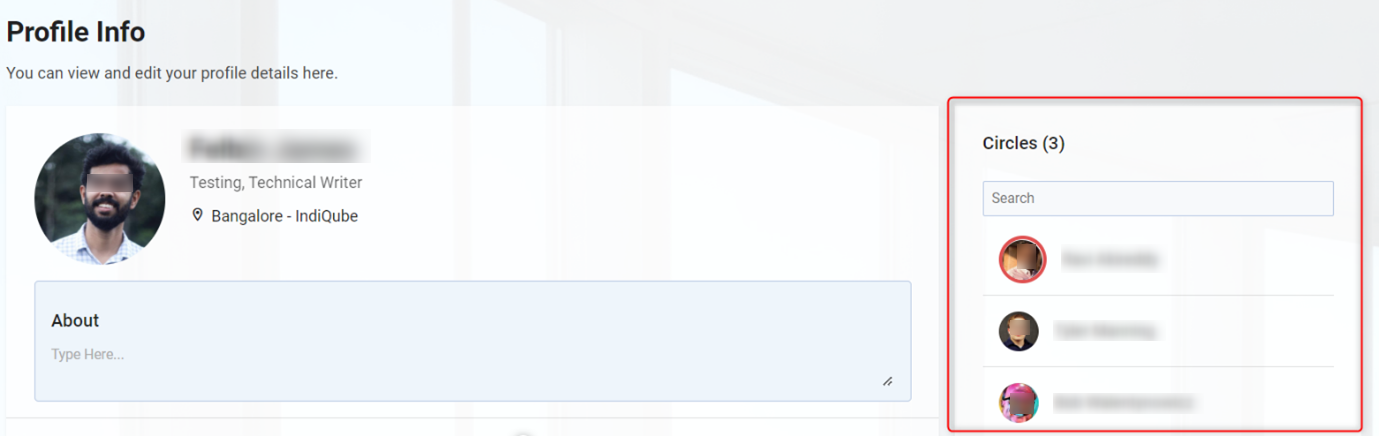
6. Circles
This function displays the profiles that have been added to my circle.