Configure Settings menu
Once you have set up your profile, the next step is to customize your KloudHybrid experience by configuring your preferences. This includes setting UI preferences, notification preferences, and managing authorized users. For detailed instructions on how to do this, please refer the following guide.
Please refer to the tutorial video page for related video tutorials.
The “Settings” page permits to make the social and official networks which in turn enables to make the necessary configurations for KloudHybrid/other applications.
The “Settings” page contains 2 tabs. They are:
- Preferences
- Bookings
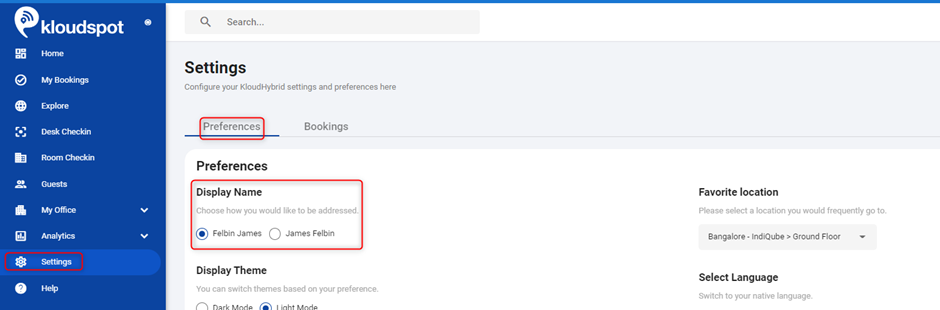
Preferences tab
You can choose the options for different settings based on your requirements.
Display Name
- You can select the name which is to be displayed in home page. Normally two combinations are available. First name > Last name, Last name > First name.
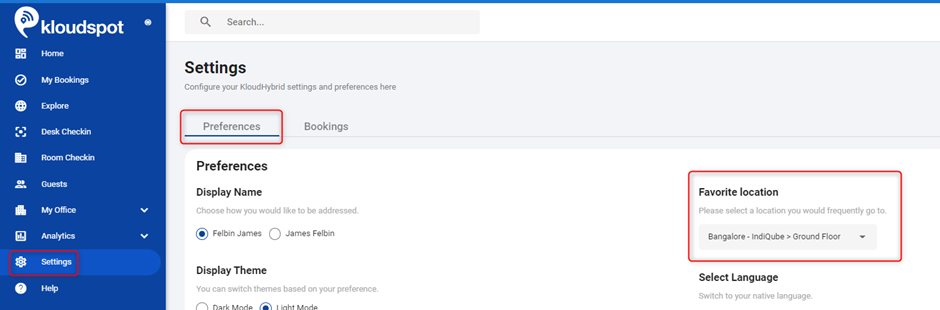
Favorite location
- You can select your location from the dropdown list, which you are frequently visiting, or your favorite location when you book a virtual location.
- When you are booking next time, it selects your favorite location by default. You can either retain the same or select a new location while booking a new seat.
Display Theme
- You can select either Dark Mode or Light Mode as a Display Theme. By default, Light Mode is selected.
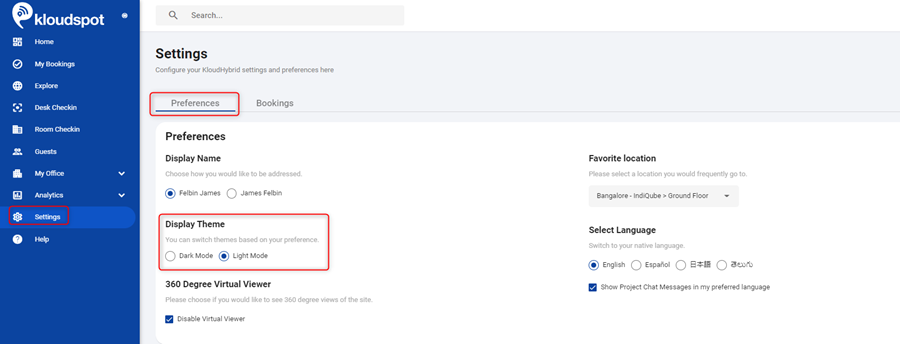
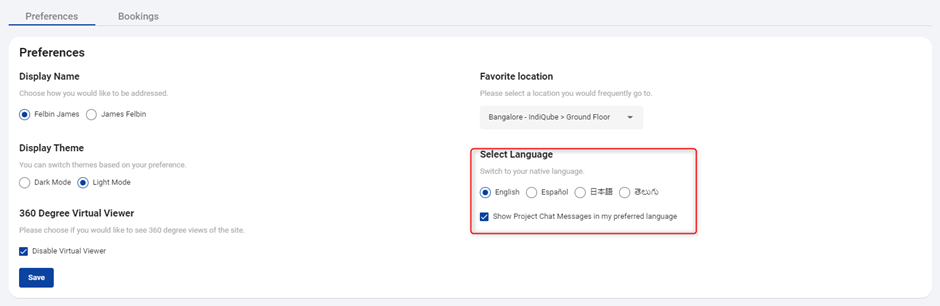
Select Language
-
You can select the preferred language.
-
To translate the chat messages to the selected language, check the box below.
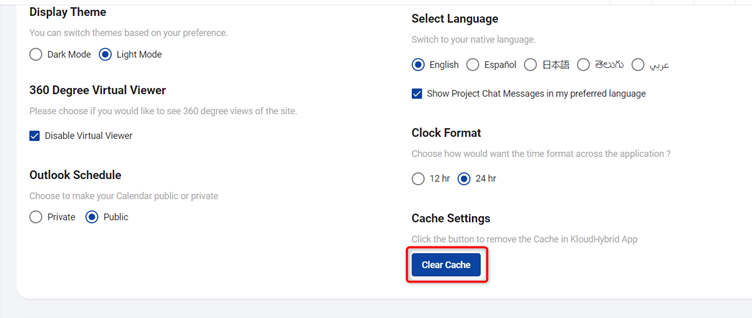
Clock Format
- It allows the user to customize the time format. This will convert all time formats in the application to the selected format.
- If you want a 12-hour format, check the 12 hr checkbox and click the Save button.

- If you want a 24-hour format, check the 24 hr checkbox and click the Save button.

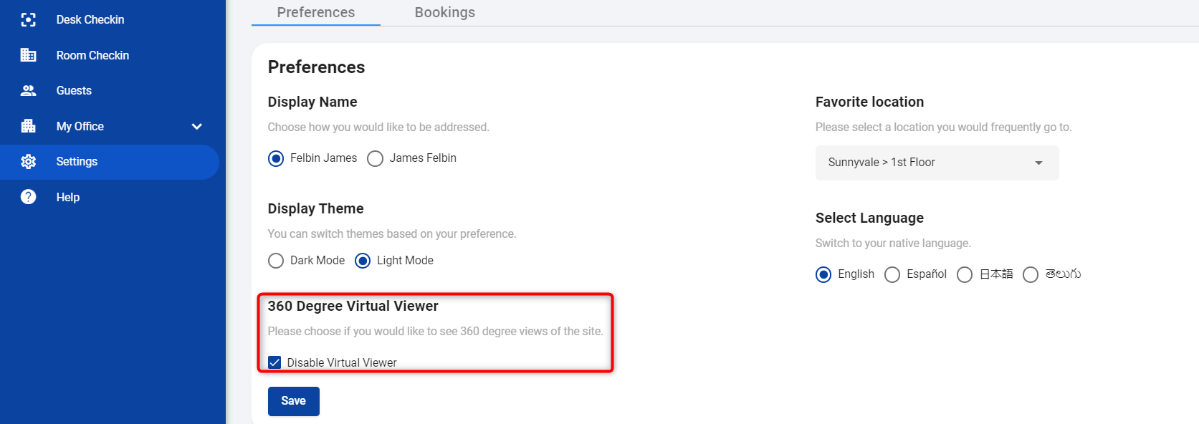
360 Degree Virtual Viewer
- To turn off the 3D view of checked-in seat. Check the “Disable Virtual Viewer” box and then click the Save button.
Enable Outlook Schedule on your profile card.
-
By enabling this feature, users can display their Outlook calendar on their profile card, allowing others to view their availability.
-
Prerequisites: Log in to the hybrid with a Microsoft OpenID Connect.
-
Then, navigate to the Settings menu.
-
Within the Settings menu, locate the “Preferences” tab.
-
Under the “Preferences” tab, find the “Outlook Schedule” section.
-
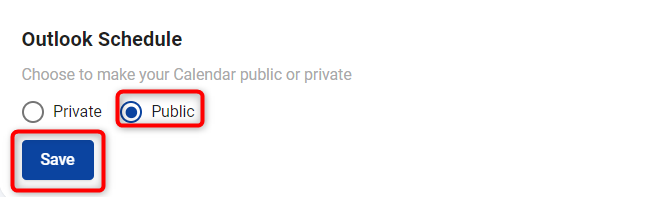
In the “Outlook Schedule” section, you will see two options: “Private” and “Public.”
Private: By selecting this option, you can disable Outlook calendar.
Public: If you choose this option, others will be able to view your Outlook calendar on your profile card.
-
To enable the Outlook schedule on your profile card, check the “Public” checkbox and click the “Save” button to save the changes.
Note: This feature can only be enabled and viewed by logging in with Microsoft OpenID Connect. Users logging in with a username and password cannot utilize this feature.
Cache Settings button
Note: Please be aware that the web version of KloudHybrid does not include this feature. This button can only be accessed and utilized in the installed version of the application.
The Cache Settings button in KloudHybrid App is a powerful feature that allows users to efficiently manage their cache. Cache is a temporary storage area where data and files are stored to optimize the performance of the application or system.
When you use KloudHybrid, certain files and data are stored in the cache to ensure faster access in the future. However, as time goes by, the cache can accumulate a significant amount of data, including outdated or unnecessary information. With the Cache Clear button, users can easily remove this stored cache data. By clicking on the button, you can effectively delete temporary files, freeing up valuable storage space and potentially resolving any issues related to outdated or corrupted cache data.
It’s important to note that clearing the cache also clears your login Single Sign-On (SSO) data, which means you can log in to another user’s account using the same application. However, it does not affect your personal settings, preferences, or any crucial data stored within the application.
Notifications
notice You can turn ON or OFF the notifications for the upcoming booking, events, meetings, etc. You can choose Email/SMS/Push or all to receive the notifications. This is not applicable for iOS devices such as iPad, iPhone, etc.
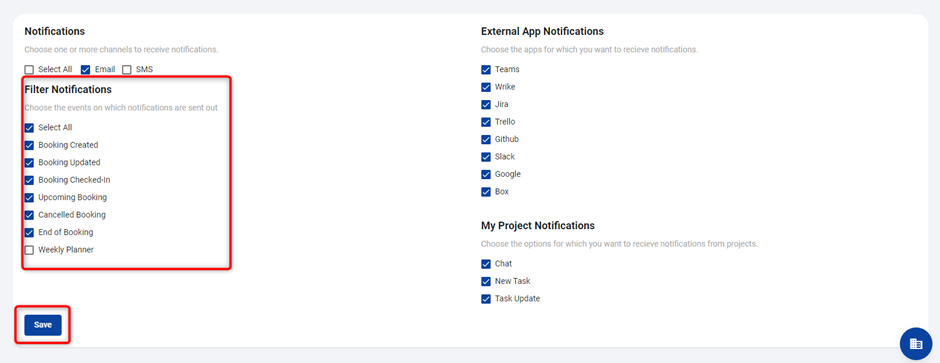
Filter Notifications
You can choose the options on which the notifications are to be sent. Select the provided options/events by selecting the checkbox(s) to get a notification from the selected channel(s).
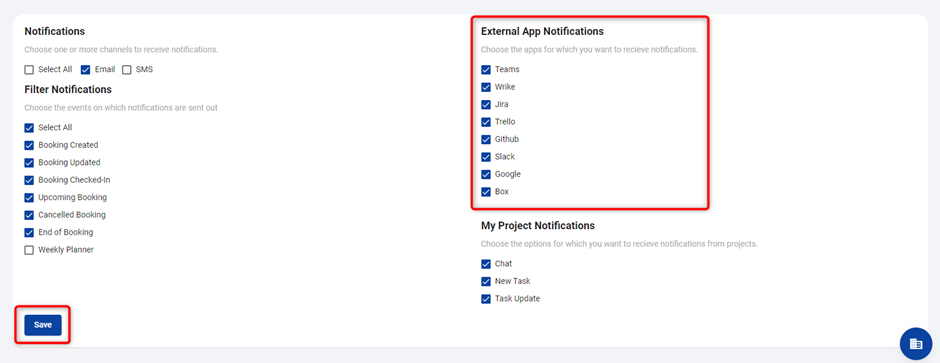
External App Notifications
- It can be used to get notifications of apps added to the project.
- Select the required external apps and click Save button.
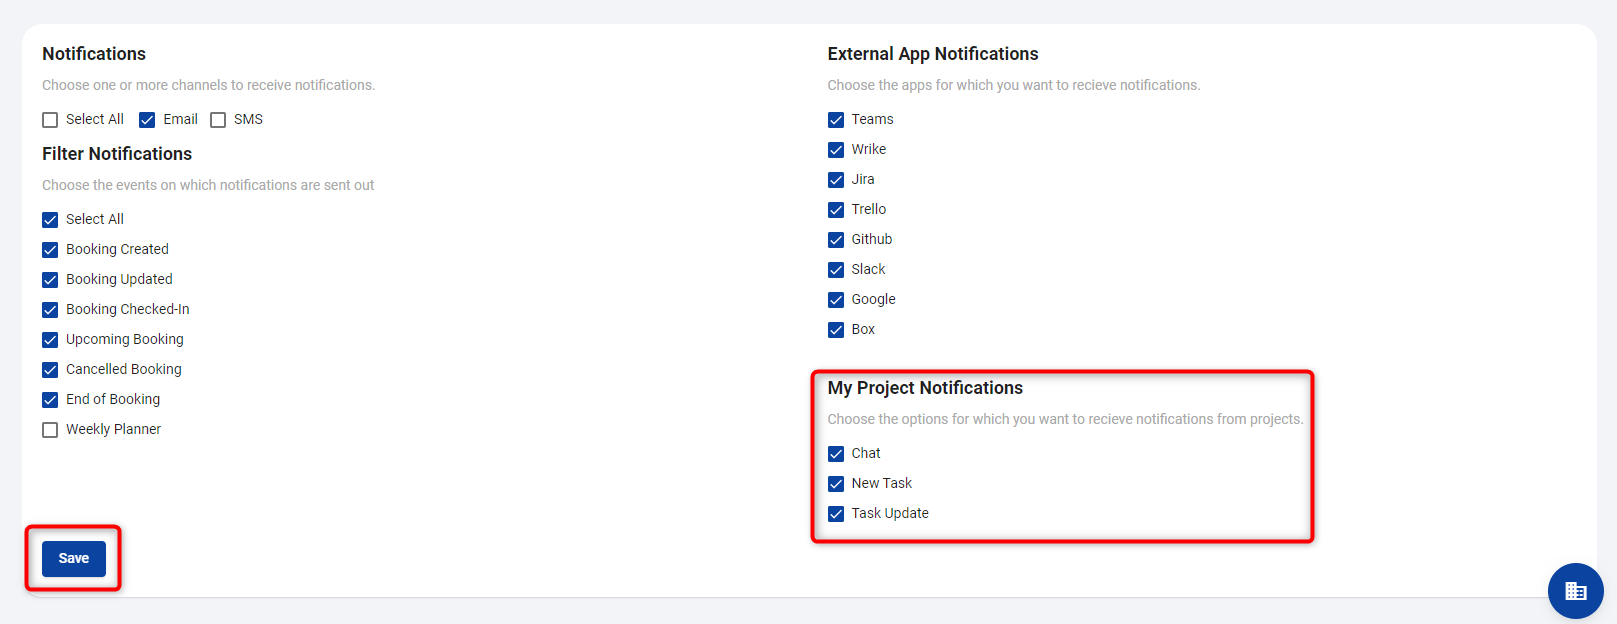
My project notification
It can be used to get Project related notifications. Select the required options and click the Save button.
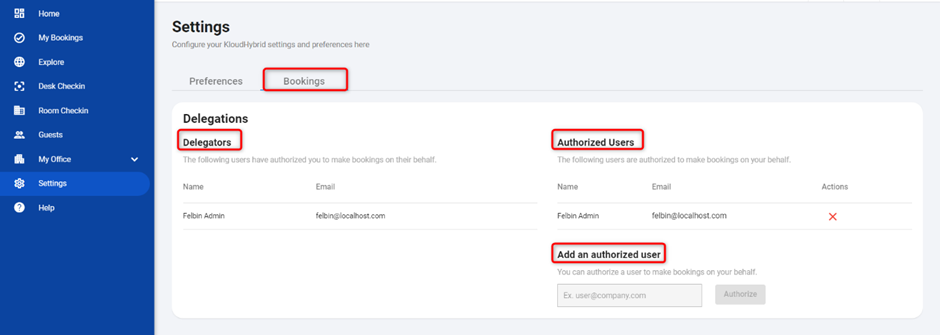
Booking tab
Displays your “Delegated” and “Authorised” users. It also allows you to add an “Authorised” user. Refer figure for details.
Delegators
List the user(s) who have authorized you to make bookings on their behalf.
Authorized Users
Displays the user(s) is(are) who are authorized to make bookings on your behalf.
Add a delegate user
You can authorize a user to make bookings on your behalf. You can add the authorized user in the text box and click Authorize. The added users are displayed in the Authorized user’s list.