Seat Management
To modify existing infospots created during the Hybrid office setup or to assign seats to specific users, follow the instructions in the Seat Management document. You can refer to the Adding Infospots section in the Creating Your Hybrid Office guide for creating new infospots.
In addition to this, refer to the following steps to understand how to take a seat offline and permanently assign a seat to a user.
Taking seats offline or editing existing seats
- The added seats can be modified as needed. To do so, follow the steps below.
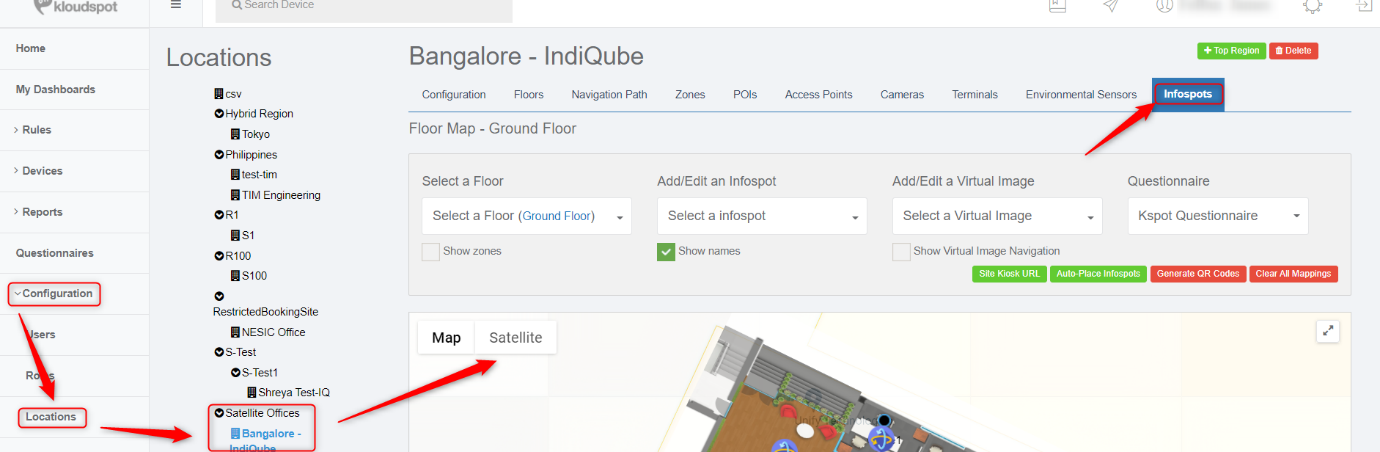
- Navigate to the Advanced settings and then go to the Configuration > Location > click on your site > Infospots tab.
- Select a floor from the drop-down menu.
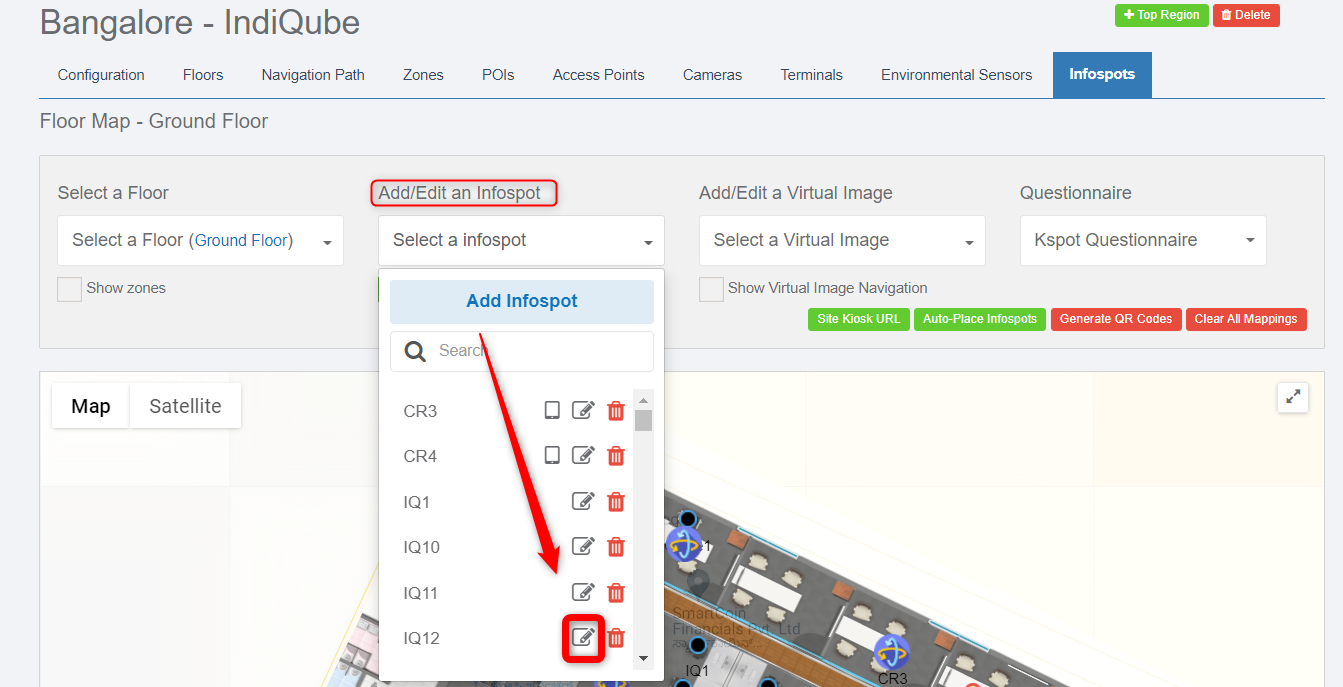
- Click on Add/Edit an Infospot dropdown menu. Then click on the Edit button next to the infospot you want to edit.

-
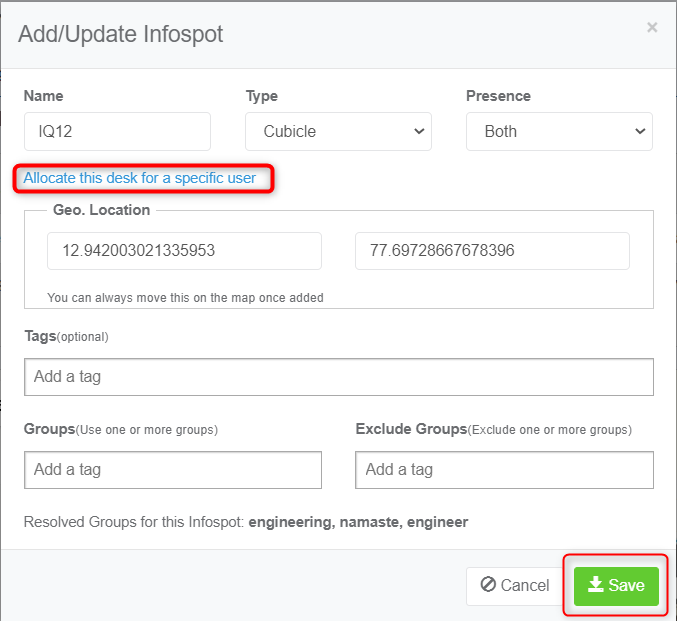
Add/Update Infospot window will open. Here you can edit the seat information. Check out the adding infospot section to learn more about infospot.
-
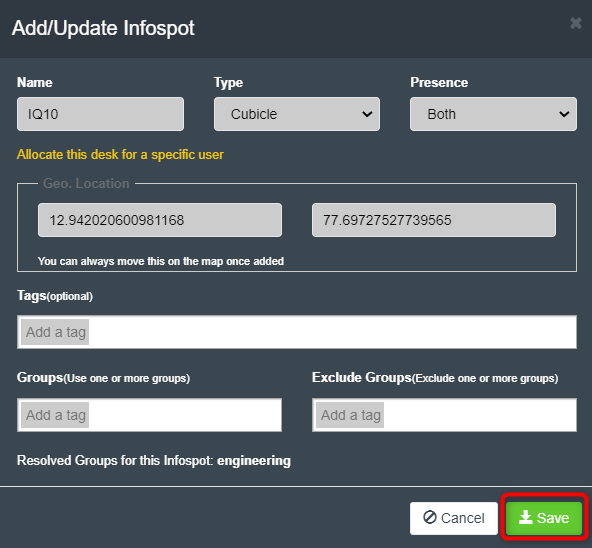
To take a seat offline change the Presence to “none”
-
Click the Save button to save the changes.
Assign a permanent seat to a person
- Navigate to Advanced Settings > Configuration > Locations > (Select your location) > Infospots.
- Select the Infospots from the Add/Edit infospot dropdown list and click on the Edit Infospot button.
- Then in the window that opens, click on the Allocate this desk for a specific user button and enter the name of the user. Then click Save.