Booking restriction
To impose booking restrictions in your office, you can follow the instructions given below.
Add booking Restriction
- This allows you to add conditions to a user’s booking.
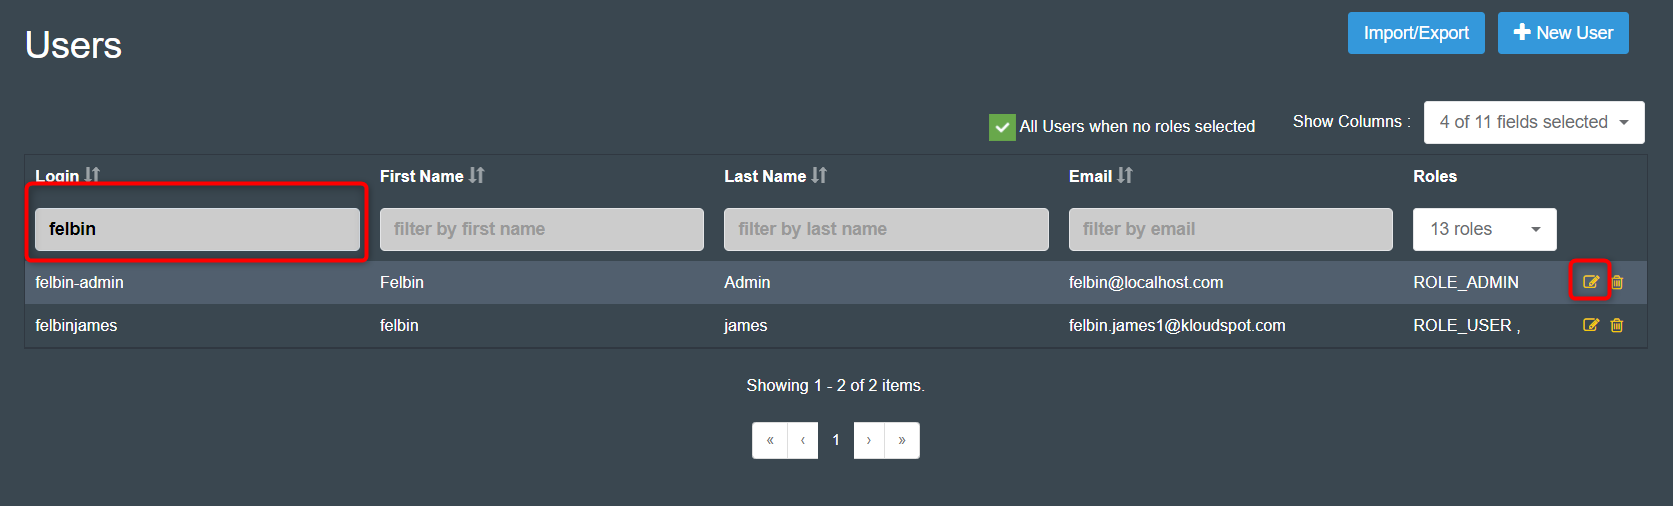
- To add restrictions. Navigate to Advanced Settings and then go to Configuration > Users.
- Search for the user to whom you want to apply the Restriction and then click the Edit button.
-
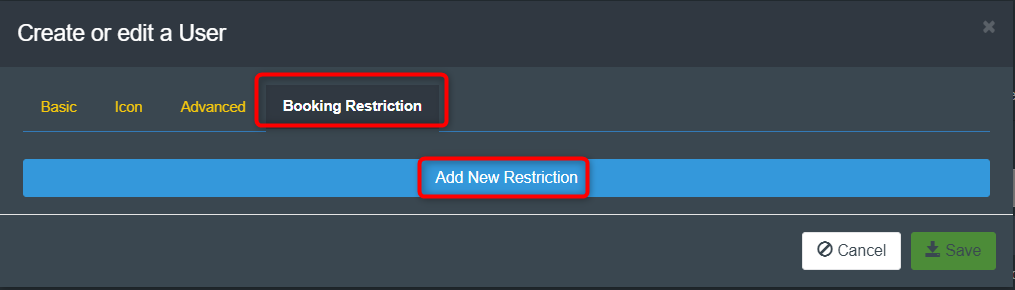
The Create or edit a User window will open. Click the Booking Restriction tab from the window.
-
Click Add New Restriction button to add restriction.
-
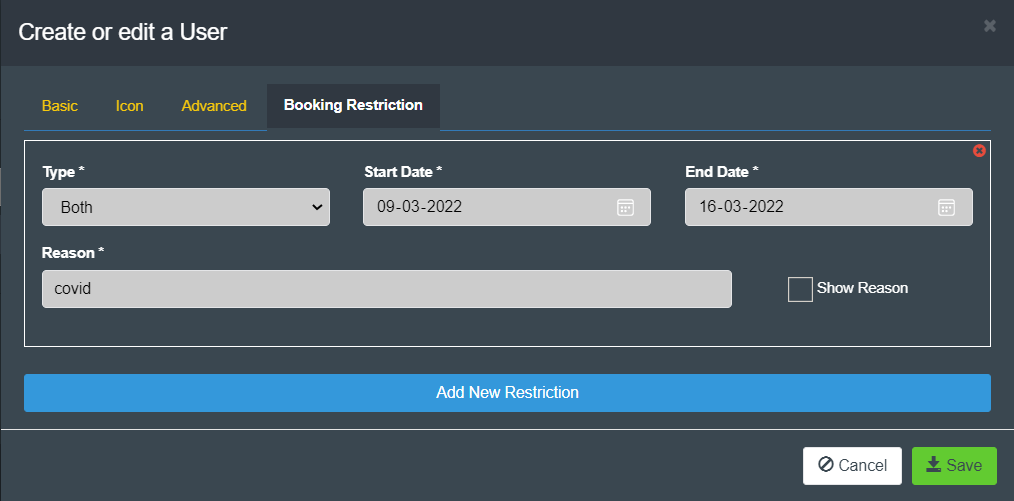
Select the Type from the dropdown menu. 3 types are available. Both, physical and virtual.
-
Both: Prevent the user from making all kinds of bookings.
-
Physical: Prevents the user from making physical bookings.
-
Virtual: Prevents the user from making virtual bookings.
-
-
Choose the Start Date and End Date from the calendar dropdown.
-
Explain why the restriction was imposed in the reason text box.
-
Check the Show Reason checkbox if you want to show the reason when the user attempts to book a seat.
-
Click the Close button at the top right corner to delete the restriction.
-
Click the Save button to save the restriction.
-
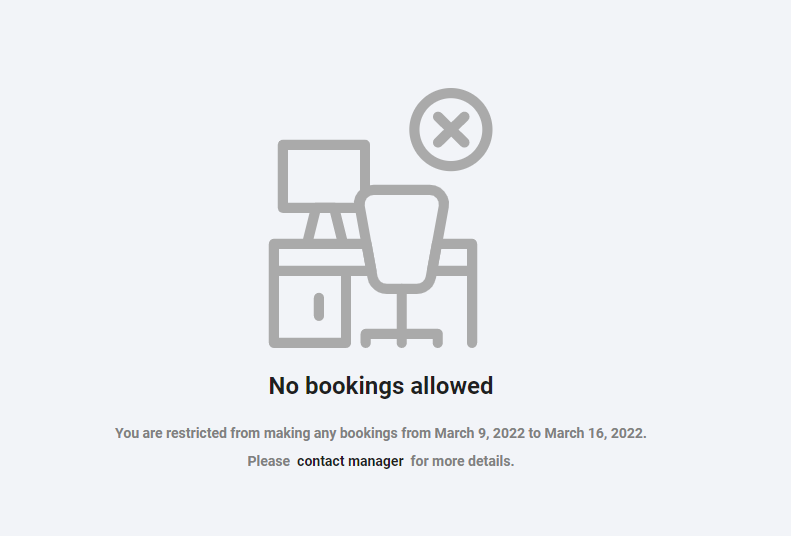
When a restricted user attempts to book a seat, a booking restriction notification appears on the screen.
-
You can contact the manager by clicking on the contact manager button for more information.