User & Permission Management - Adding Users and Assigning Roles
-
Once you have completed the initial configuration of KloudHybrid, it’s time to add users from your organization to the system.
-
In this step, you will learn how to create a new role, which serves as a template for defining different sets of privileges for users.
-
The role-based approach allows you to control the level of access each user has within the KloudHybrid application.
-
After creating the role, you can start adding users to the system and assign the appropriate role to each user based on their responsibilities and requirements.
-
Assigning roles to users ensures that they can perform specific actions and access certain features that align with their job roles and responsibilities.
-
The following sections provide detailed instructions on how to create new roles, add users, and assign roles to users effectively.
-
By following this guide, you can confidently manage user permissions, ensuring data security and privacy while empowering your team members with the necessary tools and access.
The system can create and manage local users, as well as integrate users from SSO providers. In either case, users have a defined role, which will give them a set of permissions. By default, there are three roles in the system: User, Manager, Admin. Beyond that, custom roles can be created an assigned.
User Roles
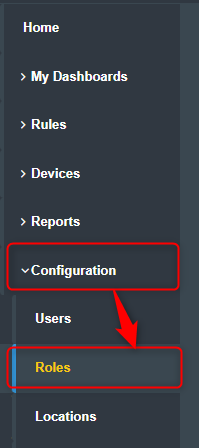
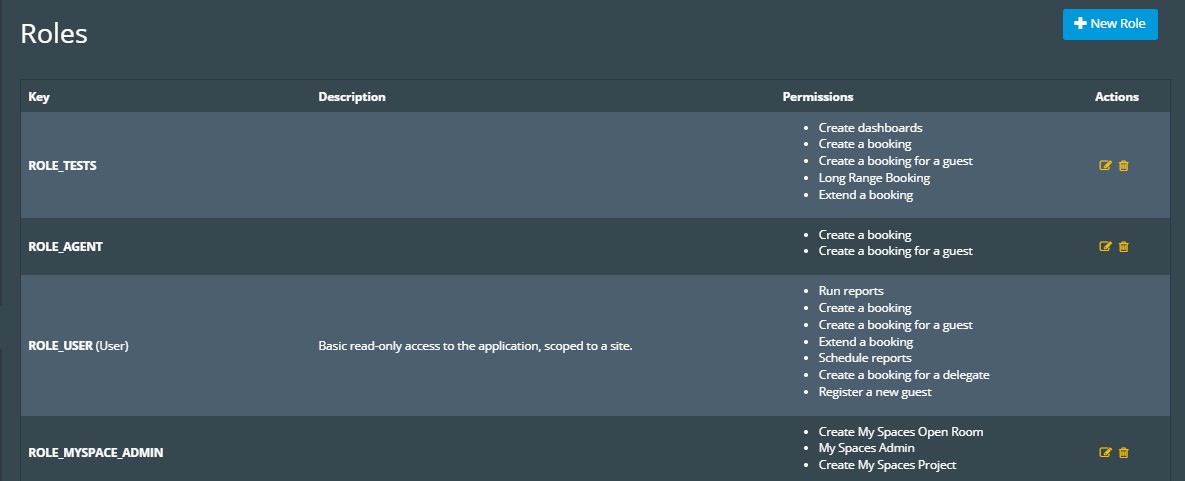
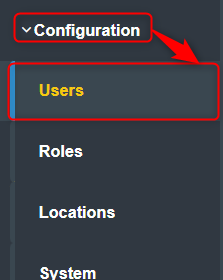
- Go to the Roles menu from the Configuration Drop down menu. The “Roles” page displays the existing roles and the assigned permission for each role.
- You can edit or delete the existing roles by clicking on the provided icons on each row.
- It also allows you to create a new role.
Create a new role:
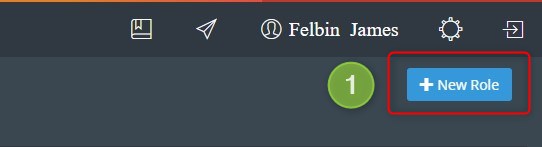
- Click +New Role on the top right corner of the page.
-
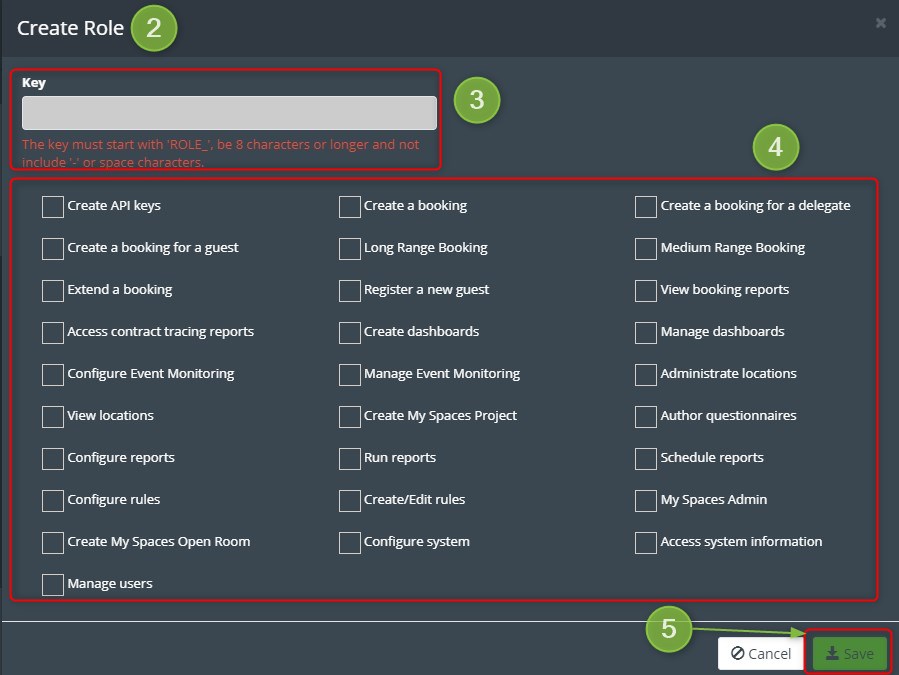
The “Create Role” dialog box is displayed.
-
Enter the roll key name. Key name should always start with ROLE_.
-
Check the checkbox to select the permission(s) for a role.
-
Click Save to create a role.
-
A new role is created.
User Management
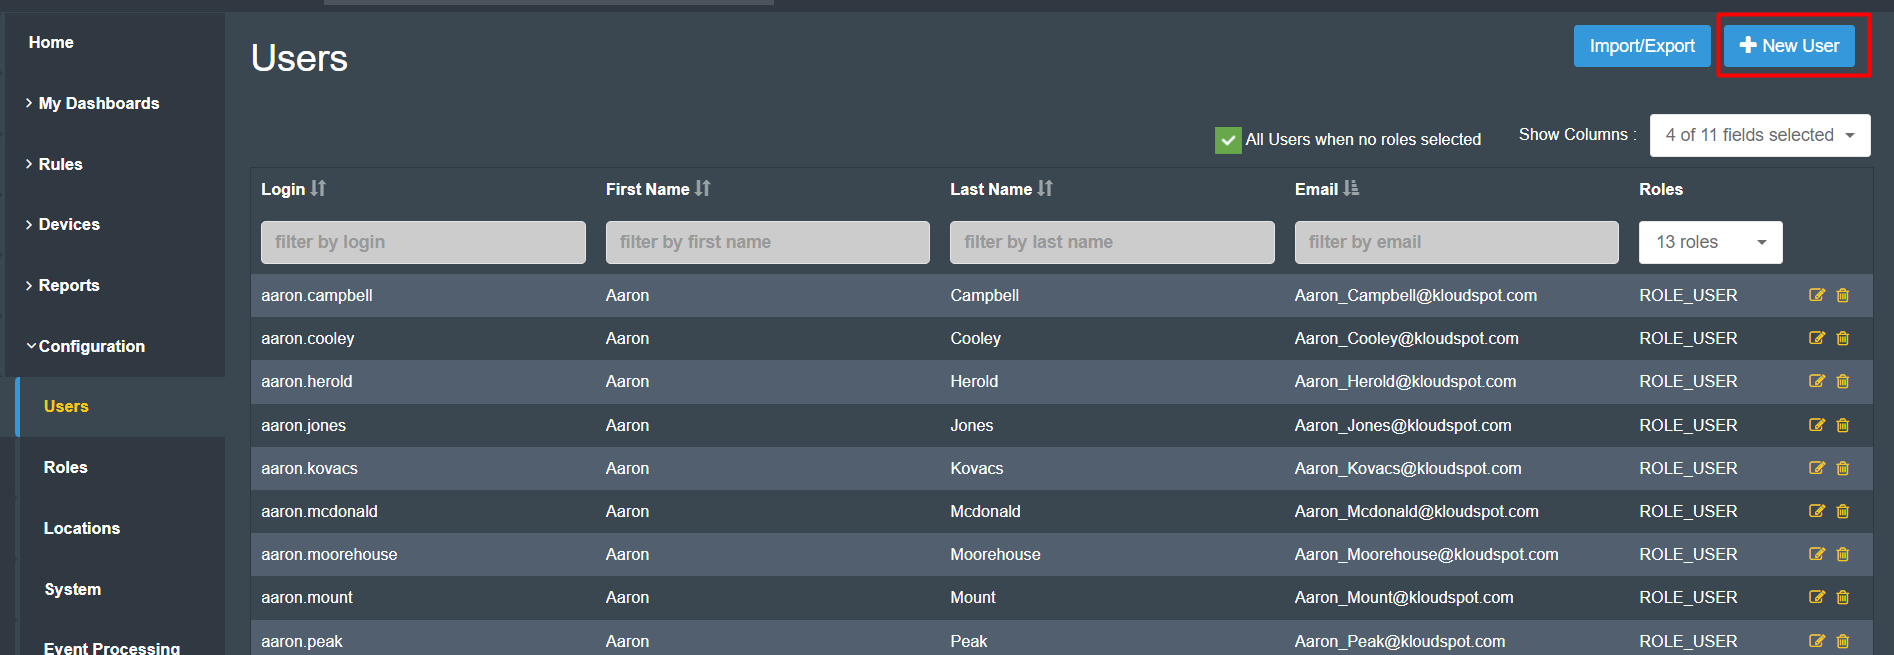
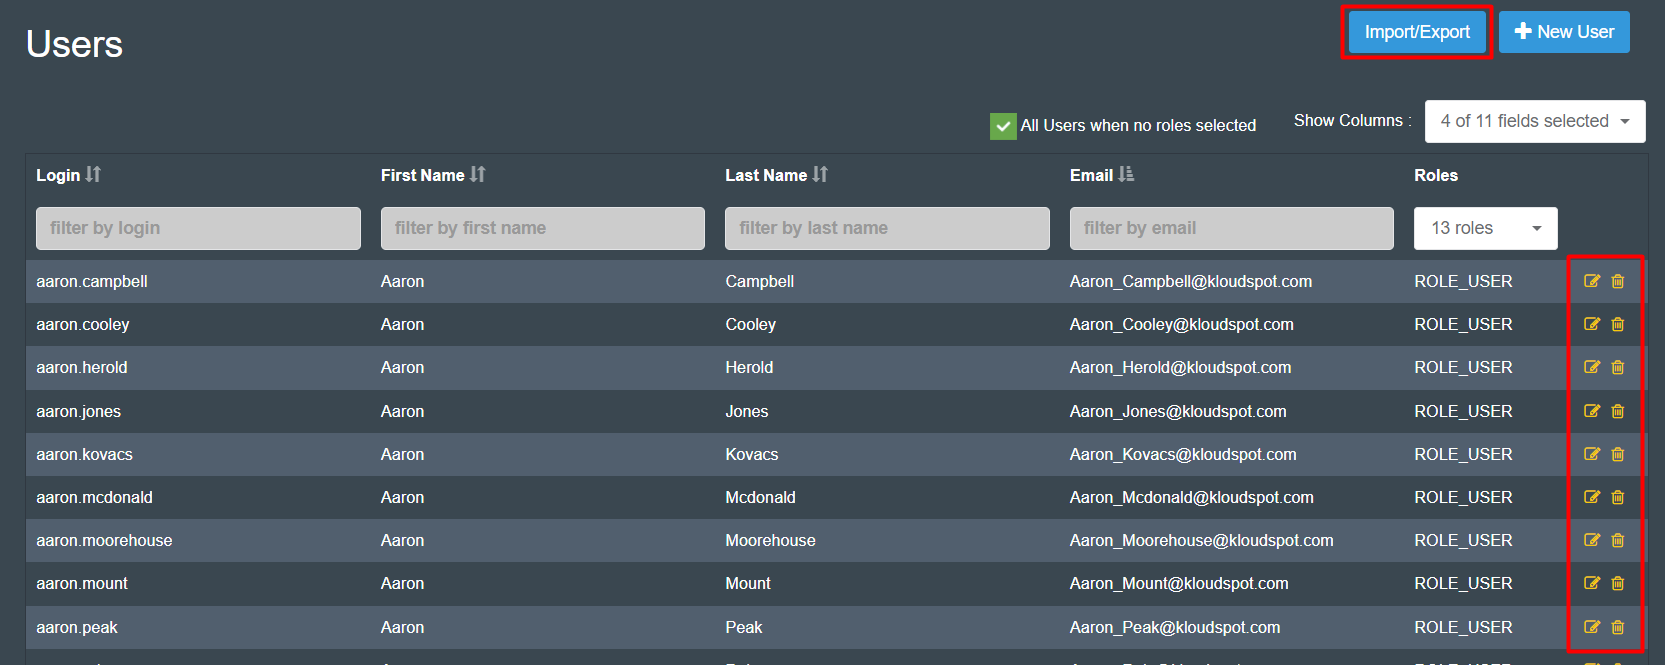
- Go to the Users menu from the Configuration Drop-down menu. The Users page displays the existing Kloudspot user details such as details name, email id, roles, etc. It allows you to create a new user.
Create a new user:
- Click +New User on the top right corner of the page.
-
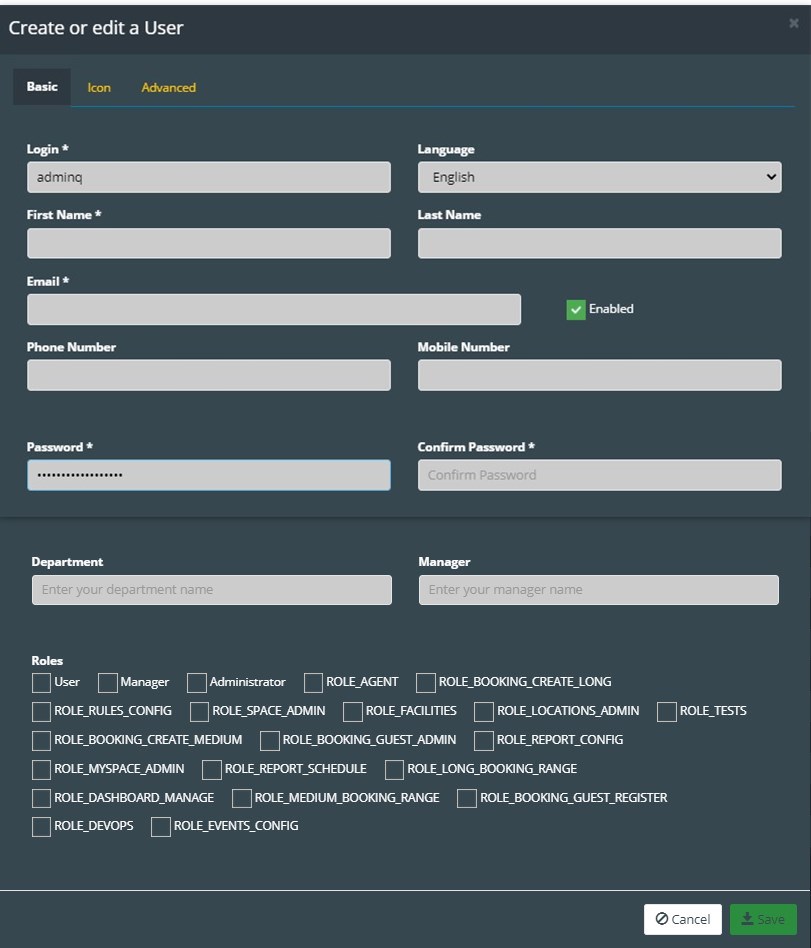
The Create or edit a User dialog box is displayed with the Basic tab.
-
Make the following changes in the Basic tab. The basic tab is mandatory.
-
Specify the login name, first and last name of the user, email id, phone, and mobile number.
-
Select the language from the drop-down menu.
-
Set the account status as enabled or disabled. By default, it is enabled. Uncheck the checkbox to disable it.
-
Set the temporary password for the user where the user can change the password later.
-
Enter the department’s name and the manager’s name.
-
Check the respective checkbox to select the roles.
- Administrator: The Administrator has the complete right to make all the configurations available in the application.
- Manager: The manager has the appropriate rights to make configurations for the limited features.
- User: The user has only the user rights to access and work on KloudHybrid.
- ROLE_XXX: The XXX stands for specific roles that have specific rights.
Go to the Icon tab to set an icon for a user.
- Click on the provided checkbox to select an image of .png and .jpg formats or drag and drop an image inside it.

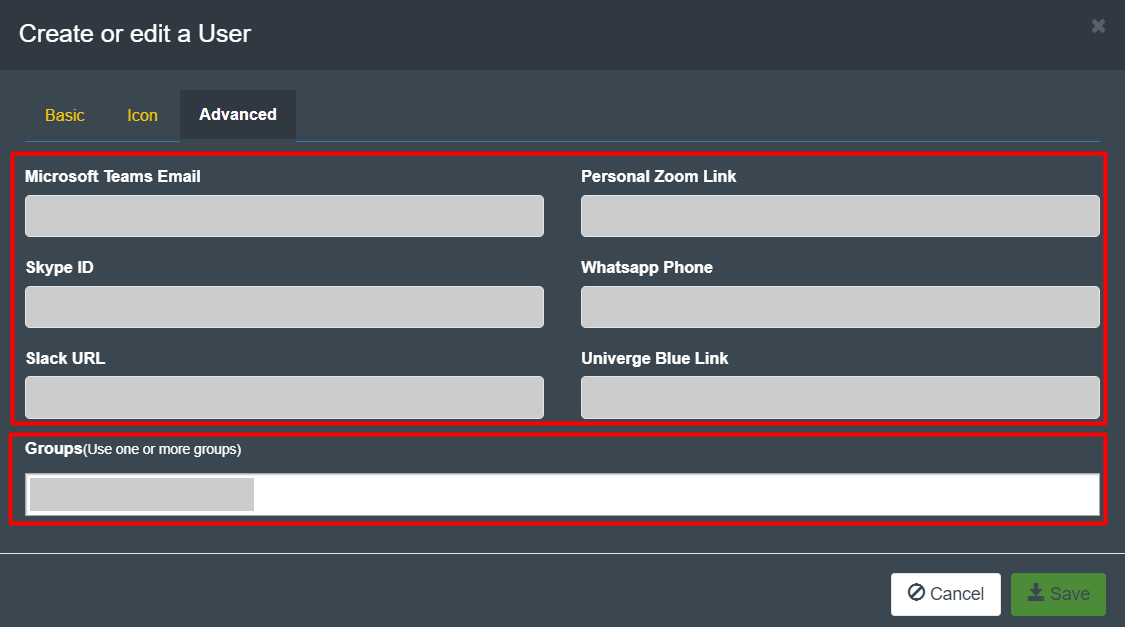
Go to the Advanced tab to provide the social and official network information.
-
Enter the social and official network information such as Microsoft Teams Email, Personal Zoom Link, Skype ID, Slack URL, and Univerge Blue Link.
-
Enter Group name. If the user is a member of a group or department, we can include that information here. It is possible to add more than one group.
Example: Engineering, Testing, Marketing and so on.
- Click Save to save the changes.
Note: A field that has an asterisk mark (*) is the mandatory field.
-
A new user is added with the provided details.
-
You can edit or delete the existing Users by clicking on the provided icons on each row.
-
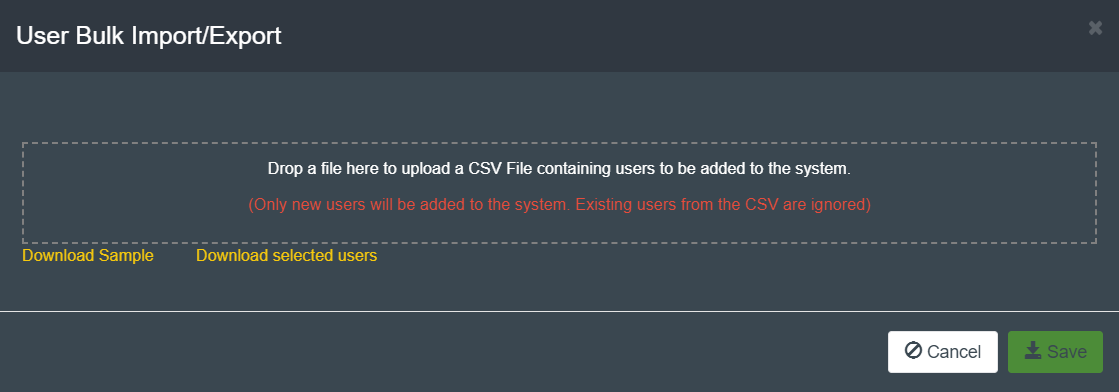
The Bulk Import/Export Button can be used in case you need to add more than one user at a time or download existing user information.
-
You can download the sample document by clicking on the download sample button. Click the Download existing users button to download full user details.
-
Multiple users can be added by dragging and dropping the CSV file into dropbox.
-
Click Save.