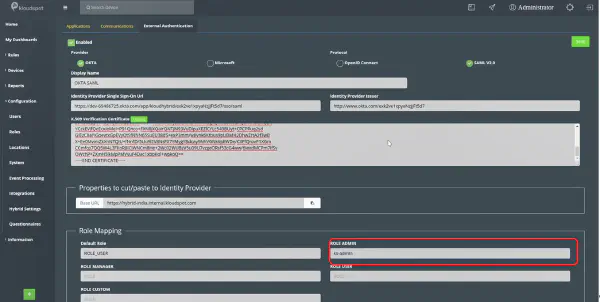
Configure SAML with OKTA
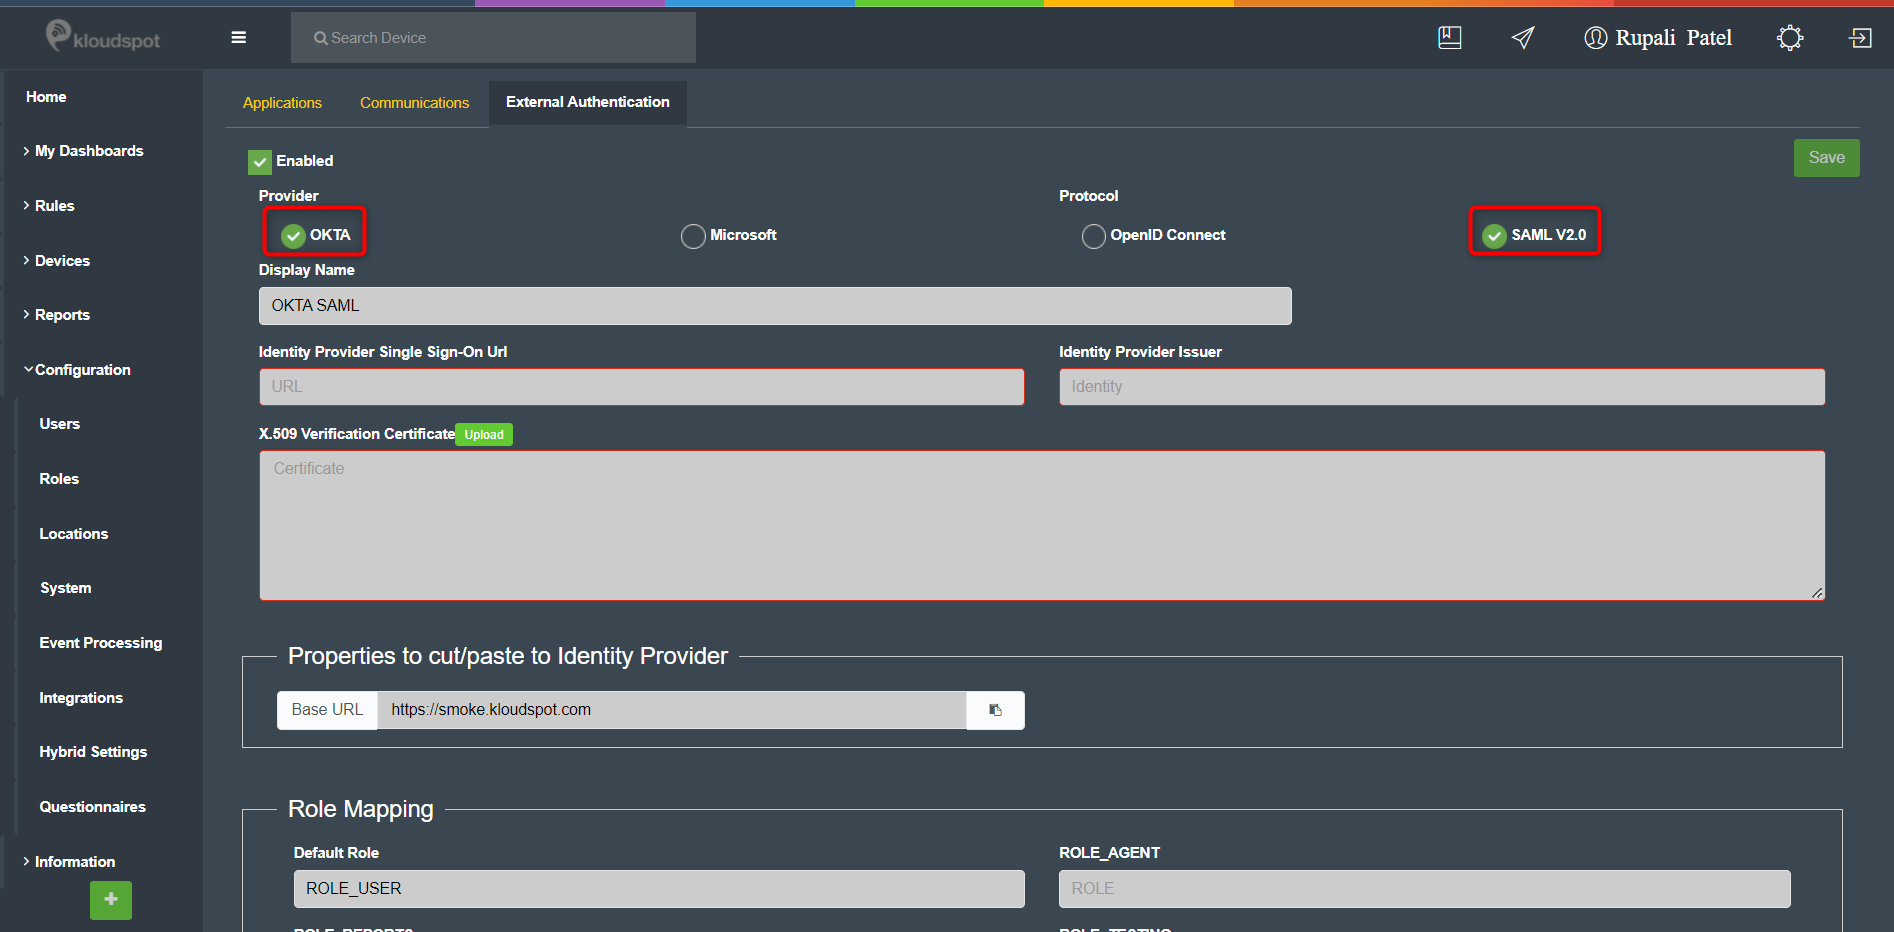
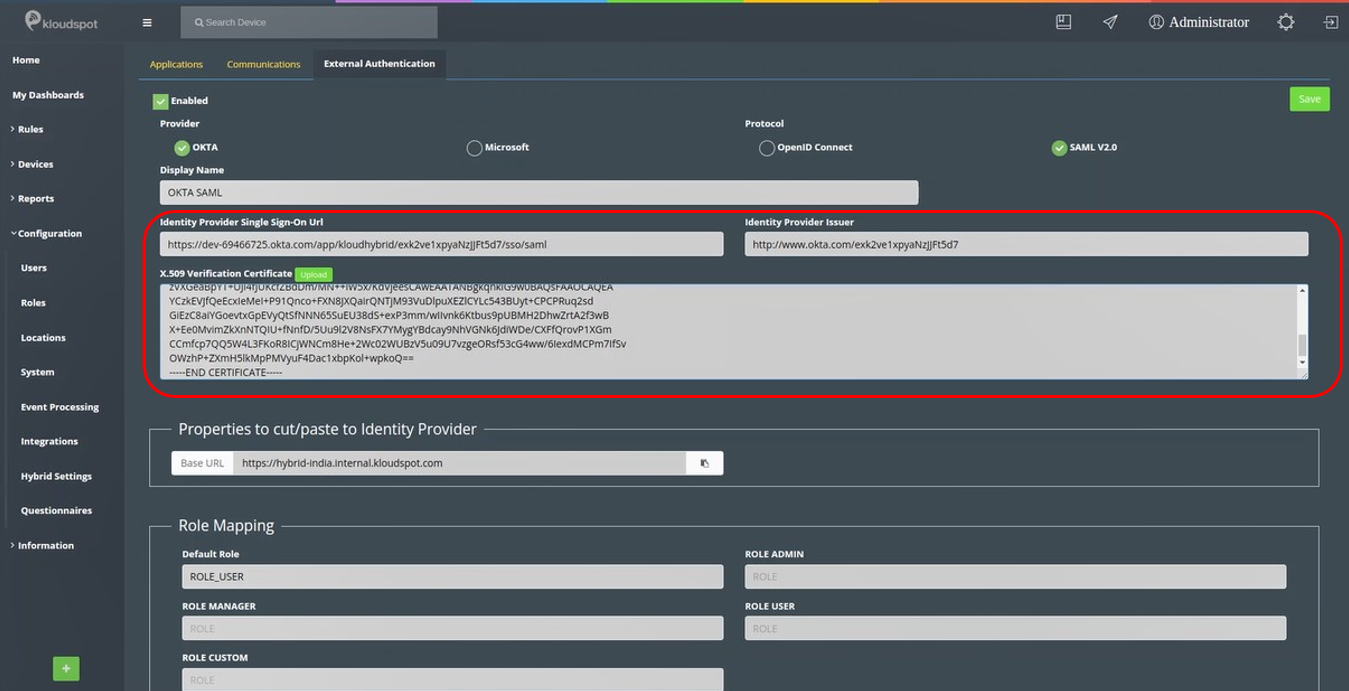
- Check OKTA from the Provider option and for the Protocol select SAML V2.0 as shown in the figure below.
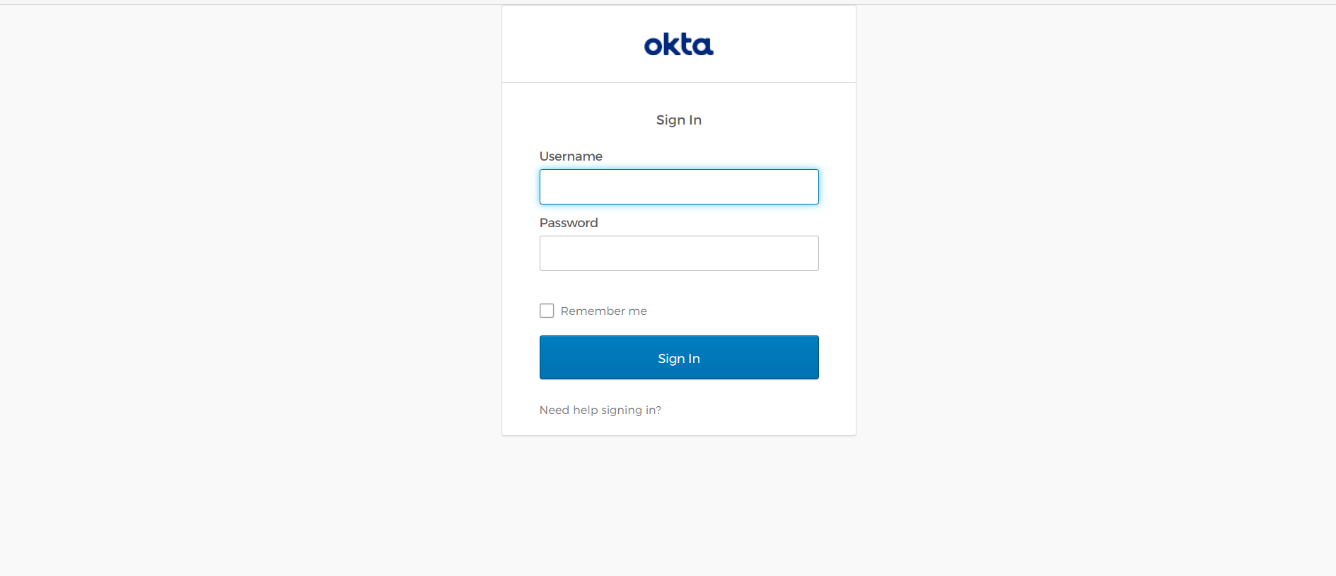
- Log in to your OKTA account.
- Click on Applications and from the drop-down select Applications.
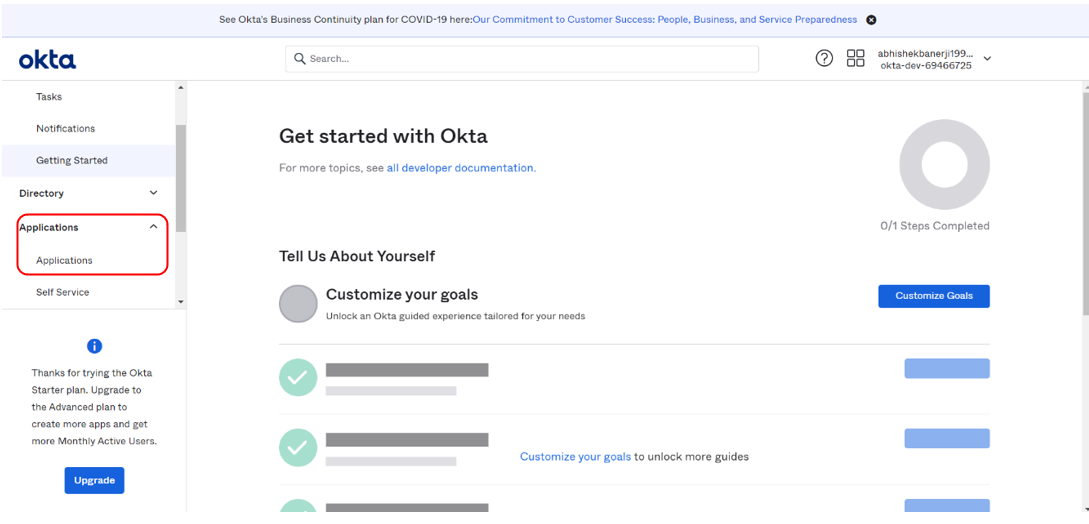
- Click on Applications and select Browse App Catalog.

-
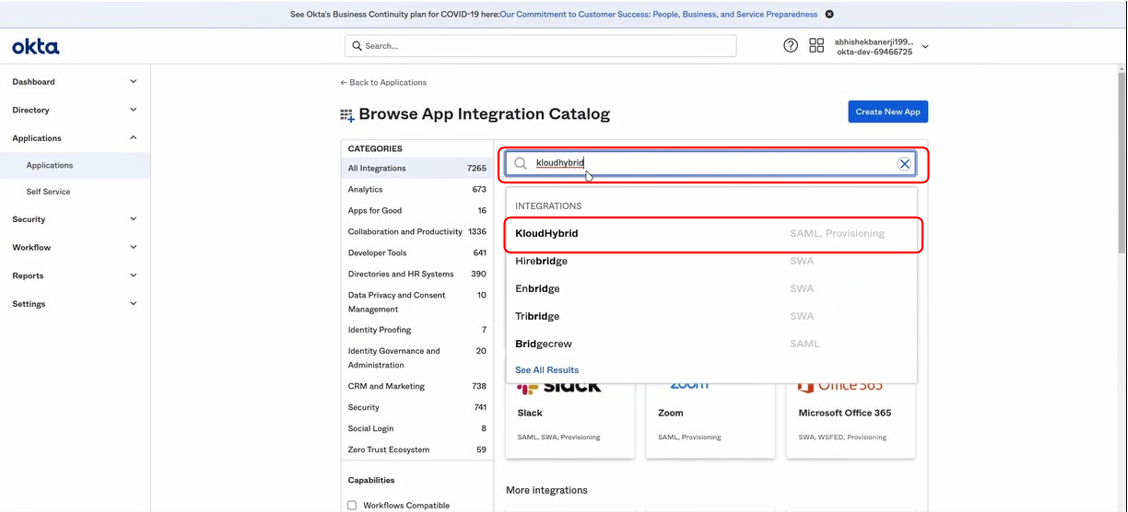
Search for KloudHybrid in the Browse app integration catalog window that opens.
-
Select the KloudHybrid option with SAML, provisioning.
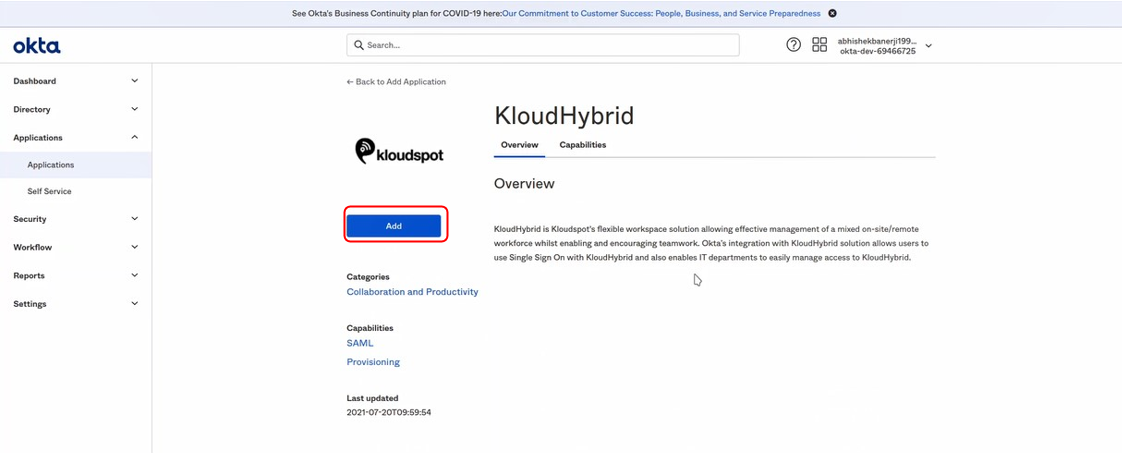
- The KloudHybrid window will open. Then click on Add.
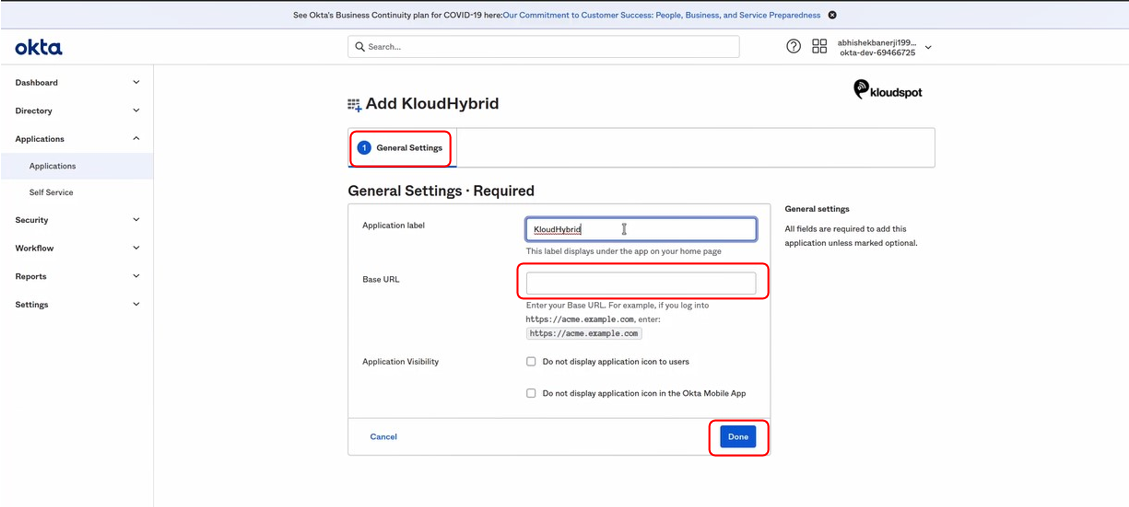
- In the Add KloudHybrid window, type the Application label (Eg. KloudHybrid) under General Settings. Also, copy and paste the Base URL from the KloudHybrid application. This will look something like “https://xxxx.yyyy.kloudspot.com”.

-
Click on Done in OKTA.
-
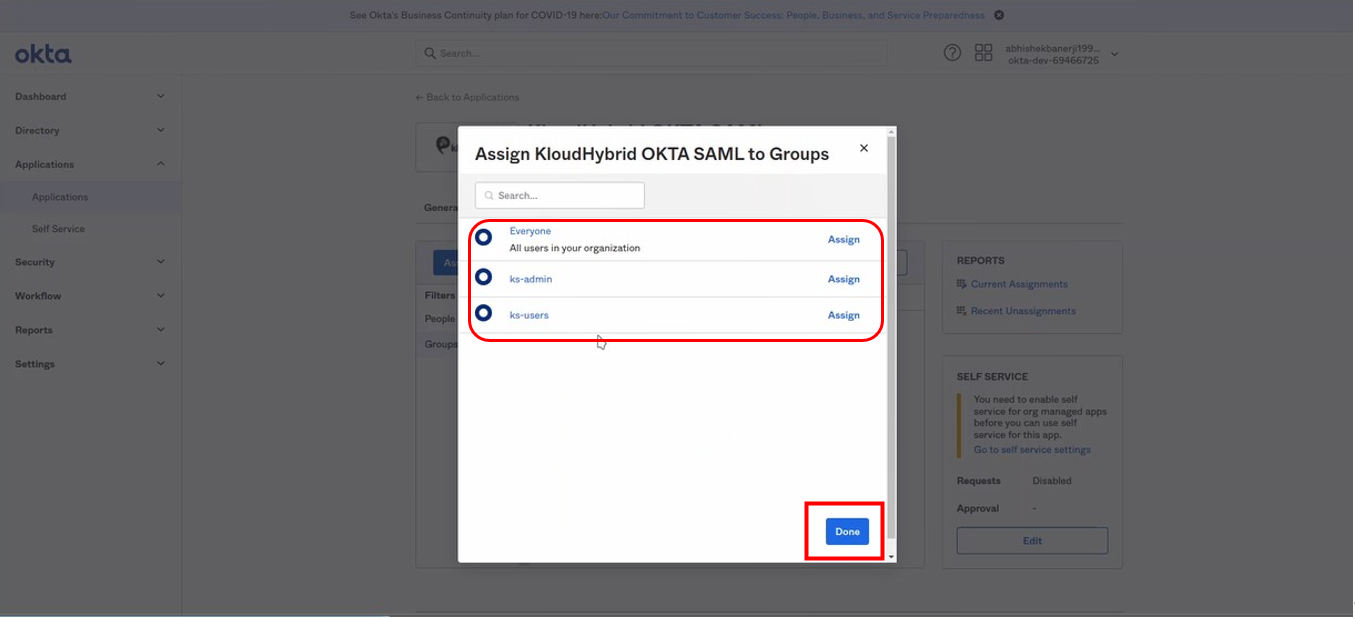
In the next window, click on the Assign button at the bottom of the Assignments tab. Select Assign to groups from the drop-down menu that appears.

-
A popup window will open. From there, assign the groups that will have access to the KloudHybrid Application.
-
Click on Done.
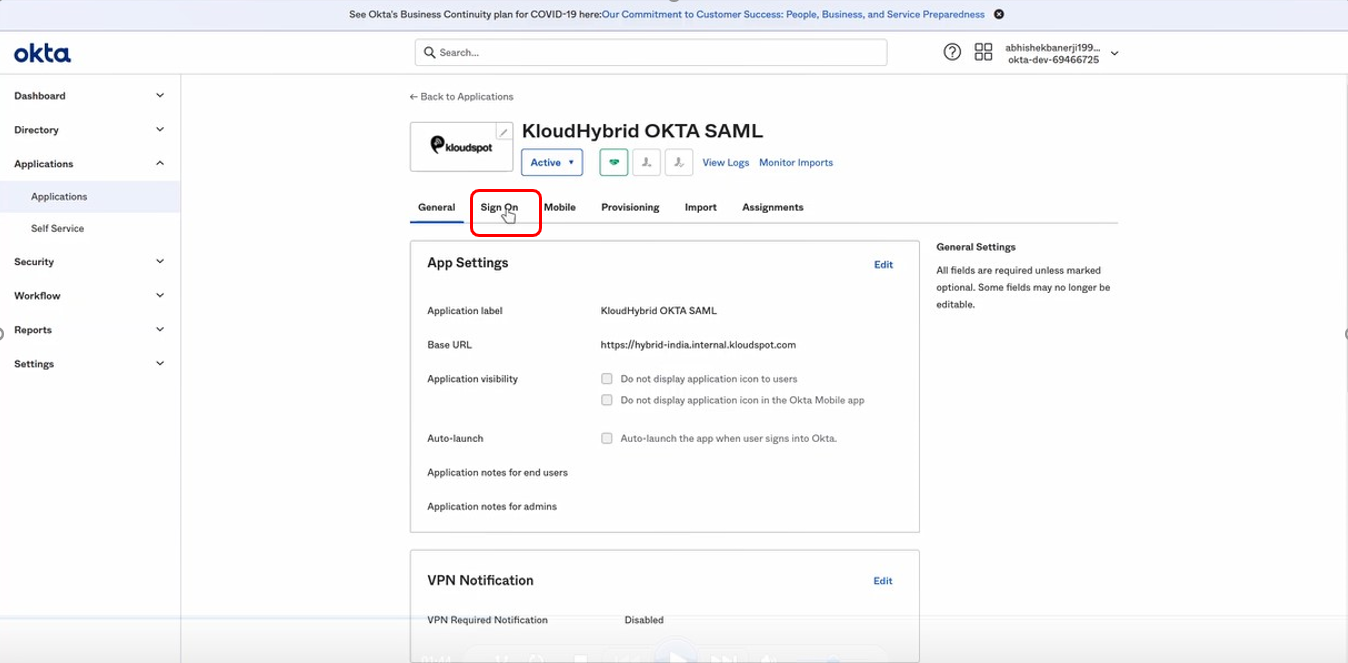
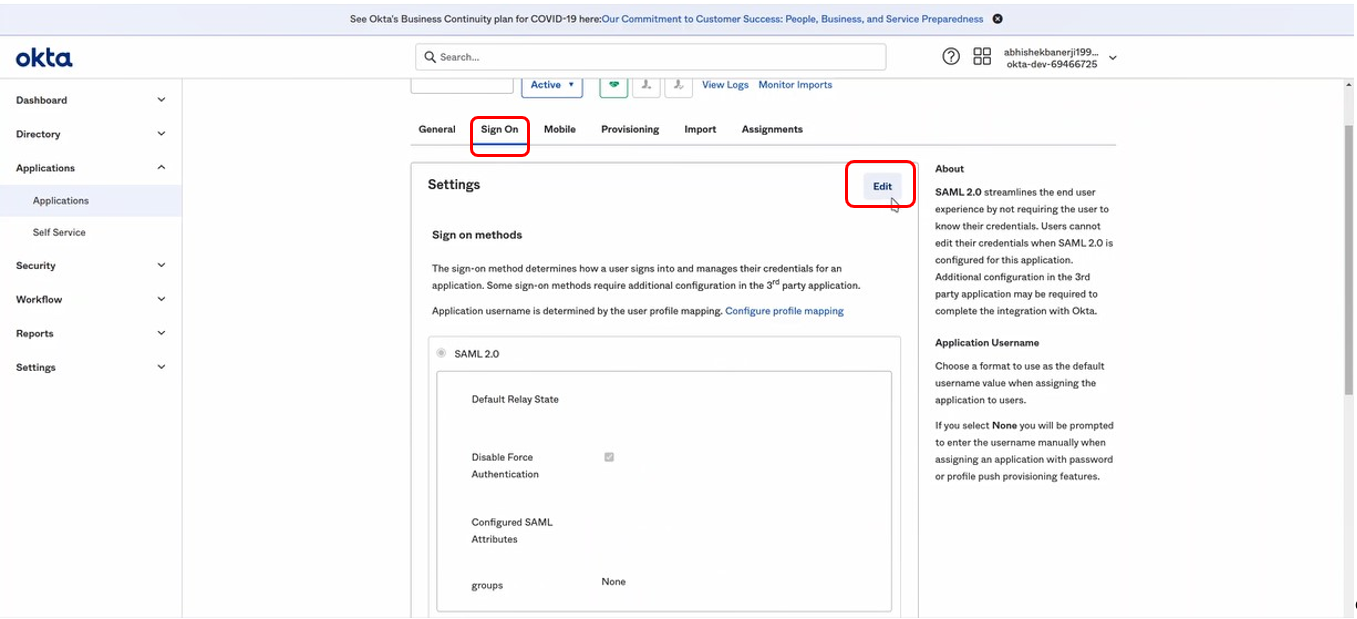
- Then select the sign-on tab. In it, scroll down and click on the View Setup Instructions button.
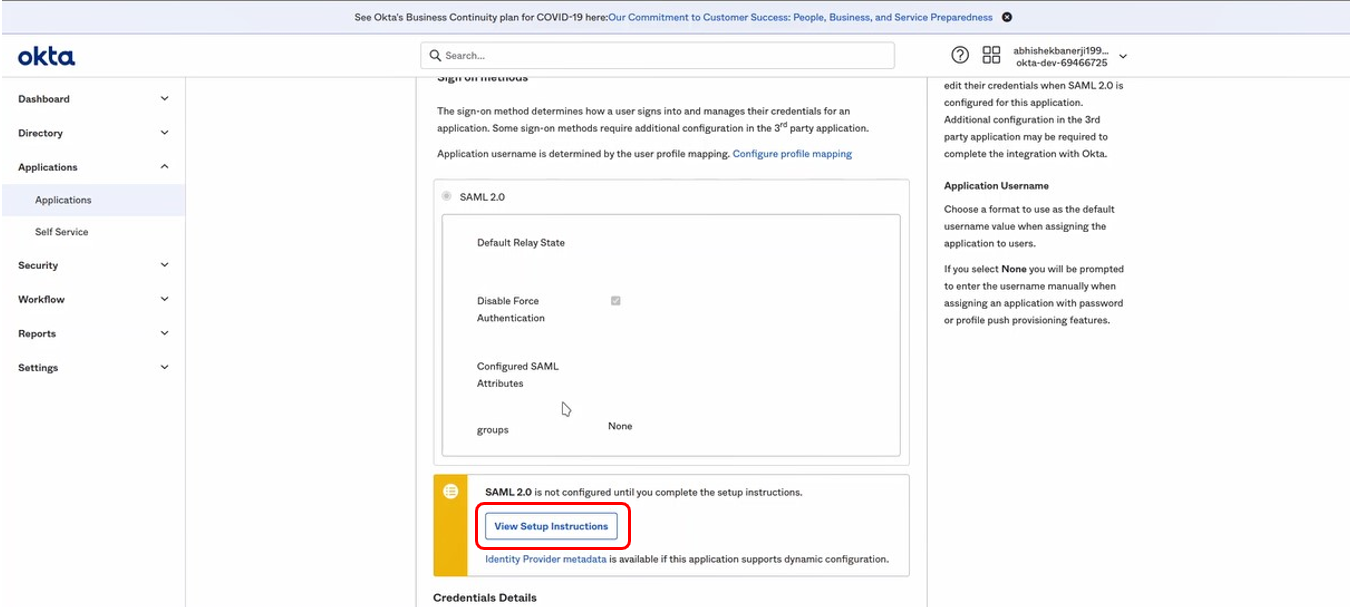
- Then a new tab will open. You will be able to complete the configuration by following the instructions given in it.
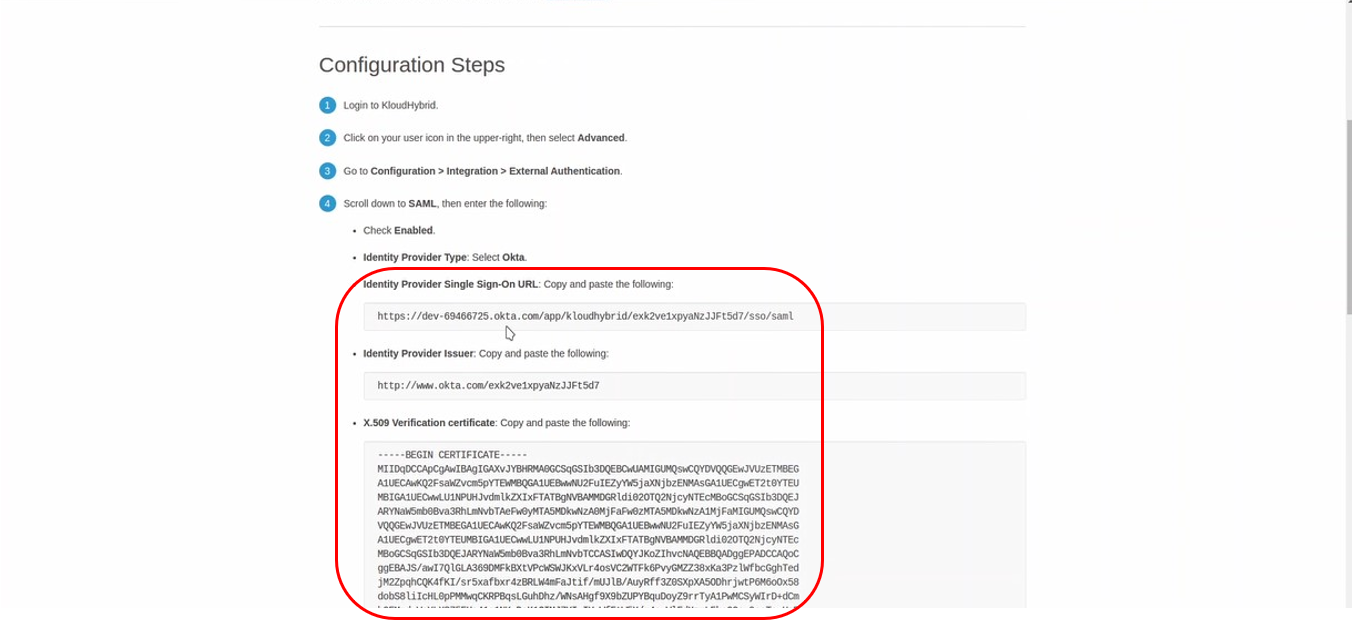
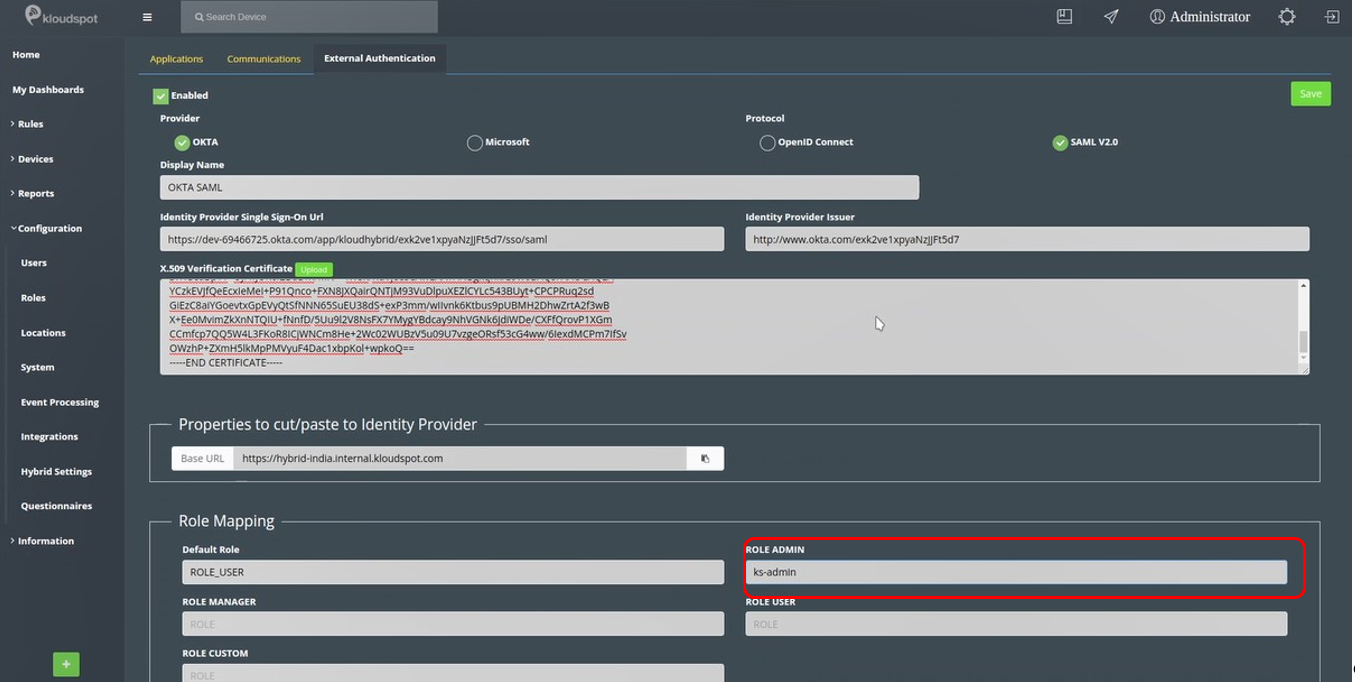
- Copy the Identity Provider single sign-on-URL, Identity provider Issuer and X.509 verification certificate and paste them into KloudHybrid, respectively.
- Click on the Edit button in the sign-on tab to configure SAML 2.0.
-
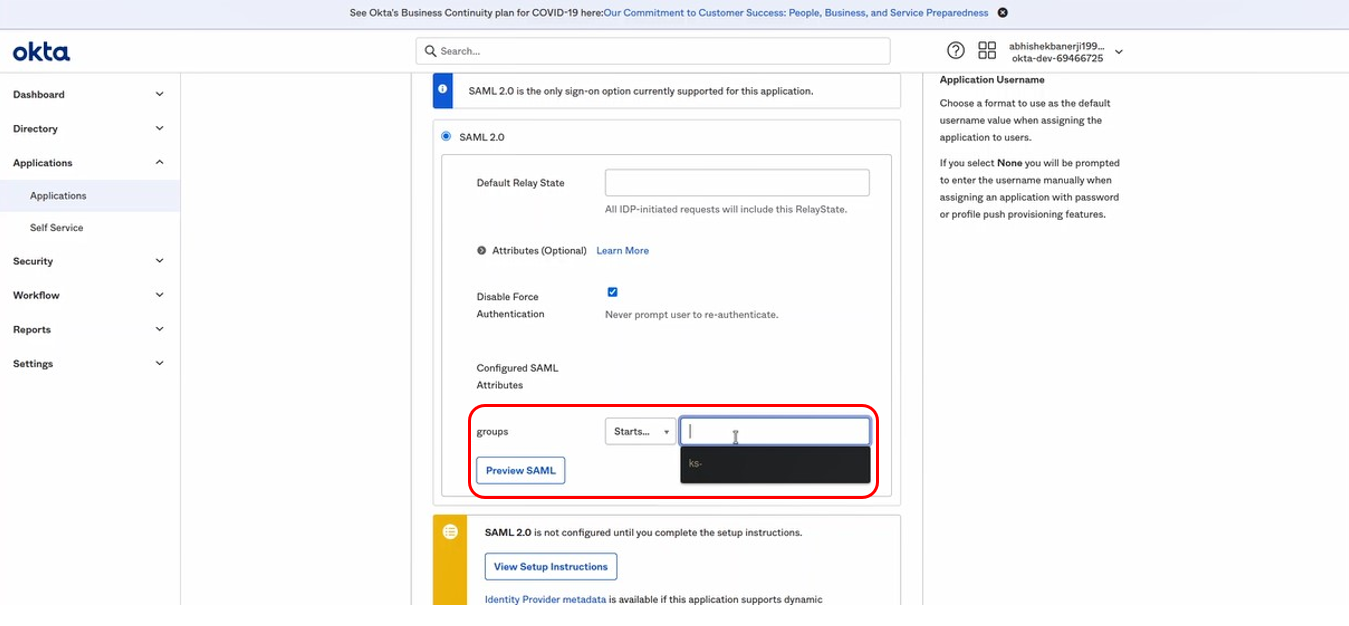
In the Groups drop-down menu, select the Start with option. Then type the prefix of the group to be added (Eg.Ks-)
-
Click on Save.
-
To map permissions, see step #9 in the Configure Open ID connect with OKTA section.
-
Click on save.
-
This allows you to login into KloudHybrid with OKTA SAML with a single click.