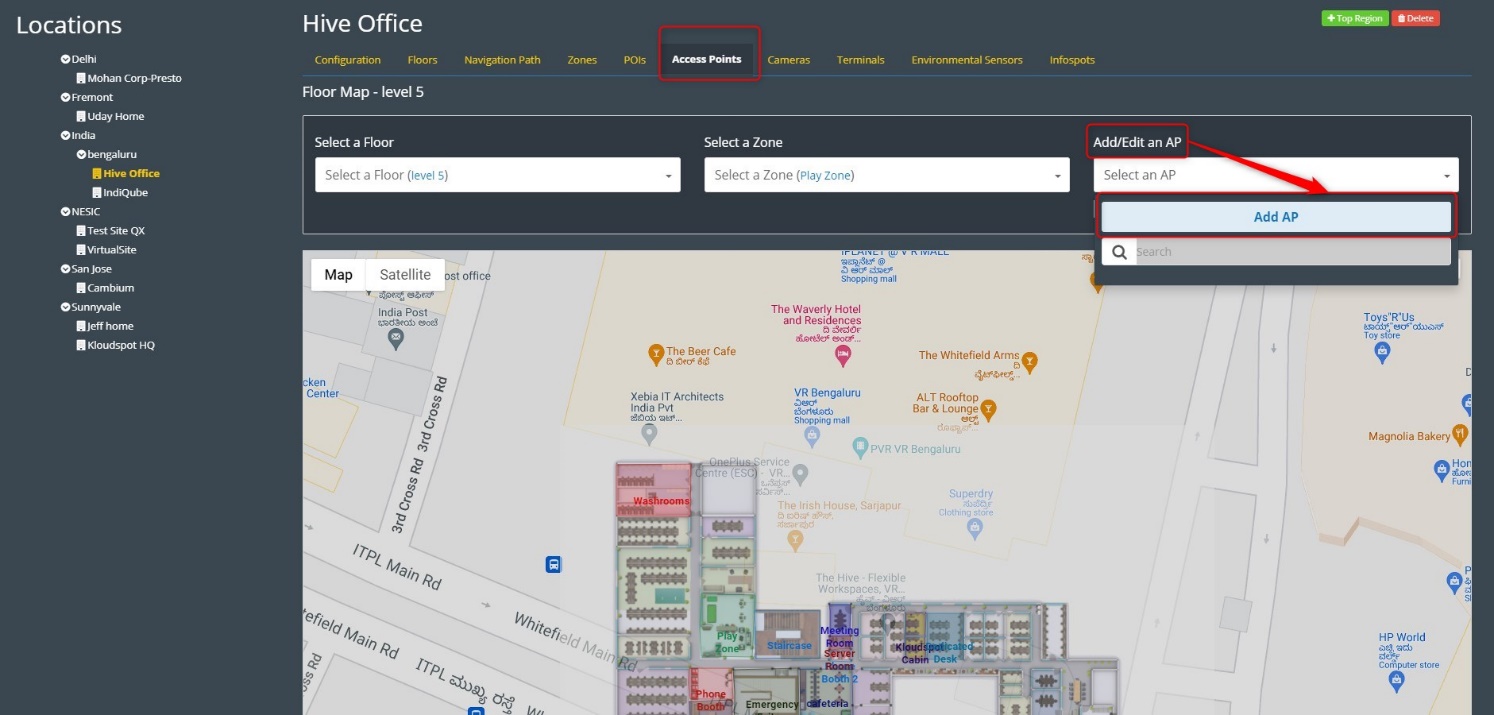
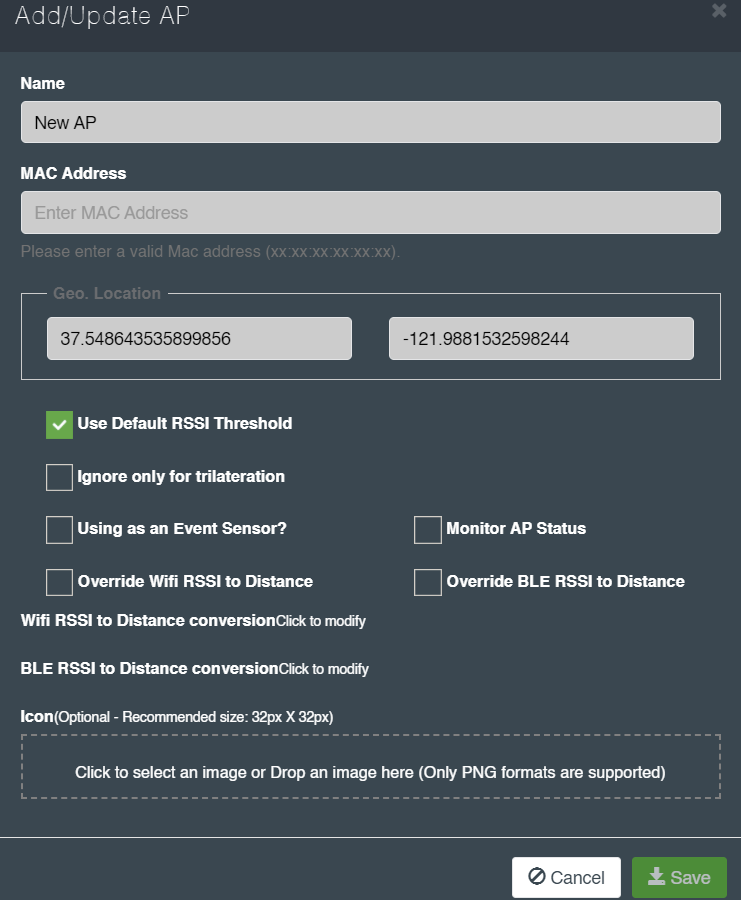
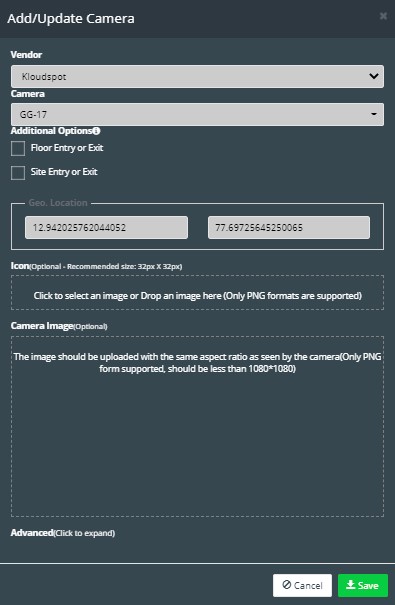
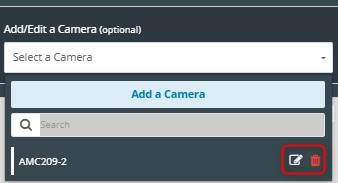
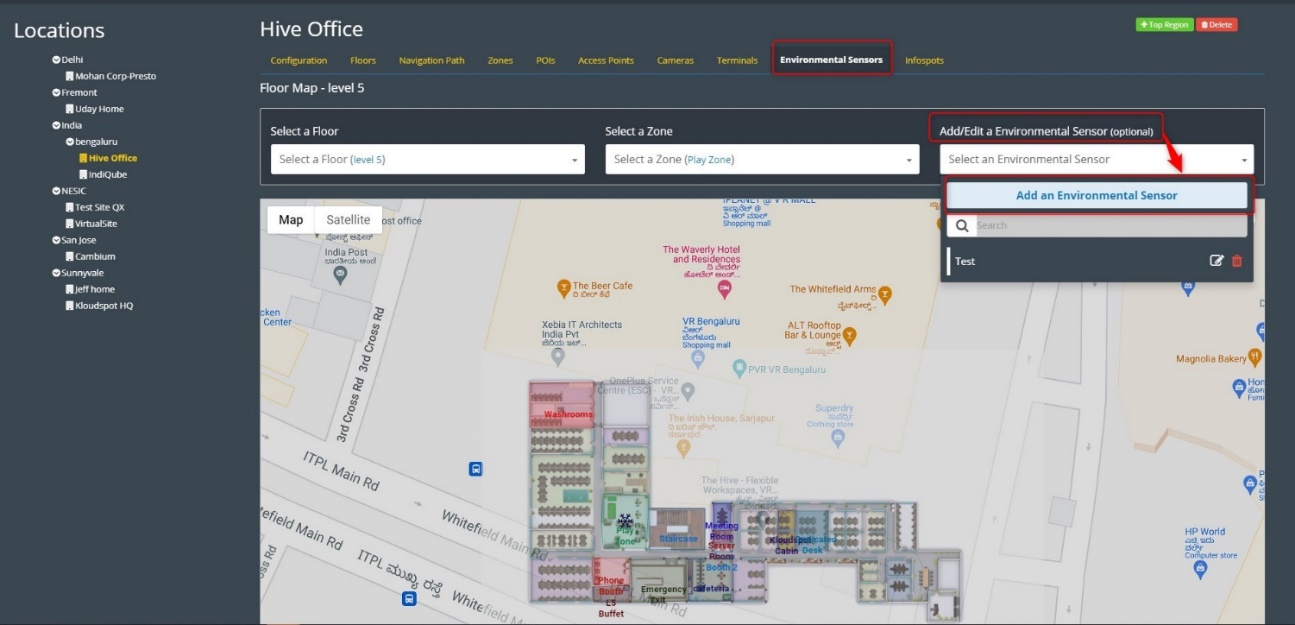
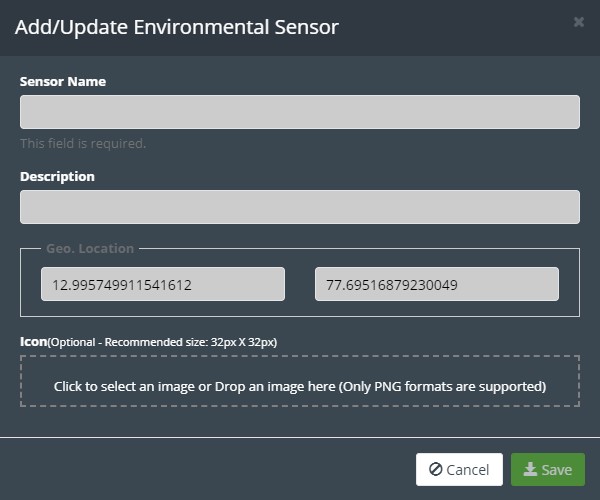
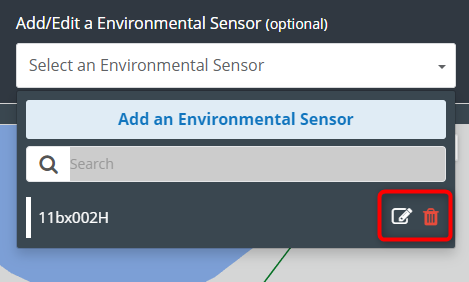
Other miscellaneous Settings for Hybrid office
In the pursuit of creating a fully optimized and technologically advanced hybrid office, there are additional miscellaneous settings that can further enhance the functionality and efficiency of your workspace. These settings encompass the integration of Access Points, Cameras, and Environmental Sensors, offering a comprehensive solution to meet your organization’s specific needs.