Importing 360 Pictures
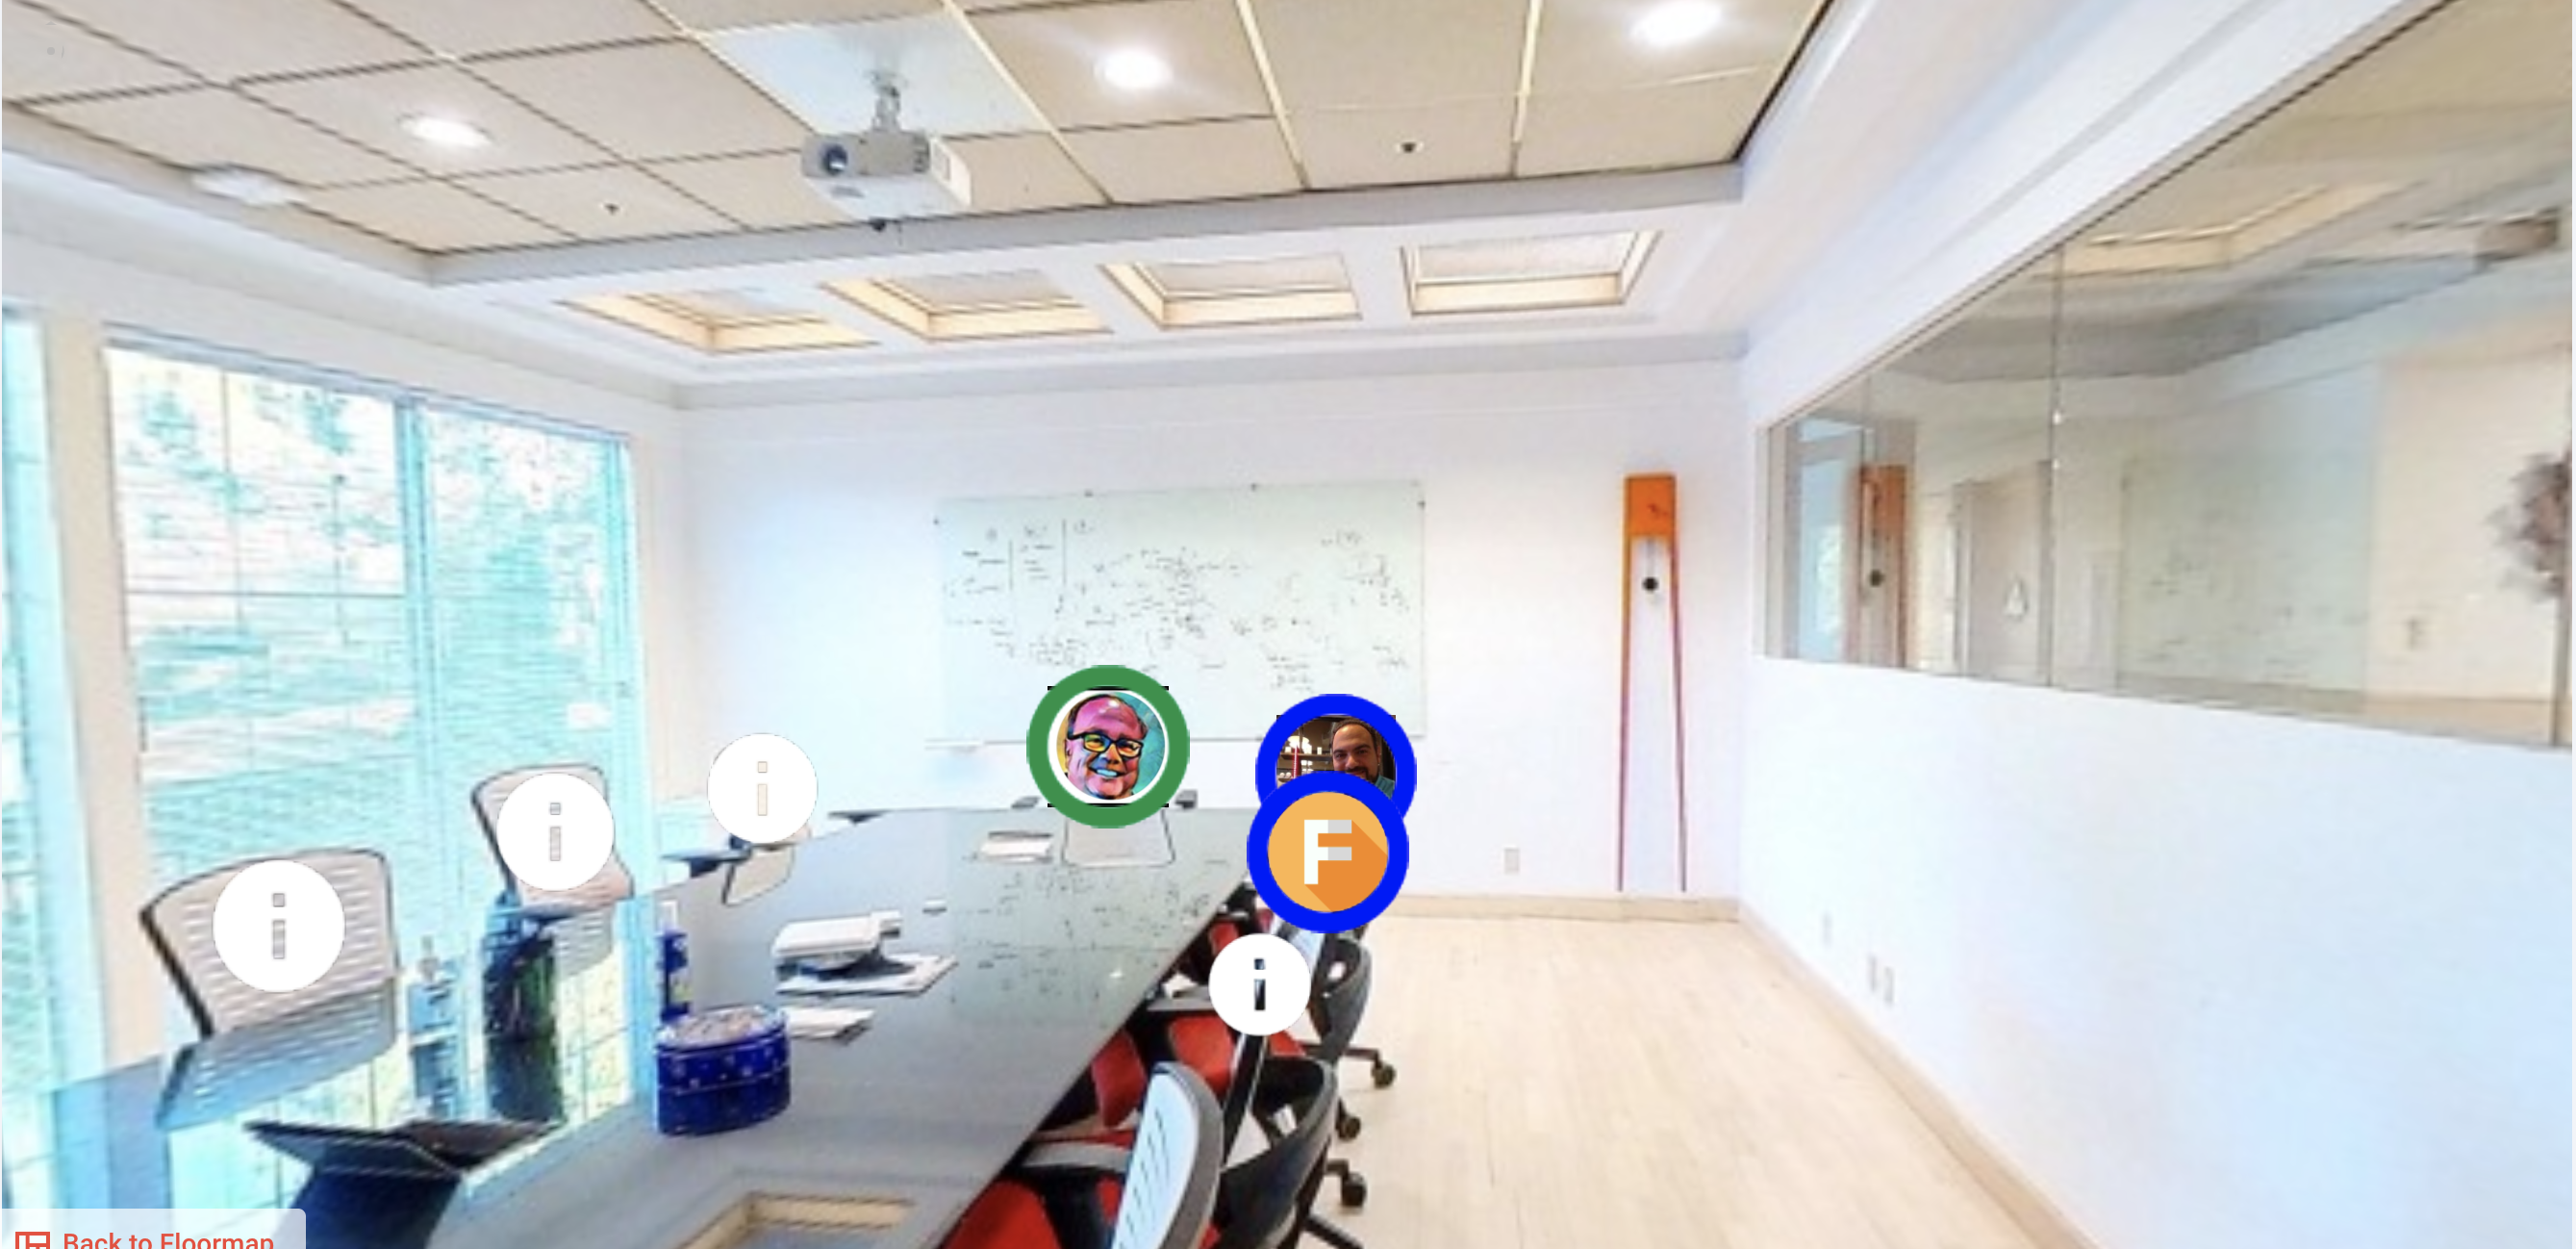
360 pictures allow users to navigate in virtual space throughout the office, physically see where they might be sitting, create quick bookings in the 360 walkthroughs, and interact with colleagues in virtual space.
- To import 360 images into the system, navigate to the Configuration > Location > Child Region > Infospots tab.
- Select a floor from the drop-down menu.
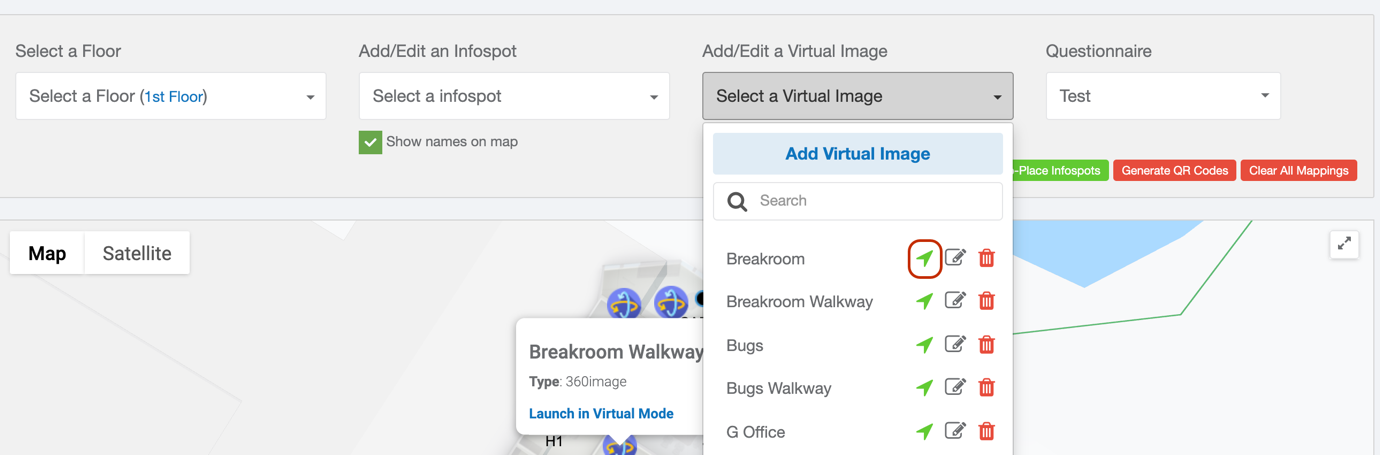
- Click Add Virtual Image from the Add/Edit Virtual Image drop-down menu.
- Click where you want to add the virtual image on the floor map.

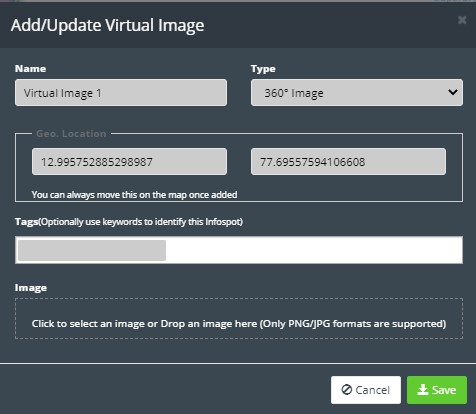
- The Add / Update Virtual Image window will open.
- Enter the Name for the virtual Image.
- Specify the Type as 360° Image or Panorama. By default, “360° Image” is selected.
- Upload your 360° or panorama image by clicking in the Click to select an image or Drop an image here area. Only PNG/JPG formats are supported. Click Save.
- Click Save to make the changes:
- After completing steps 1 -6 for all the virtual images, next we will add navigation between the different virtual images. To do this click on the Add/Edit Virtual Image drop-down, then click the icon.
- Click the Add button in the top right corner of the virtual viewer that opens. Then click on the area of the image you wish to place the navigation point. Then, select the destination from the drop-down in the center bottom. Remember you can click and hold in this view to spin around.
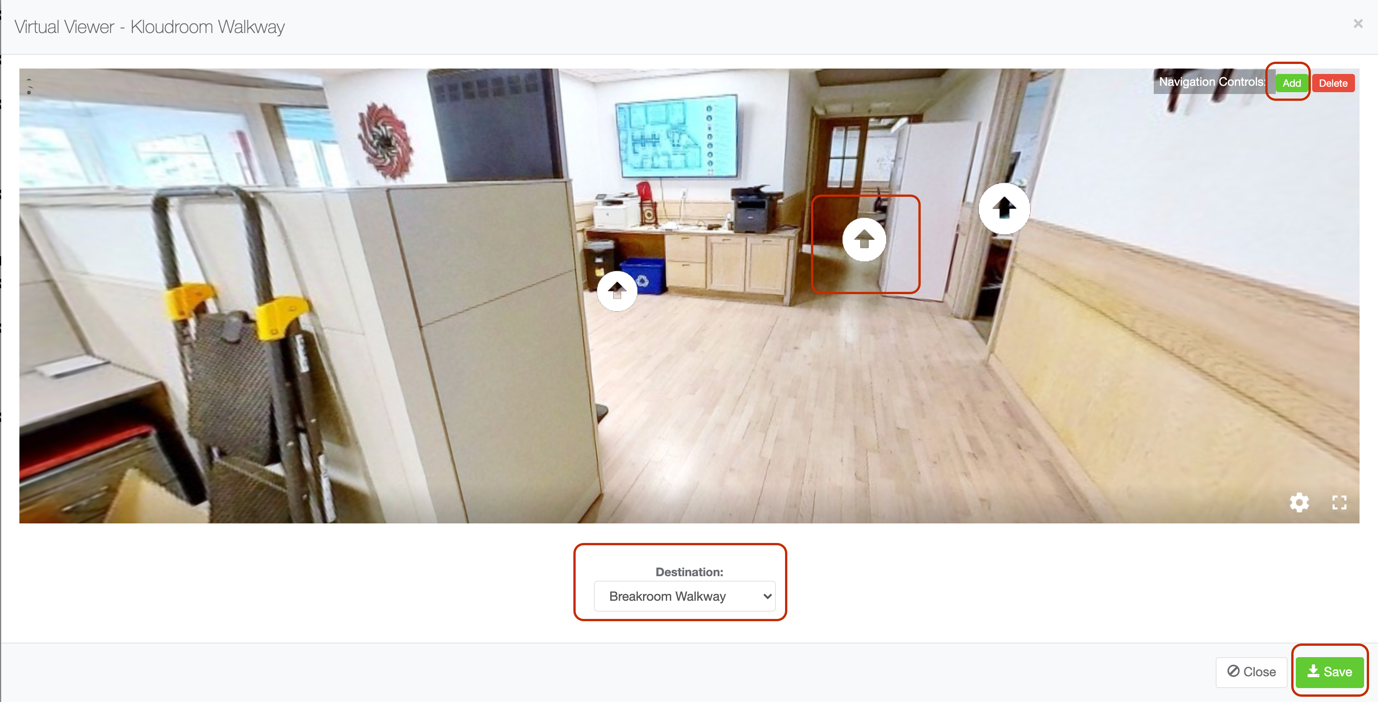
- Once you click on an area, an arrow will appear, as shown above, click on the arrow, and then at the bottom of the screen select the proper destination in the destination dropdown. This will enable users to navigate between the two virtual zones in the virtual viewer using the navigation points. Click Save. Repeat this step for all virtual images and all navigations.