Conference Room Setup
-
In this section, we will guide you through the process of setting up a check-in kiosk in front of the conference room that you have created as part of your hybrid office setup. The check-in kiosk is a convenient and efficient way for employees and visitors to check in before accessing the conference room. If you haven’t created a hybrid office yet, please refer to the Creating Your Hybrid Office document for detailed instructions.
-
Once you have successfully built your conference room and completed the hybrid office construction, it’s time to configure the conference room.
-
To setup a conference room in the system, first setup your conference room infospots following the instructions in the Adding Infospots section. Once you have done that follow the instructions below.
-
Navigate to the Advanced Settings page, then to Configuration -> Location -> Infospots page.
-
Click the Add/Edit an Infospot drop down, scroll to find the conference room. Once you find it, click the Copy URL button next to the conference room, as seen in the figure below.
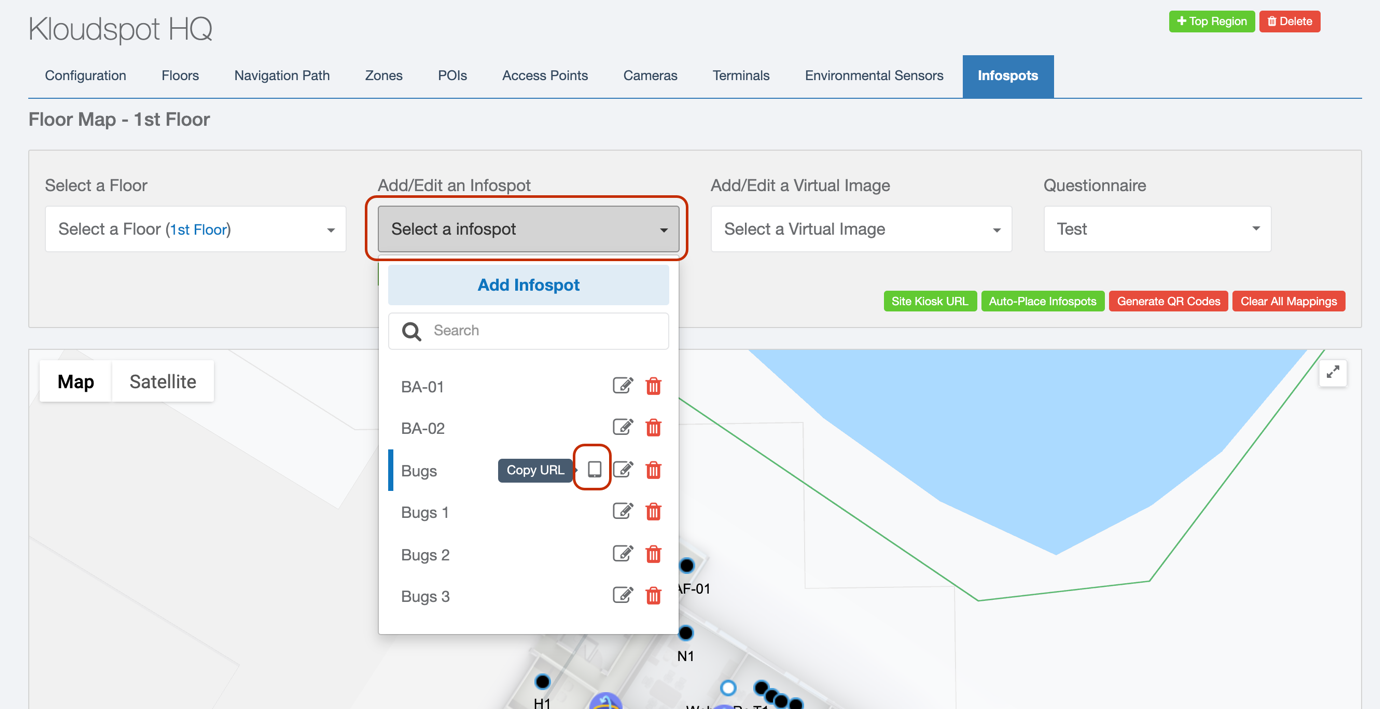
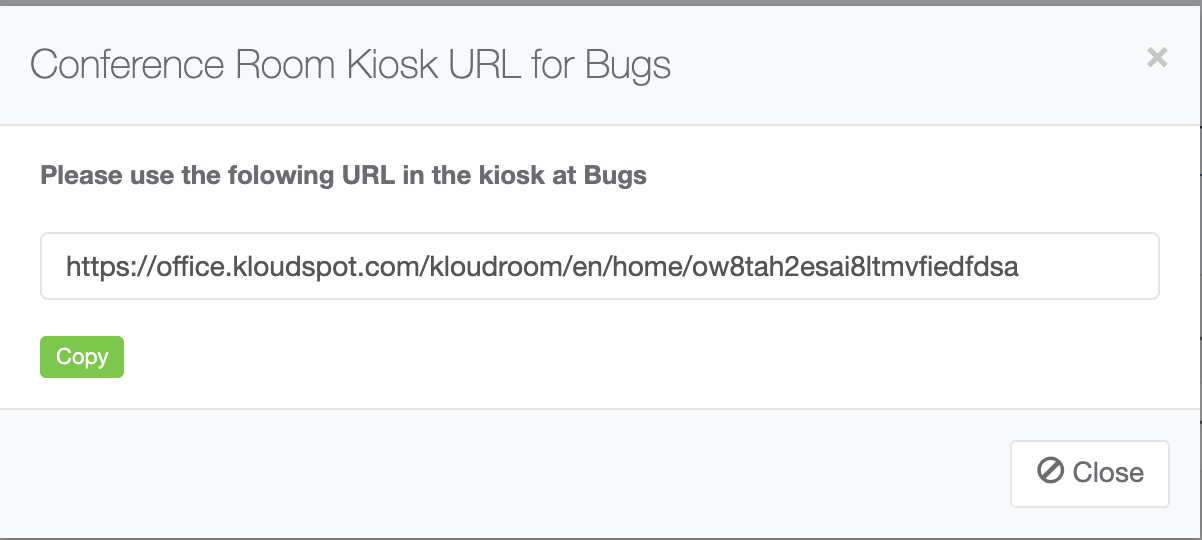
- A dialog box will open showing the URL for that specific conference room. Copy the URL.
-
Paste the URL from the previous step into a browser on the tablet assigned to that conference room. This will open the conference room application, the application is a progressive web application, and thus can be installed on the device.
-
Finally, navigate to the Advanced Settings page, then to Configuration -> Hybrid Settings -> Conference Room Settings section. Here you can enable/disable auto room cancellation. If you enable auto room cancelation, give a value for No-show cancellation Period (min). If this is enabled, and users do not check into the conference room after X minutes of the meeting starting, the meeting will be cancelled, and the conference room will be released. Click Save once you’ve finished at the top of the page.
