Adding Cameras
In this section, we will guide you through the smooth incorporation of cameras into KloudVision. Incorporating cameras is more than just a physical setup; it symbolizes the merging of advanced technology and thoughtful strategy to establish a unified network of vigilant observers. Refer to the Camera Specifications document to select the appropriate camera for your needs.
-
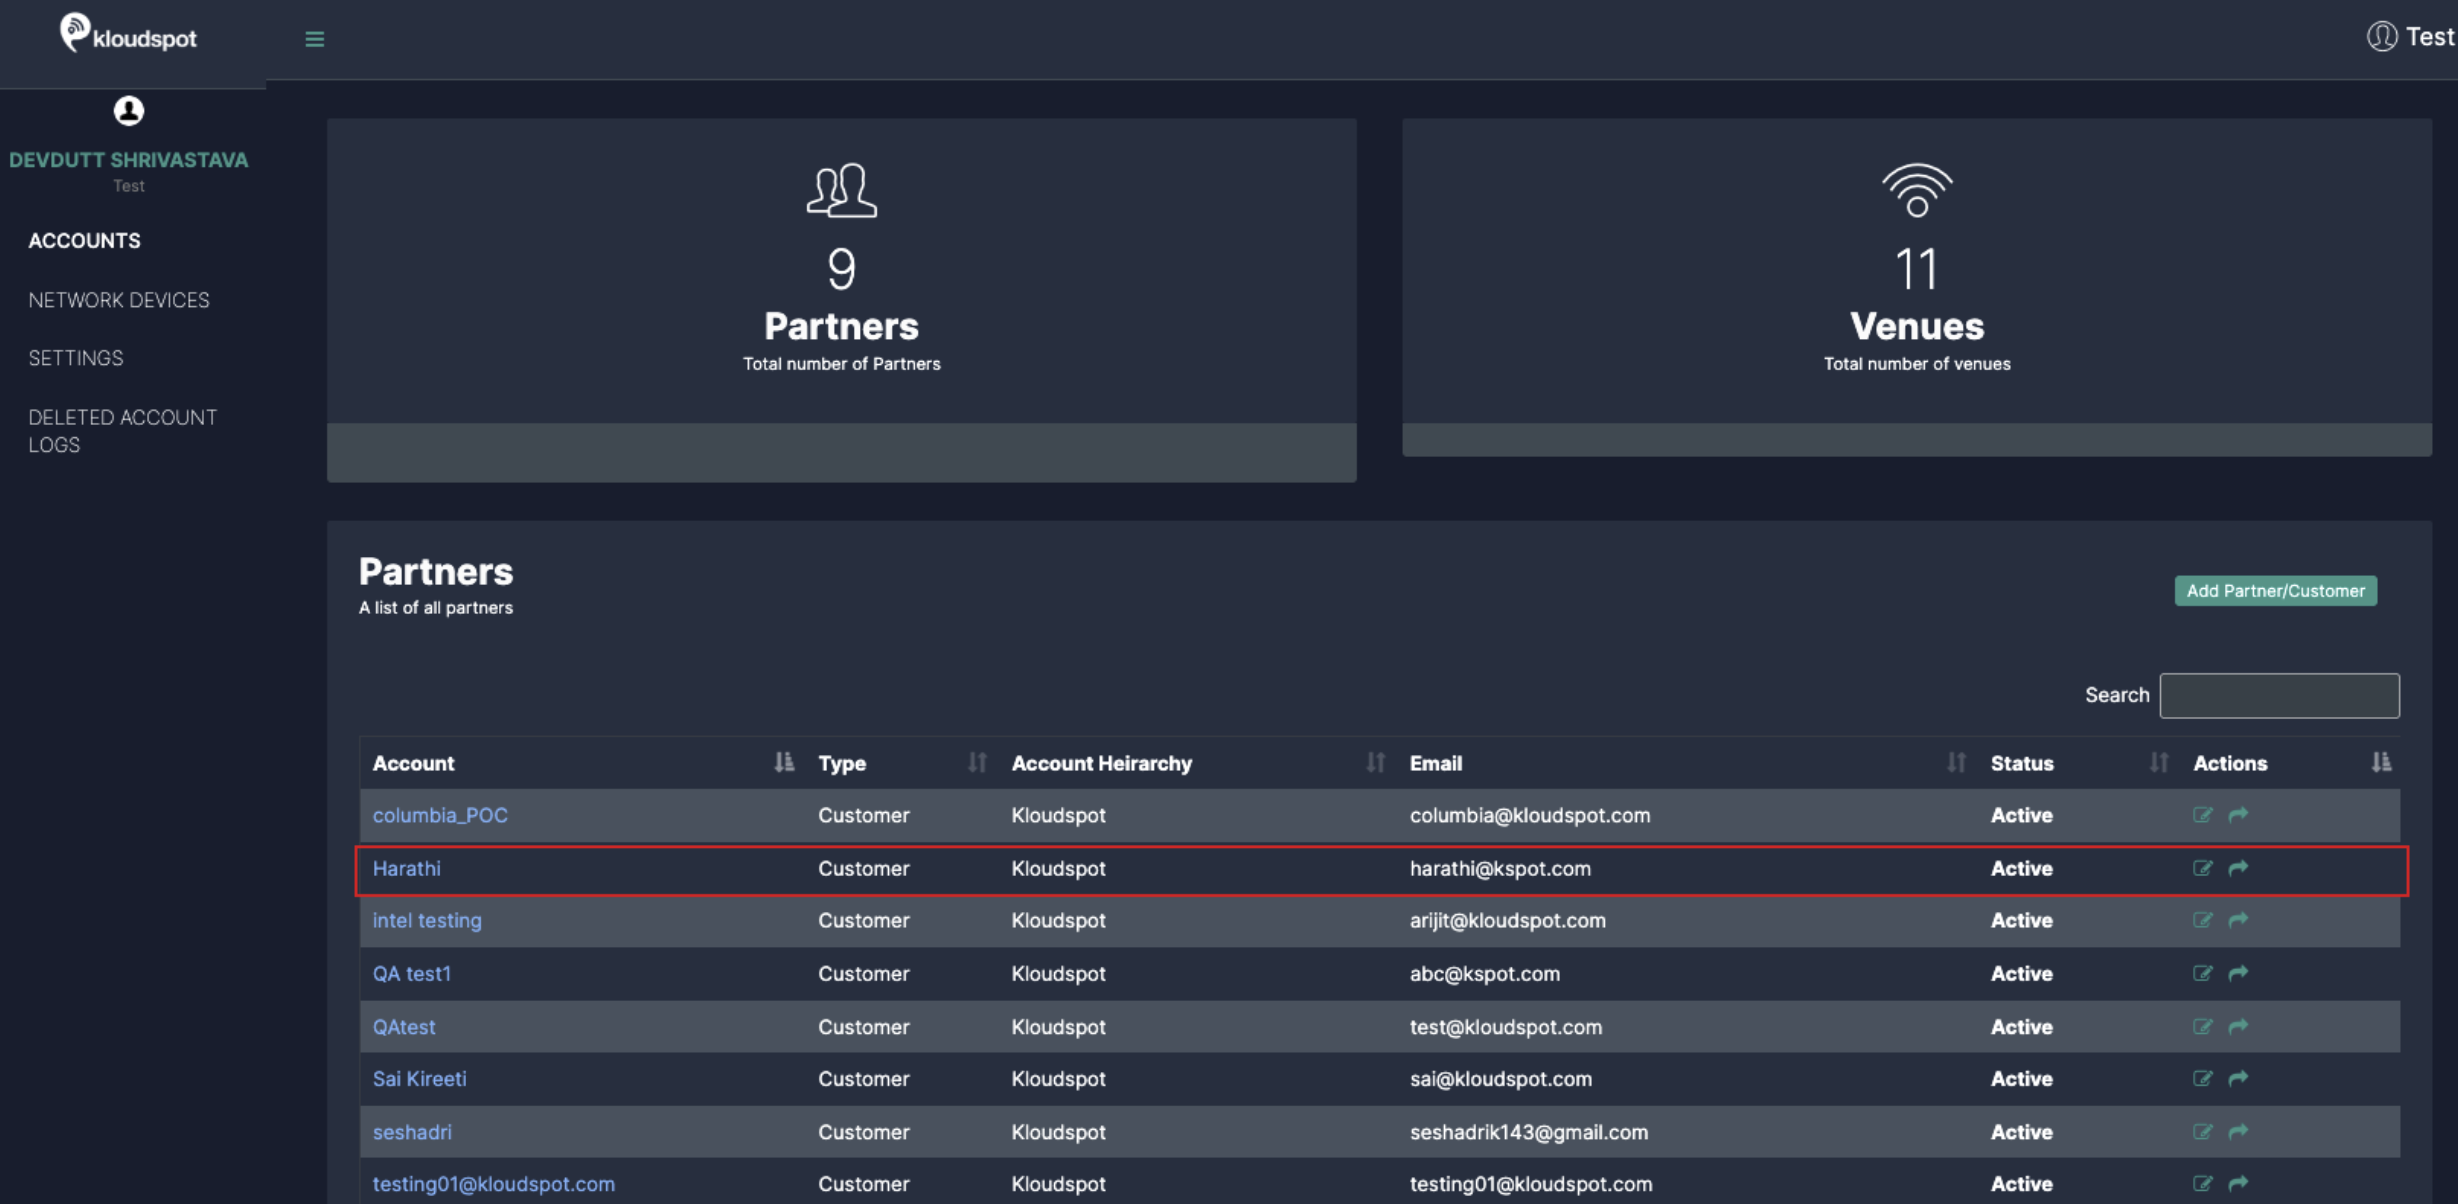
Once you have connected the controller, the next thing you need to do is to add the cameras to it. To do so, Click on the KloudManage and Choose your account.
-
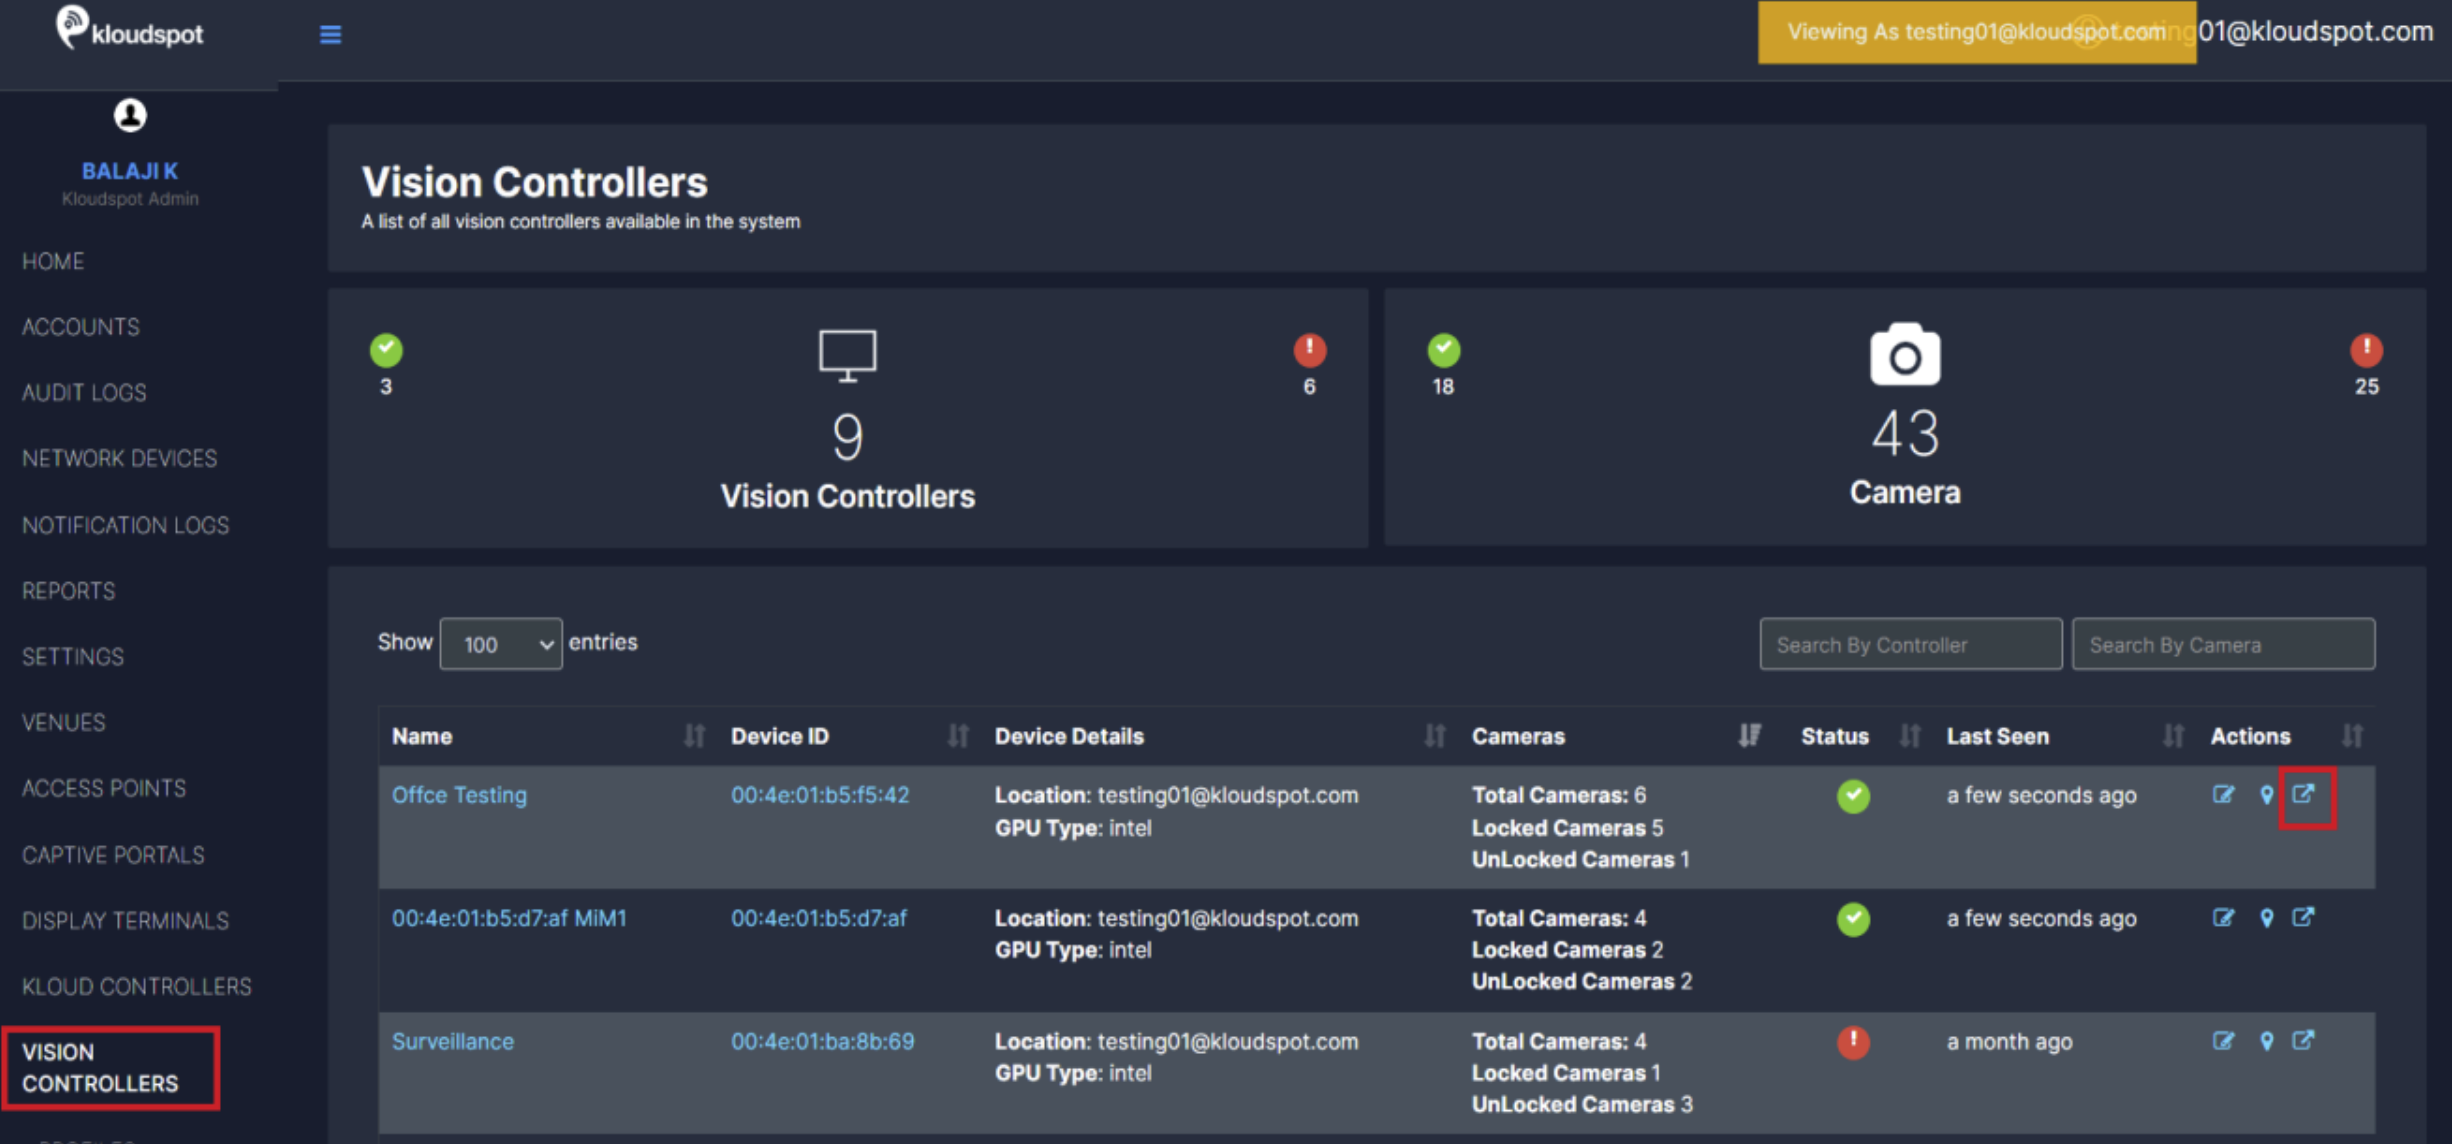
Navigate to VISION CONTROLLERS > Click on configuration icon for the desired controller.
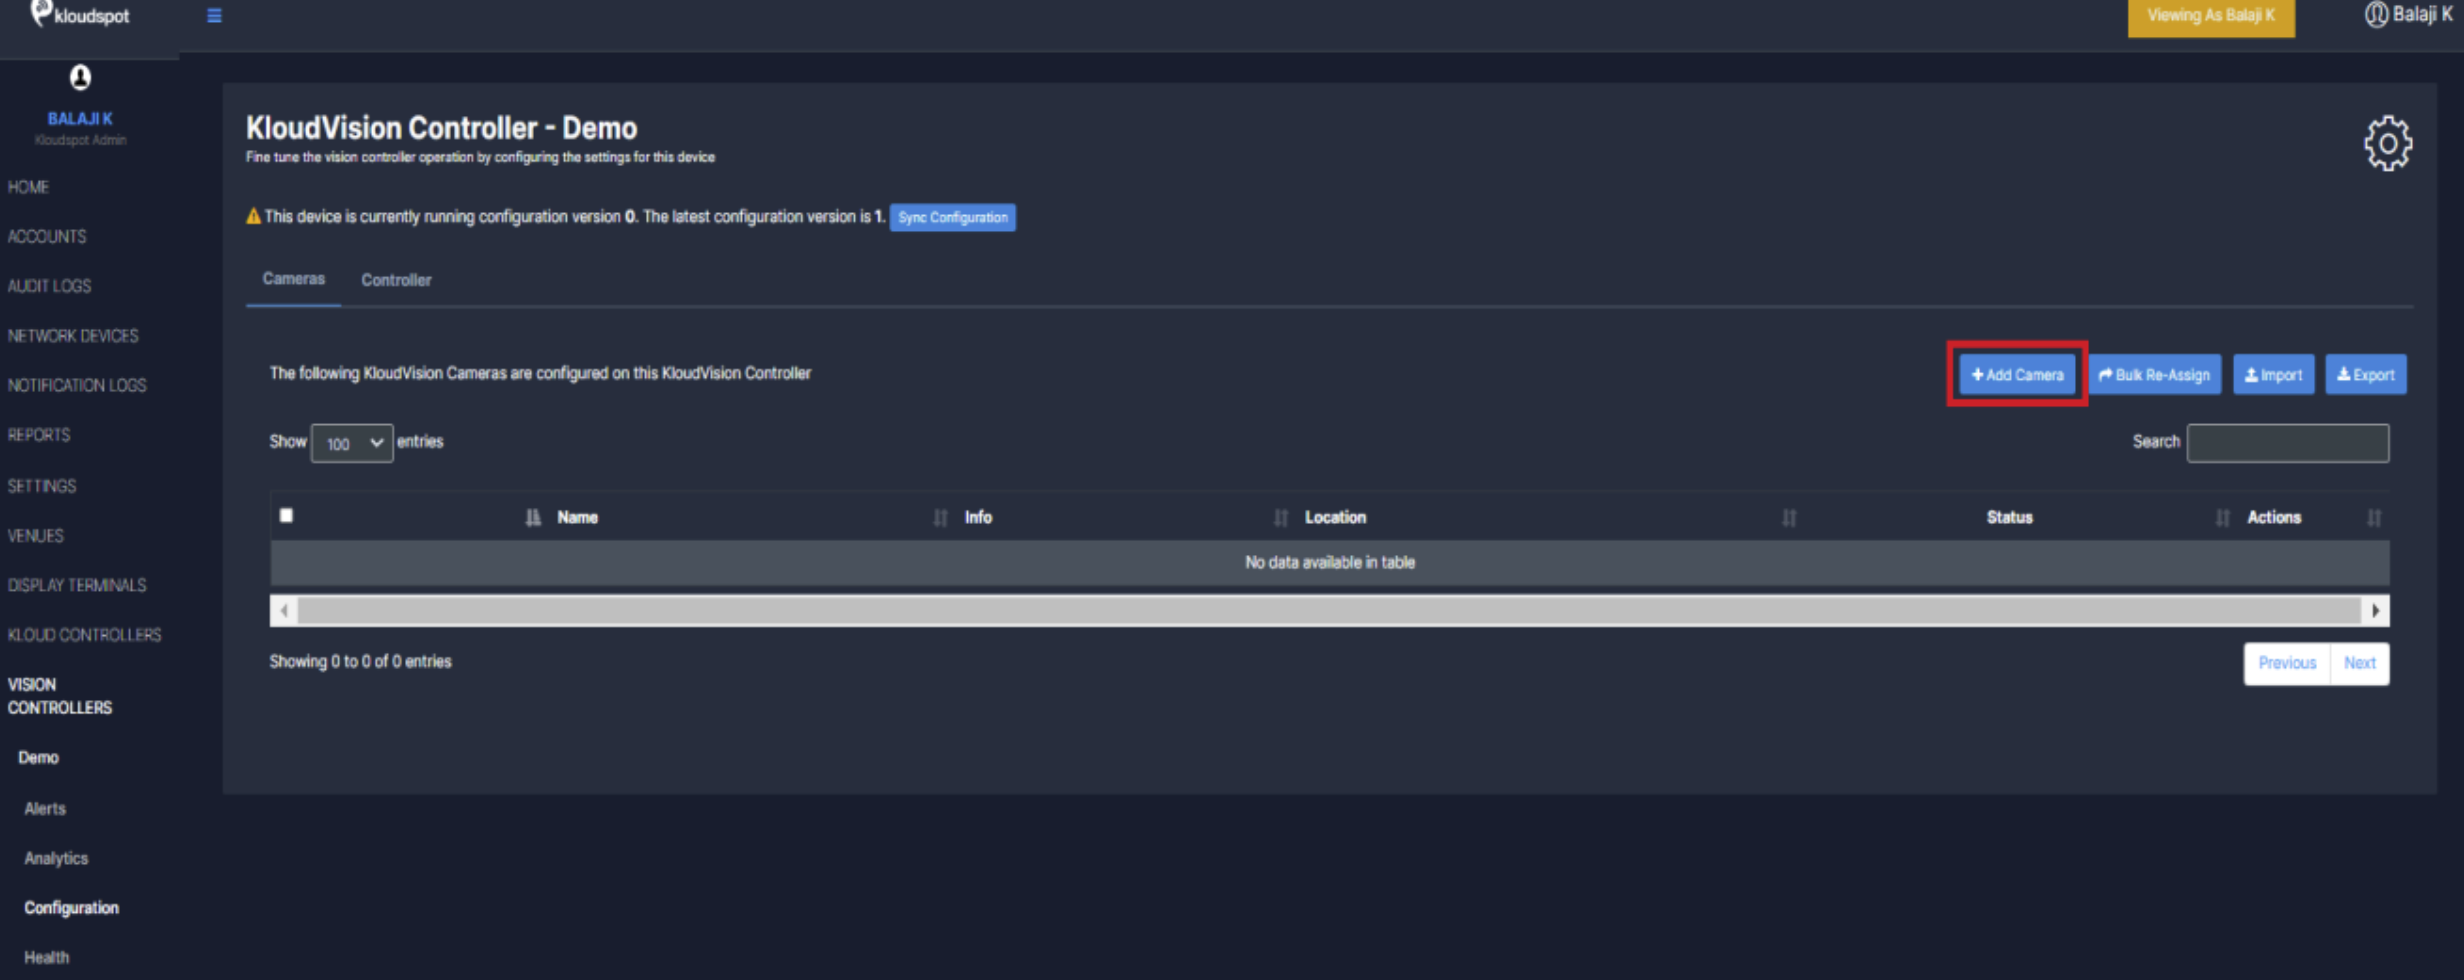
- In the window that opens click on the +Add Camera button
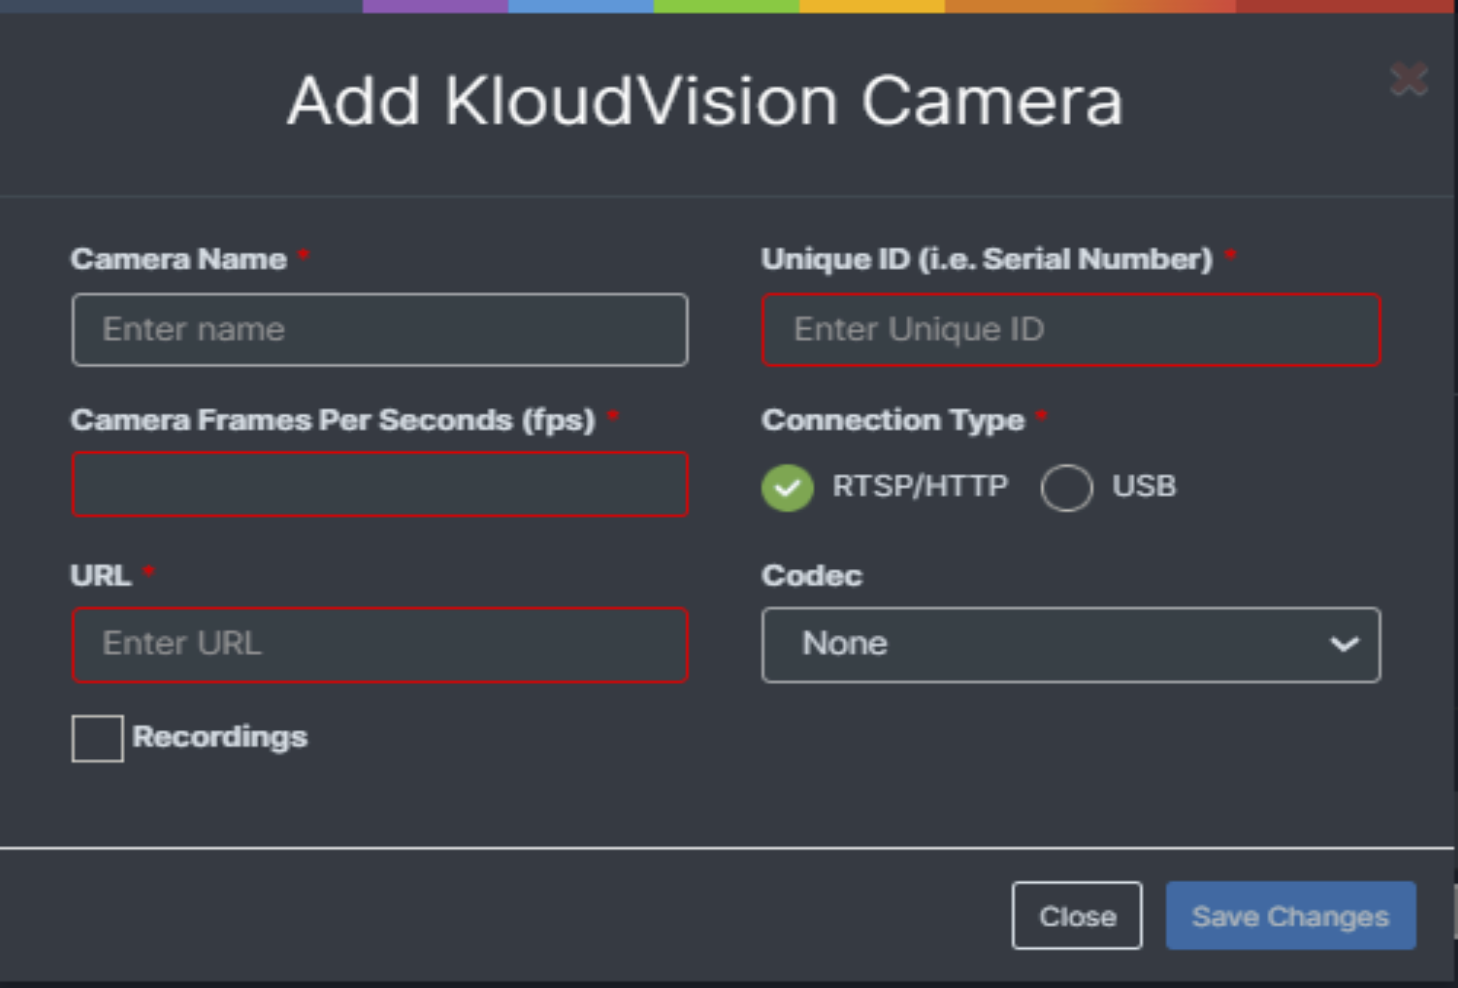
Enter the following in the popup window that opens and click the Save Changes button.
-
Name your camera.
(We recommend naming your camera based on its location or using a clear, identifiable name for easy recognition) -
Provide Unique ID for the Camera
(Assign a Unique ID to the camera for identification and management within the system) -
Enter Camera Frames Per Seconds (We recommend setting it to 25 FPS for optimal performance)
-
Choose the connection type (RTSP/HTTP or USB).
-
If we choose RTSP/HTTP we need to enter the URL you will link your camera feed from.
-
If using USB, provide the USB ID in the URL where the camera is connected (default is 0). (If unsure, please contact the Kloudspot Team for assistance.)
-
Select Codec based on the camera specifications (Refer to camera specifications)
Once the camera is configured, additional settings can be adjusted based on its intended use case.