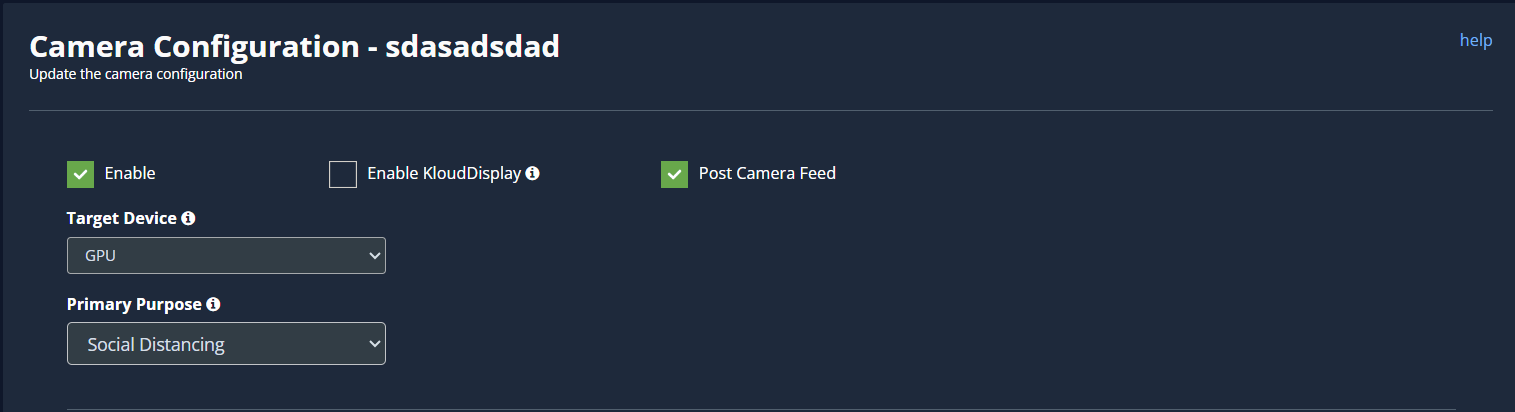
Social Distancing Configuration
-
Social distancing monitoring with KloudVison helps track the movements and distances of individuals and ensure they follow recommended social distancing guidelines.
-
Follow the steps below to configure ‘Social Distance’ on your chosen camera.
-
Select the Social Distance Option from the dropdown list.
-
Before you begin configuring the use cases, you should first configure the camera’s general configuration. Refer to the General Camera Configuration section for instructions.
-
The next step is to plot the ROI on the camera feed. Refer to the Draw ROI (region of interest) on the camera frame section to learn how to add an ROI to the camera feed.
-
Click the Save button to save the configuration.
Draw ROI (region of interest) on the camera frame.
-
ROI in camera frames can help to improve efficiency, accuracy, and reduce storage requirements.
-
Two drawings are required to track social distancing.
- Vertical and horizontal distance
- Social distance ROI nodes
-
Follow the steps given below to draw Vertical and horizontal distance.
- Draw a horizontal line using a polyline tool. It will have three points.
- After drawing, click the Finish button.
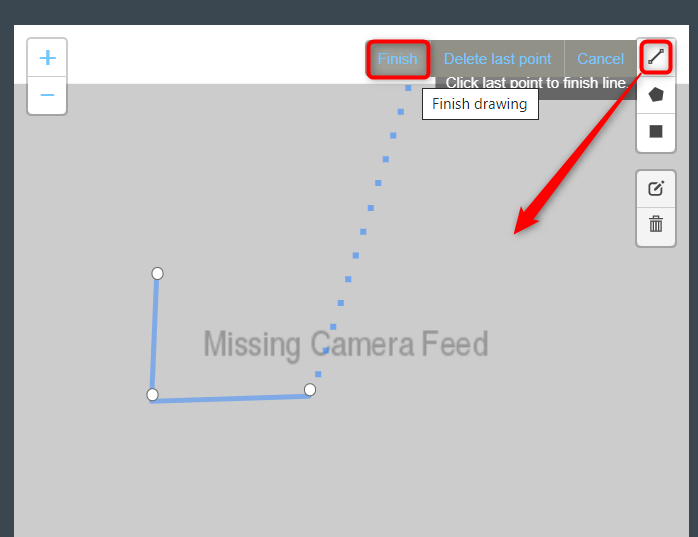
- Then enter the zone name in the popup window that opens and click the Save button.
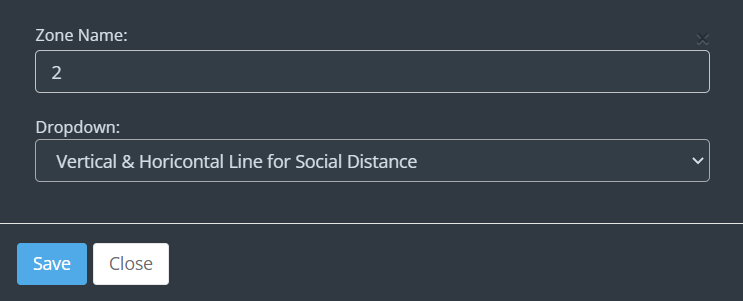
- Vertical and horizontal distance lines were added successfully.
- Follow the steps given below to draw social distance ROI nodes.
Note: Social distance ROI should be drawn only using the polygon tool.
- Refer to Draw ROI using the Polygon tool Section from the Configure face detection for more details.
Note : Polygon ROI should have only 4 points.
Configuring the social distancing Parameters
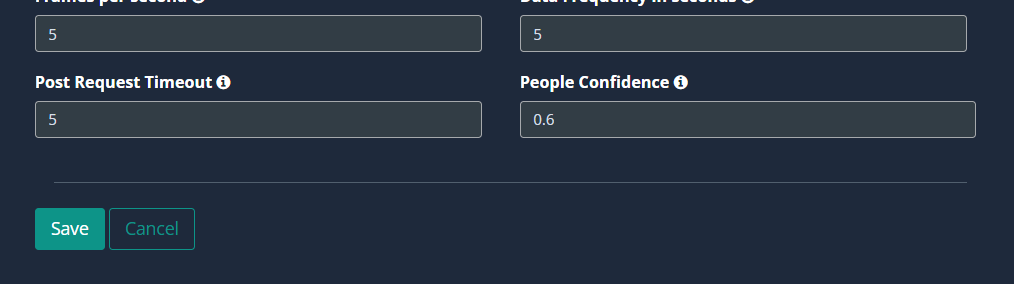
- Frames per second, Data Frequency in seconds, Post Request Timeout, and People Confidence , are common in some use cases. Refer General Configuration section to know more about these.
- Click the Save button to save the changes.