General Camera Configuration
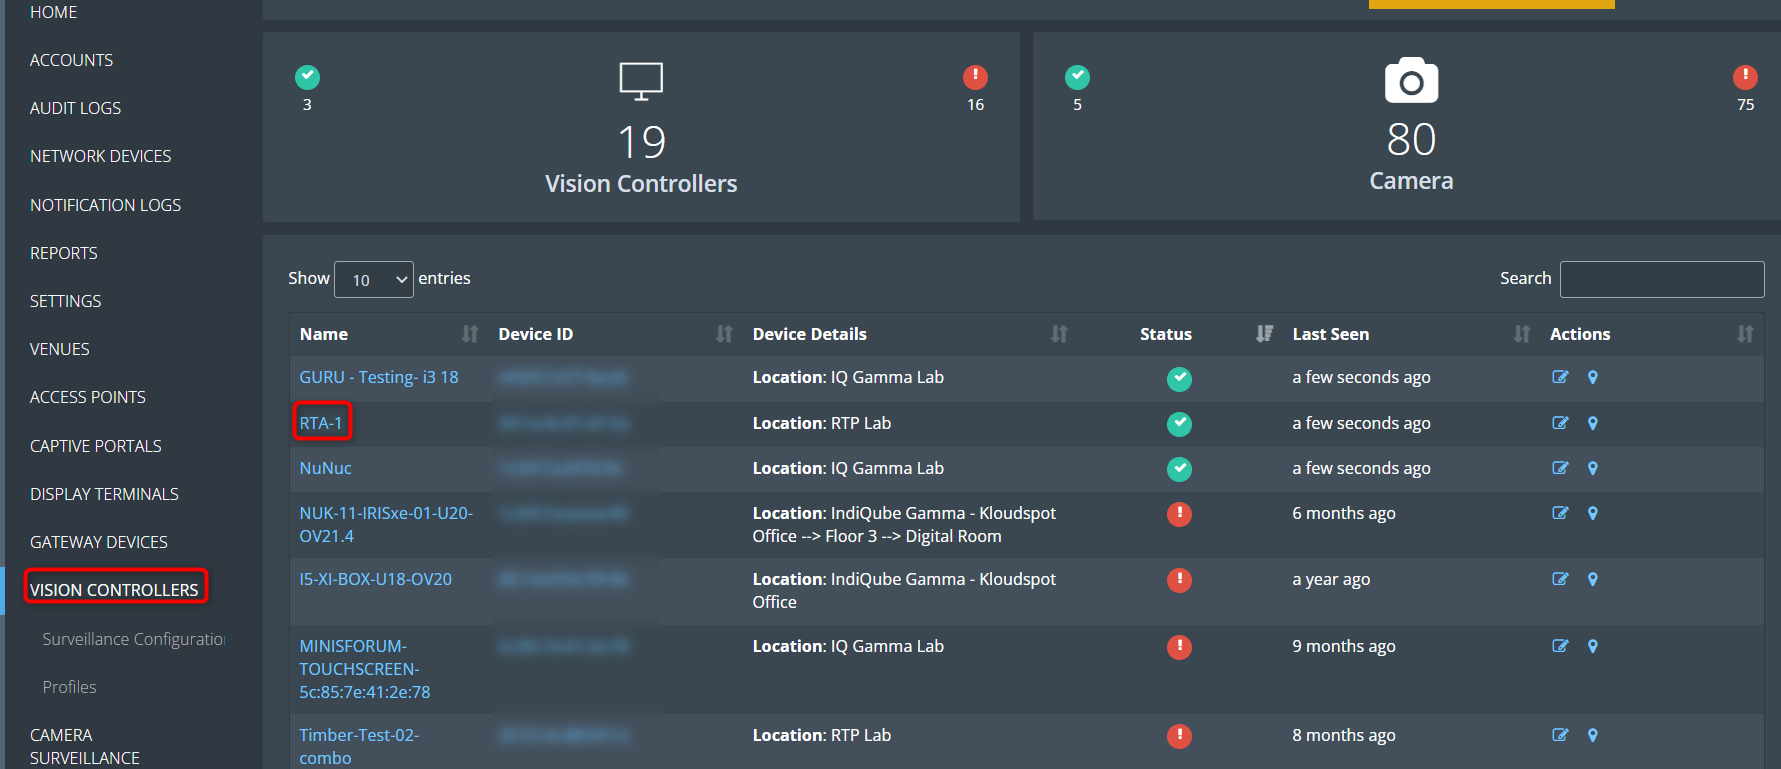
- Here are the common steps to do regardless of which camera you install. You can configure the following according to your needs. To configure general camera configurations, navigate to Vision Controllers > (Select the controller).
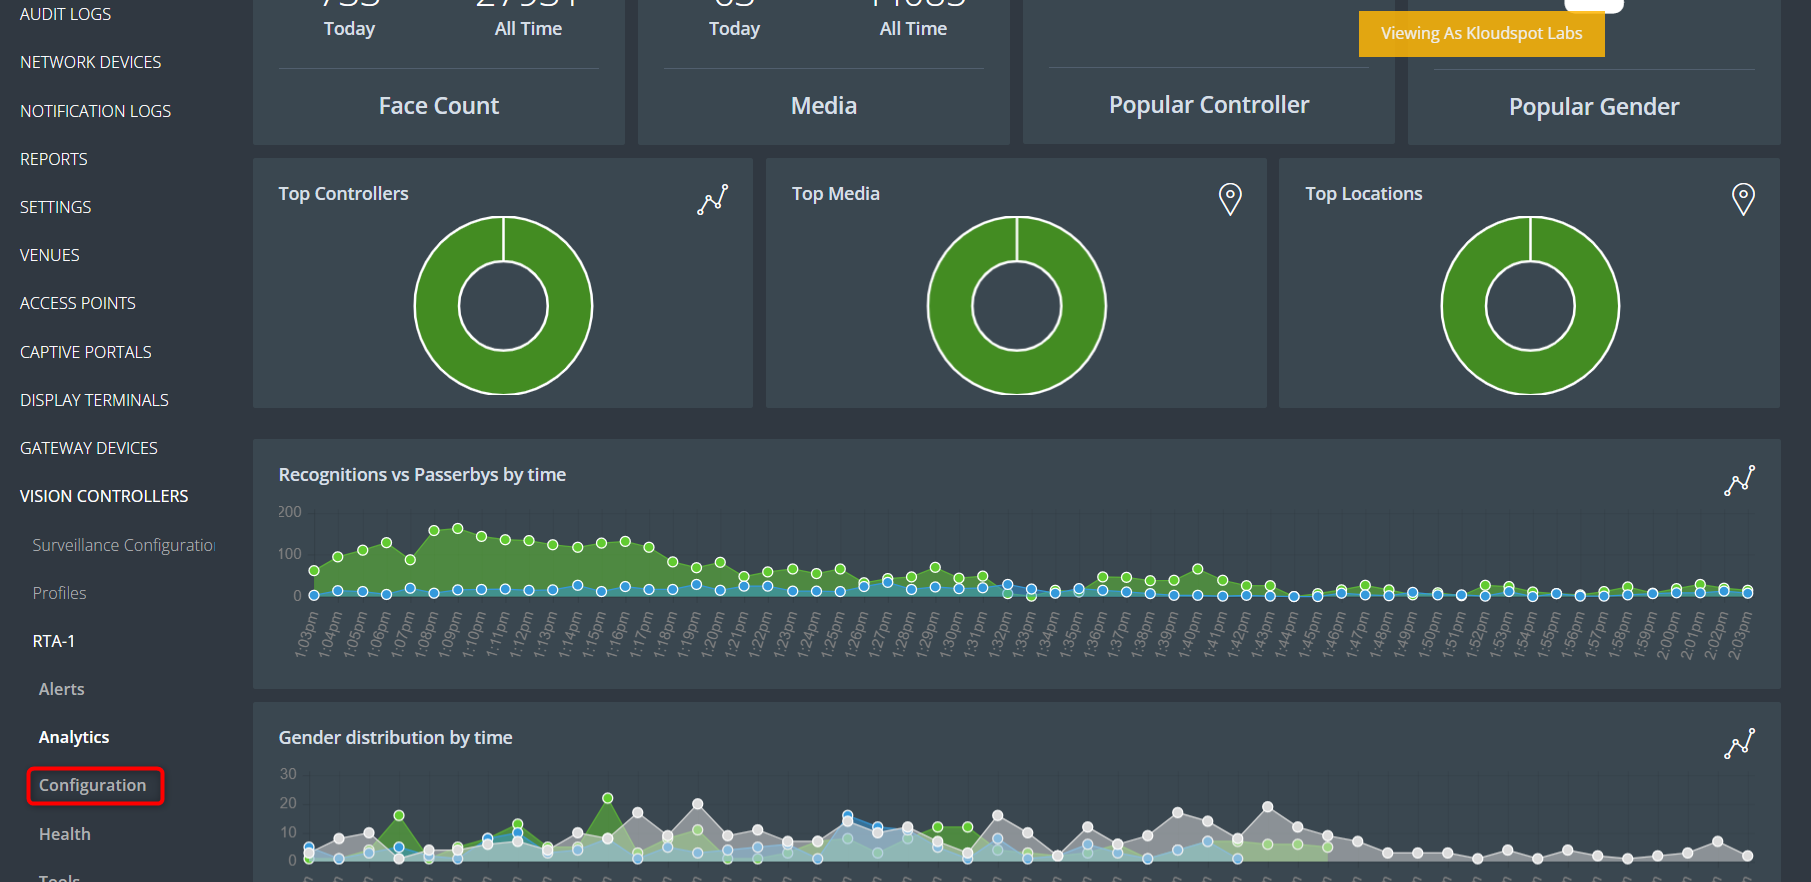
- Immediately the controller dashboard will open and click on the configuration button from the menu bar.
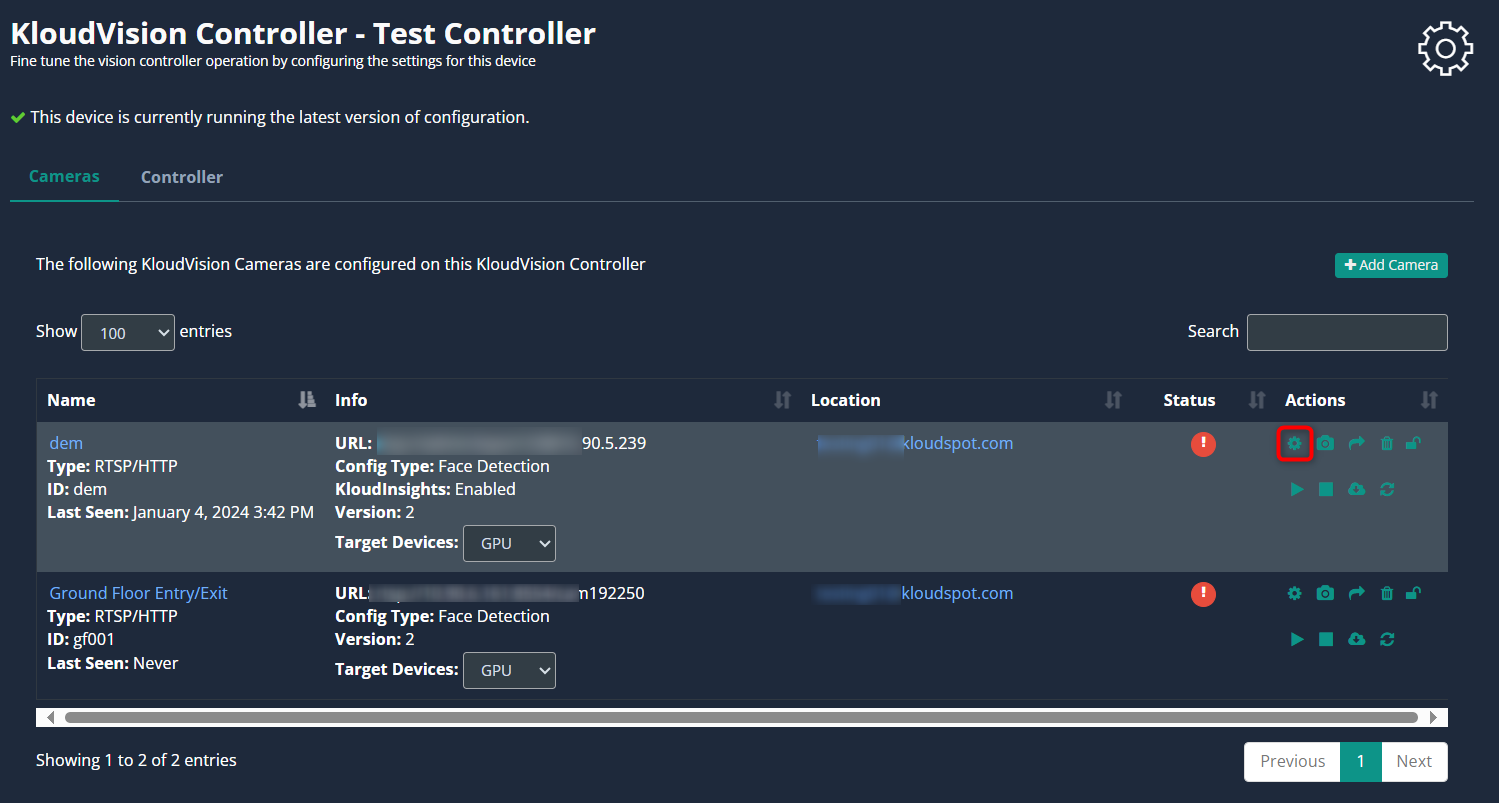
- In the camera list that opens, click on the Configuration button next to the camera you want to configure. Immediately the camera configuration window will open.
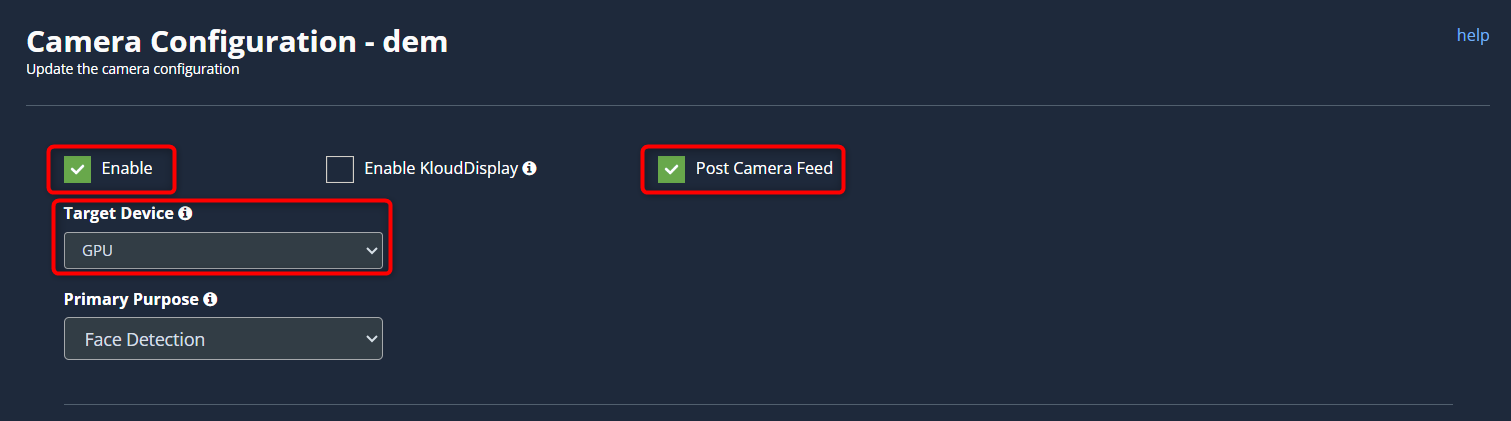
- The configurations used as common in all use cases are given below.
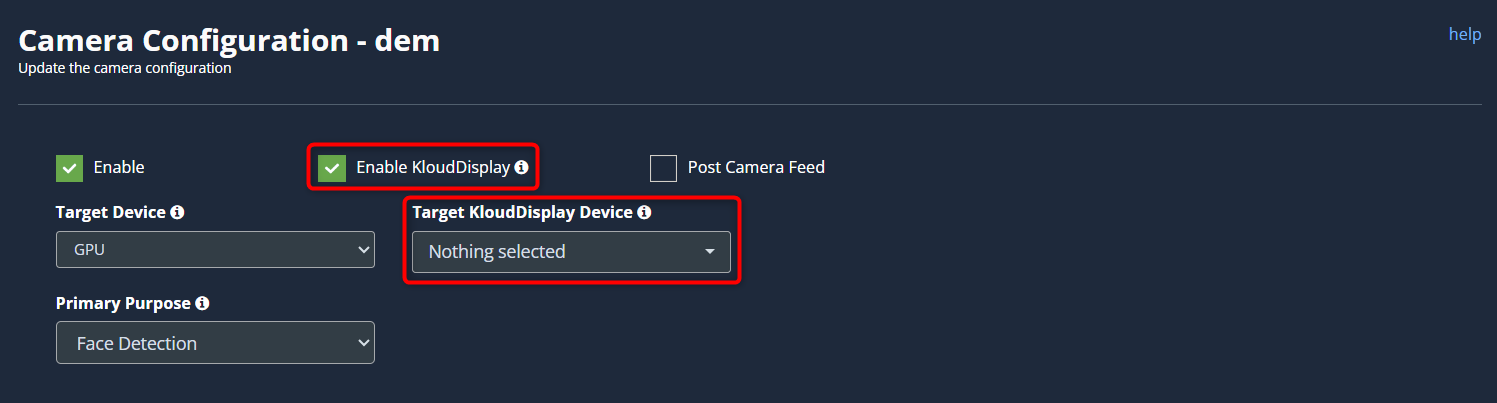
- Enable: To activate any camera setup you desire, check enable checkbox.
- Target device: Select the type of hardware used.
- Post Camera Feed: Enable this check box if you want to get camera status in KloudManage application.
- Enable KloudDisplay: Check this option to configure a KloudDisplay to react to the events generated by the camera. Click on the Target KloudDisplay dropdown to tie this camera with a KloudDisplay. Examples of this could be displaying a ‘Please wear a mask’ message on the display when the camera detects a person without a facemask.
- Profile:
-
Select the profile containing the configuration to be added from the dropdown list. Refer to the Create profiles section for more information about profile.
Note: This is useful if you are doing the same configuration on multiple cameras. Otherwise, this step can be skipped.

-
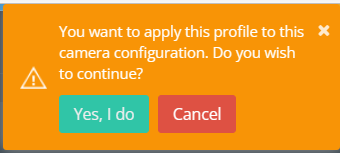
Click Apply Profile button to apply the profile. In the popup window that appears, click on the Yes, I do button.
Note: Once applied, the configuration cannot be edited later.
- Buffer Frame For Recording:

-
Enable KloudInsights: If you intend to share data from this camera with KloudInsights, please enable the designated checkbox. This will allow you to utilize the collected data to create new dashboards within the KloudInsights platform. Before proceeding, ensure integration between our Kloud Insights platform and KloudManage. Refer to the Integration with KloudManage section for detailed instructions on how to perform this integration.
-
KloudInsights Post URL : Enter your KloudInsights URL here.

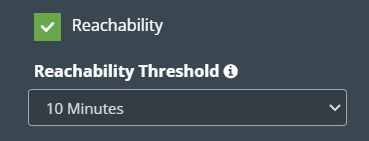
- Reachability: It notifies you if the camera is inactive for an extended period. For example, If you set reachability to 10 you will get a notification if the camera is inactive for more than 10 minutes.
- The following are the common options available in advanced settings. Values shown below are the default values for each of these options. The default values can be changed as per configuration required.
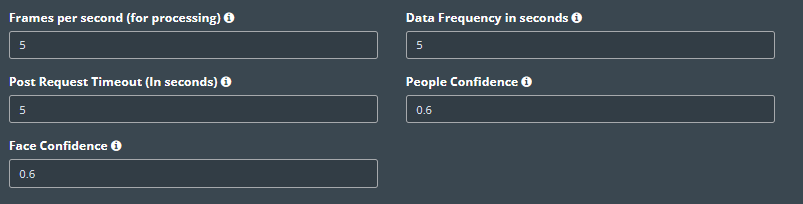
- Frames per second (for processing): These are the number of frames used by Vision Controller every second for data processing. KloudVision does not use all the frames emitted from the camera in a second. Higher values provided in this field may increase CPU/GPU usage.
- Data Frequency in seconds: This value indicates how long Vision controller aggregates data before sending it out to KloudInsights. A lower value may increase the data frequency and result in a faster response. A higher value results in a delayed response.
- People confidence: This value is the probability that a detected shape on camera is a person. Higher values may fail to detect people. Lower values may detect objects that are shaped as people.
- Face Confidence: This value is the probability that a detected shape on camera is a face. Higher values may fail to detect faces. Lower values may detect objects that are shaped like faces.
- Post Request Timeout (in seconds): This value indicates how long KloudVision waits and retries to send the payloads out to KloudInsights until it reaches the preset timeout period.