Face Recognition Configuration
-
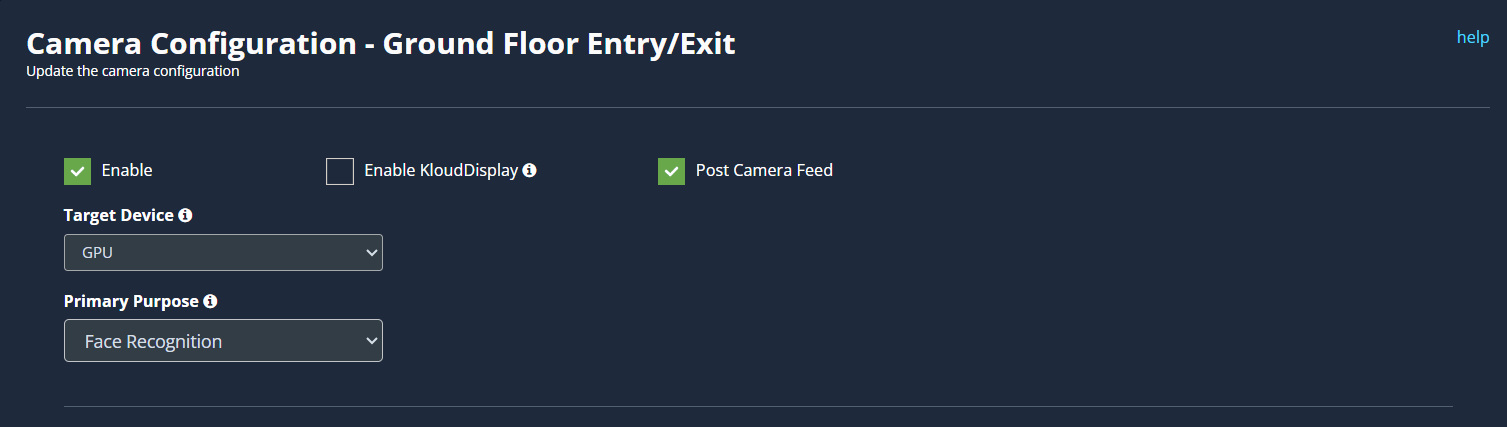
If you want to configure Face Recognition Configuration on your camera, you can do it using this feature.
-
Before you begin configuring the use cases, you should first configure the camera’s general configuration. Refer to the General Camera Configuration section for instructions.
-
Then, select the Face Recognition Configuration from the drop-down list.
-
Scroll down and select the entry type. There are two entry modes available:
-
Single entry at a time: If this type is selected, only one face will be recognized at a time.
-
Simultaneous multiple entry: If this type is selected, it helps to recognize multiple faces at a time.
-
-
Specify the Detection Range (in meters). This setting allows you to specify the distance between the camera and the person you want to identify.
-
Check GetCSV Checkbox if you need CSV report of face recognition.

-
The next step is to plot the ROI on the camera feed. Refer to the Draw ROI (region of interest) on the camera frame section to learn how to add an ROI to the camera feed.
-
Click the Save button to save the configuration.
-
Other settings for face recognition should be set within KloudInsights. Refer to the Face Recognition System (FRS) manual to learn how to do this.
Draw ROI (region of interest) on the camera frame.
-
ROI in camera frames can help to improve efficiency, accuracy, and reduce storage requirements.
-
Here, ROI is optional. If ROI is not added, the model will detect the entire frame.
-
For Face Recognition, ROI can be drawn in two ways.
- Using the polygon tool
- Using the rectangle tool.
-
Refer to Draw ROI using the Polygon tool., Draw ROI using the rectangle tool., and Monitor the camera view. Section from the Face Detection for more details.