Gateway Alerting
This document gives detailed information and functionality of the alerts and notifications feature incorporated in the Kloud Gateway.
Alerts: Alerts are tasks that continually monitor active queries to look for and report on specific events or conditions depending on the criteria we set. When the conditions of the alert are met, an alert notification is triggered.
Notifications: Notifications are simple messages generated by the system when certain events have occurred within.
Getting started
Log into the NMS portal with user credentials.
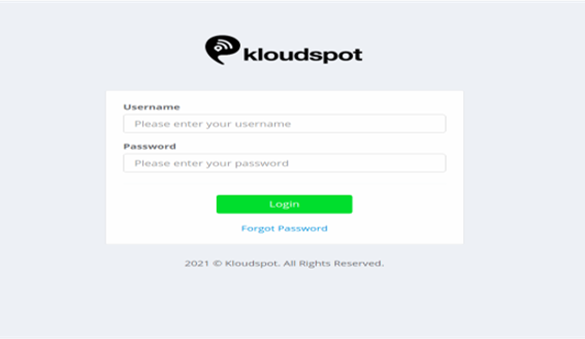 Fig 1: NMS login page
Alerts
Following are the fundamentals to set up alerts. Alerts are generated at constant intervals of time.
- Make certain prerequisites to enable alerts in the system.
- Define the threshold for the alerts.
- Specify contacts to send the alerts.
- Send the notification for the alerts.
How to set up alerts?
Note: Considering the Gateway, the device is already configured.
Steps
Referring to the figure below, set up the alerts.
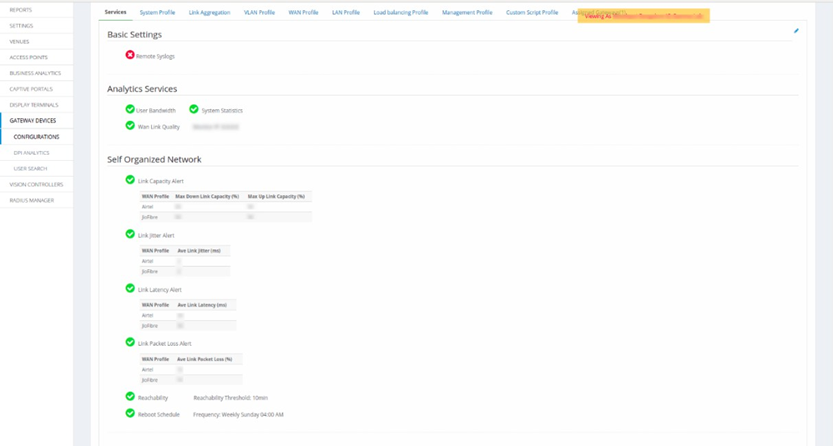 Fig 2: Gateway Configuration page
- Click on the Configurations option under Gateway Devices.
- Services tab will be open by default.
In Analytics Services, enable the ‘WAN Link Quality’ box to check the quality of the specific WAN link and enter an IP address in the ‘Monitor IP’ box to get alerts for the WAN.
Note: WAN link-related alert options will only be available if the ‘WAN Link Quality’ box is checked.
3. Self-Organized Alerts:
a. Link Capacity Alert: Enable this option to get an alert on the capacity of the link. Select a WAN profile and define the Uplink and Downlink capacity.
Note: If the U/L and D/L link capacity is set to zero in the WAN profile then no capacity alerts will be generated.
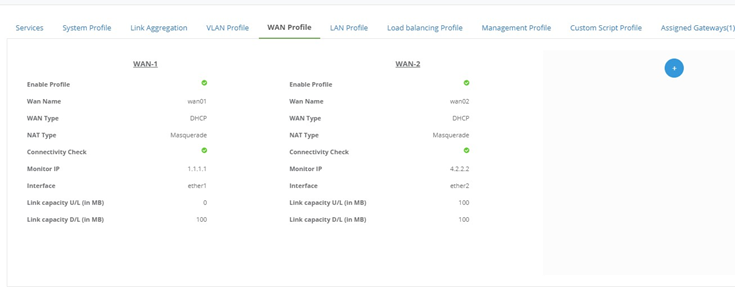 Fig 3: WAN profile page
b. Link Jitter Alert: Enable this option to get an alert on the Jitter on a link. Select the WAN profile and define the average jitter in milliseconds.
c. Link Latency Alert: Enable this option to get an alert on the latency of the link. Select a WAN profile and define the average link latency in milliseconds.
d. Link Packet Loss Alert: Enable this option to get an alert for a link in case of packet loss. Select the WAN profile and define the average percentage of packet loss on the link.
e. Reachability: Enable the option to send an alert in case the device is not active for the pre-defined threshold time.
f. Reboot Schedule: Enable this option and set a frequency to send an alert if a reboot on the device is to happen at the pre-defined time and day.
Note: For all the link-related alerts (from a to d), the Gateway device must have internet connectivity and communication with the NMS. However, the reachability feature does not need internet connectivity to generate an alert.
Available platforms to see the alerts
Alerts are available at different levels within the portal.
- Audit logs: Alerts can be seen on the left-hand side of the homepage, in the Audit Logs option in Alert logs.
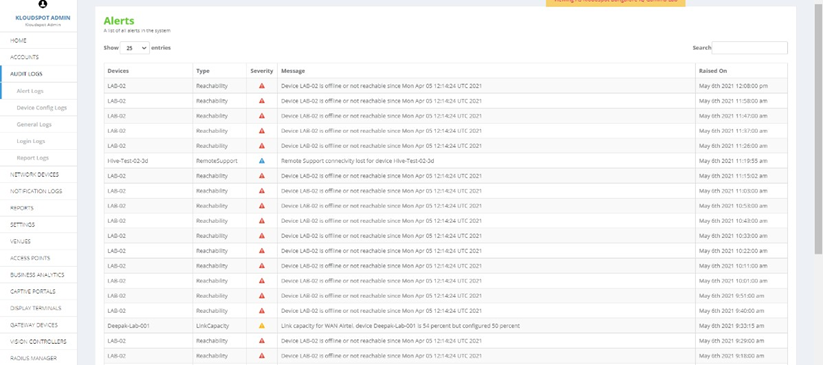 Fig 4: Alerts Logs Page
2. Venues: Alerts are also seen in the VENUES option. To see the alerts, on the left side of the homepage, click on VENUES and select the desired venue (for example: BangaloreLab) and click on the Alerts option below.
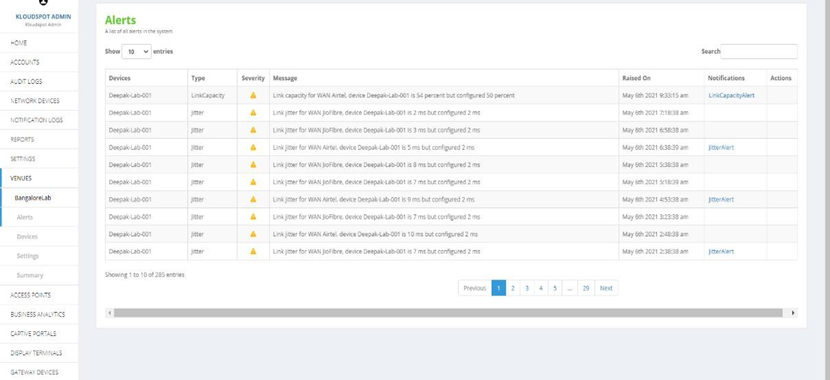 Fig 5: Alerts Page in VENUES
3. Gateway Devices: Alerts can also be seen on individual device level. On the left side of the homepage, click on GATEWAY DEVICES, select and click on the desired device and click on the Alerts option below.
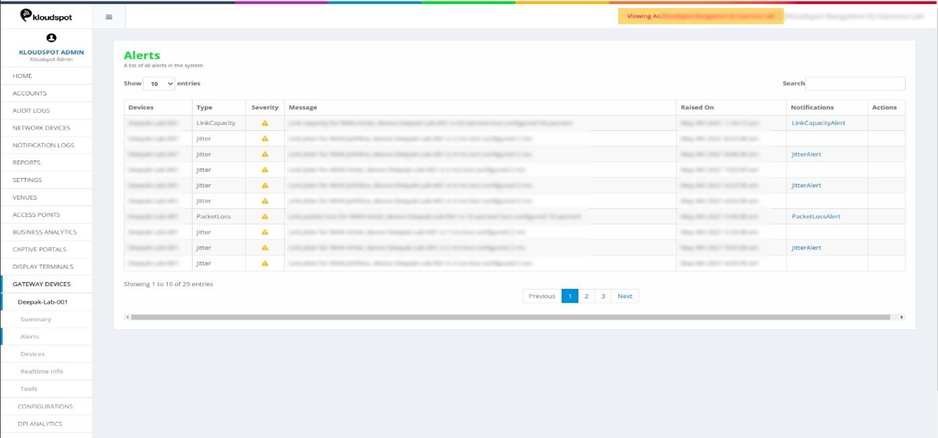 Fig 6: Alerts page in GATEWAY DEVICES
Notifications
Notifications are the messages sent out of the NMS to the respective contacts in case of any action takes place within the system.
Set up Alert Notifications:
- In the Settings tab, go on to Alert Notifications. Click on +Add notification to add notifications as shown in fig below.
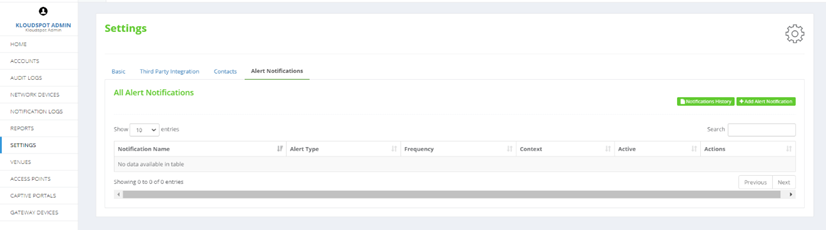 Fig 9: Alerts notifications page
2. In the Alert Notification tab, fill in the required information.
Note: Contacts will be shown in the list only if they are already added. To add a contact refer to How to add Contacts? document.
 Fig 10: Adding Alert Notification
a. Active: Enable this option to activate the notifications.
b. Notification type: Select the alert type you want the notification message for.
c. Name: Enter a name for the Notification type.
d. Frequency: Define the time intervals for which the notifications will be sent out.
e. Notification Context: Choose Account option or click on Custom option to choose from multiple venues and floors.
f. Select Contacts: Choose from the contacts added to the system to which the notifications will be sent.
g. Click Save.
3. Added notifications can be edited by clicking on
 shown in figure below.
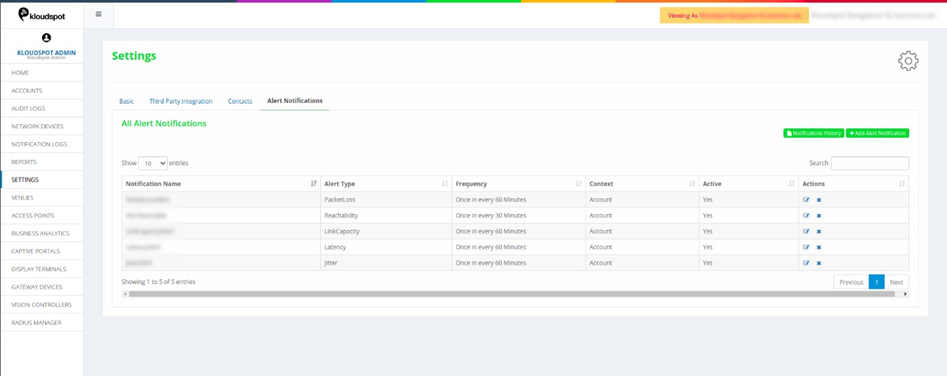 Fig 11: Edit/Delete Alert notification
Types of Notifications available:
Notifications can be seen in the Notifications logs on the left-hand side of the Homepage.
The figure below shows,
Alert Notification: Total number of alert notifications generated.
Email: Number of notifications received via email.
SFTP: Number of SFTP notifications received.
Slack: Number of Slack notifications received.
SMS: Number of notifications received via SMS.
Graphs: Graphical representation of the statistics of notifications received.
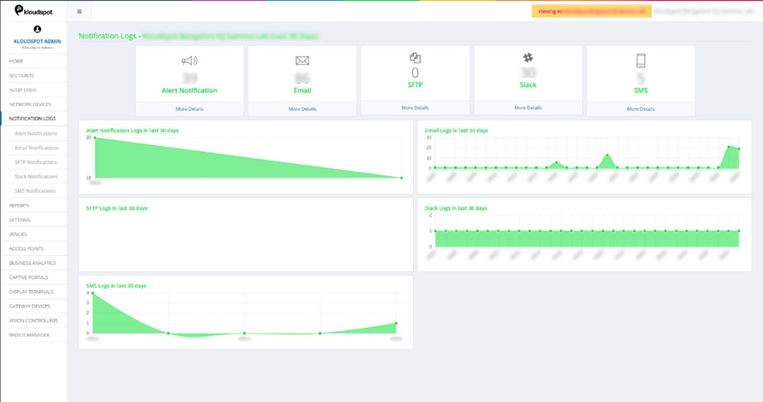 Fig 12: Notifications Summary
Notification Logs
- Alert Notifications: This lists the details of all the alert notifications sent. It covers all the details like the Name of the device for which the alert is sent, the type of alert notification, name assigned to that notification, Last updated time, contact the notification is sent to and status of the notification.
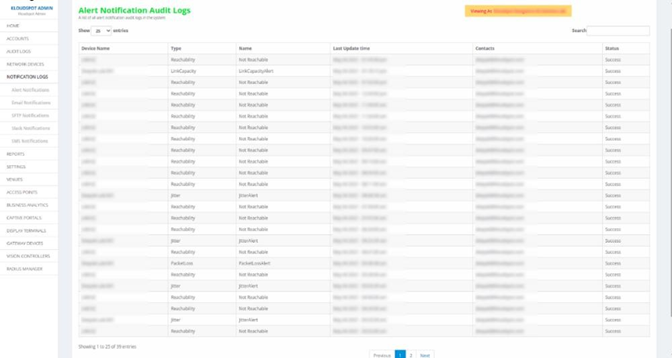 Fig 13: Notifications Logs page
2. Email Audit Logs: This table lists the notifications sent via Email.
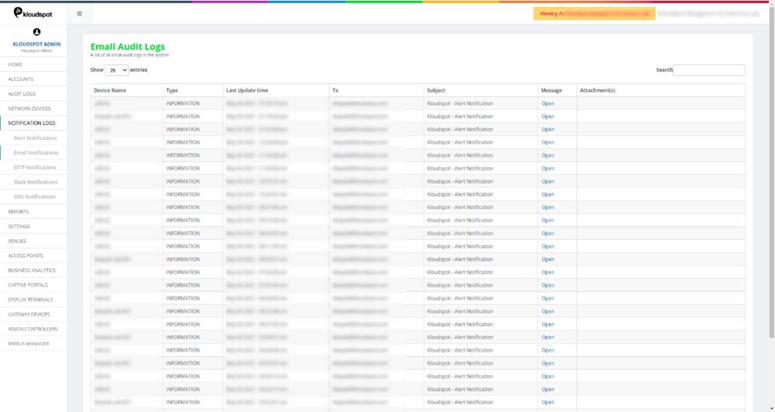 Fig 14: Email Notification page
3. Click on open for more details about individual notifications. Details will be shown in the figure below.
 Fig 15: Details of email notifications
4. SFTP Notifications: Lists all the SFTP notifications.
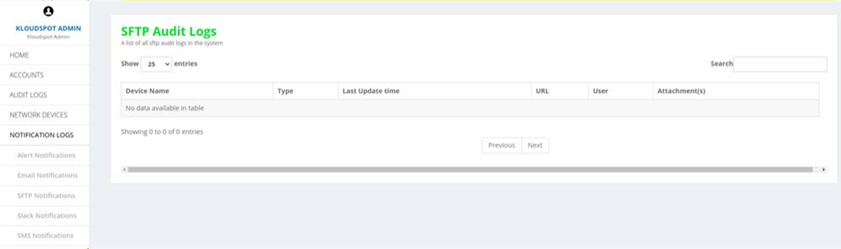 Fig 16: SFTP Notifications page
5. Slack Notifications: Lists all the Slack notifications.
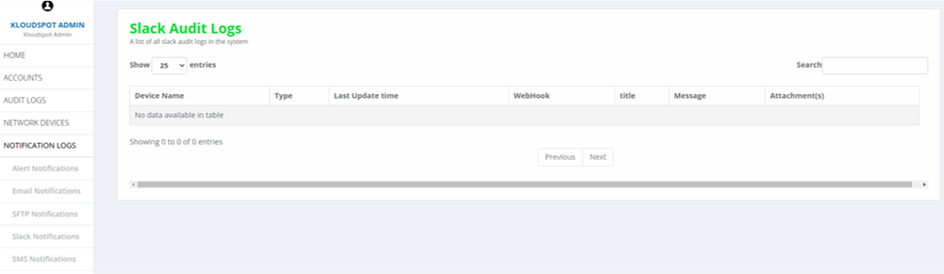 Fig 17: Slack Notifications page
6. SMS Notifications: Lists all the notifications sent via SMS.
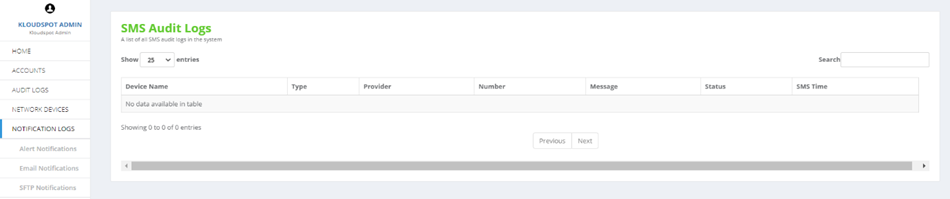 Fig 18: SMS Notifications page