Templates

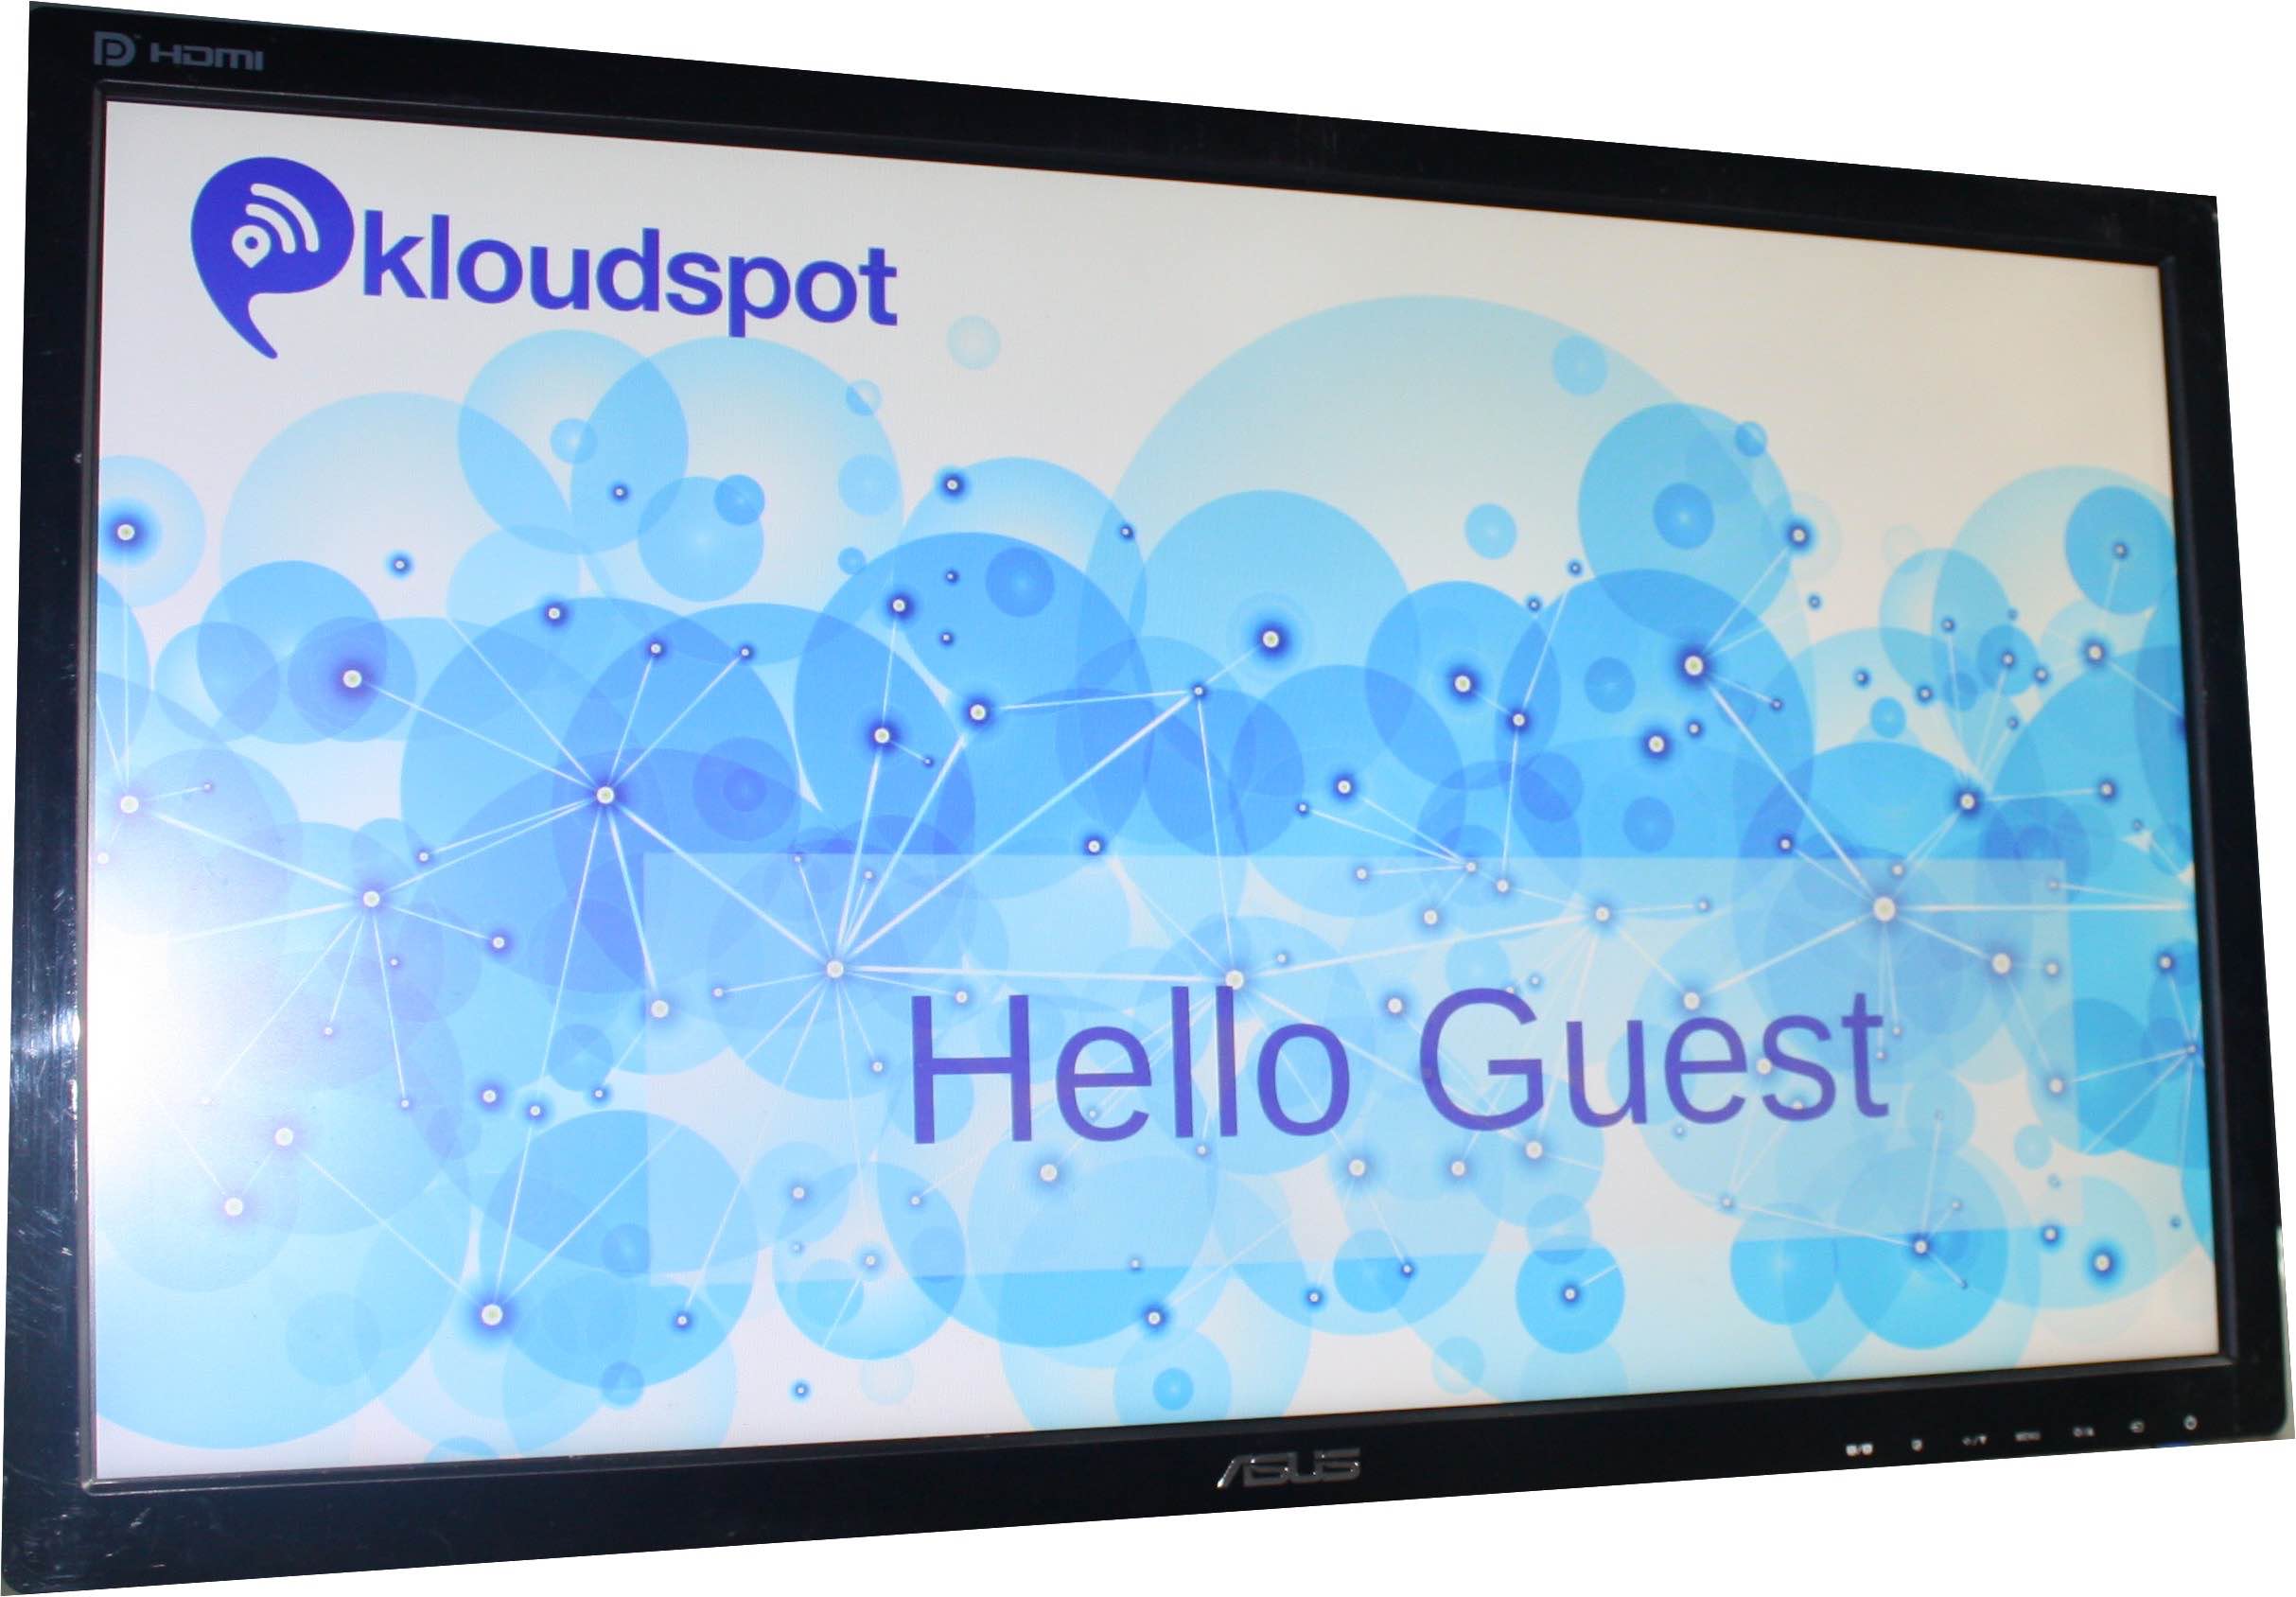
After you’ve created the resources you want to use, your next task is to place them within the template. This is where you assemble everything together to create the final display. In this section, we’ll guide you through the process of adding these resources to the template, showing you the steps to seamlessly integrate them. This way, you’ll have a clear understanding of how to bring all the elements together for your setup.

Template Structure in Display Terminals

A template serves as a framework for organizing and displaying resources on display terminals. It consists of multiple regions, each capable of accommodating one or more resources.

Refer Create Template section to know how to create a templete.

Note: Before utilizing templates, it is essential to create the necessary resources.

image image

Types of Templates

There are two types of templates available:

Regular Type Templates:

  • These templates are either consistently displayed or shown according to a predefined schedule.
  • When multiple templates are assigned to a terminal, they are displayed in a sequential manner, appearing one after another.

Event Type Templates:

  • These templates are triggered based on external events.
  • They can be activated through the API or triggered by Rules within the Analytics platform.

By utilizing templates, display terminals can effectively organize and present resources, providing a structured and visually appealing experience for viewers.

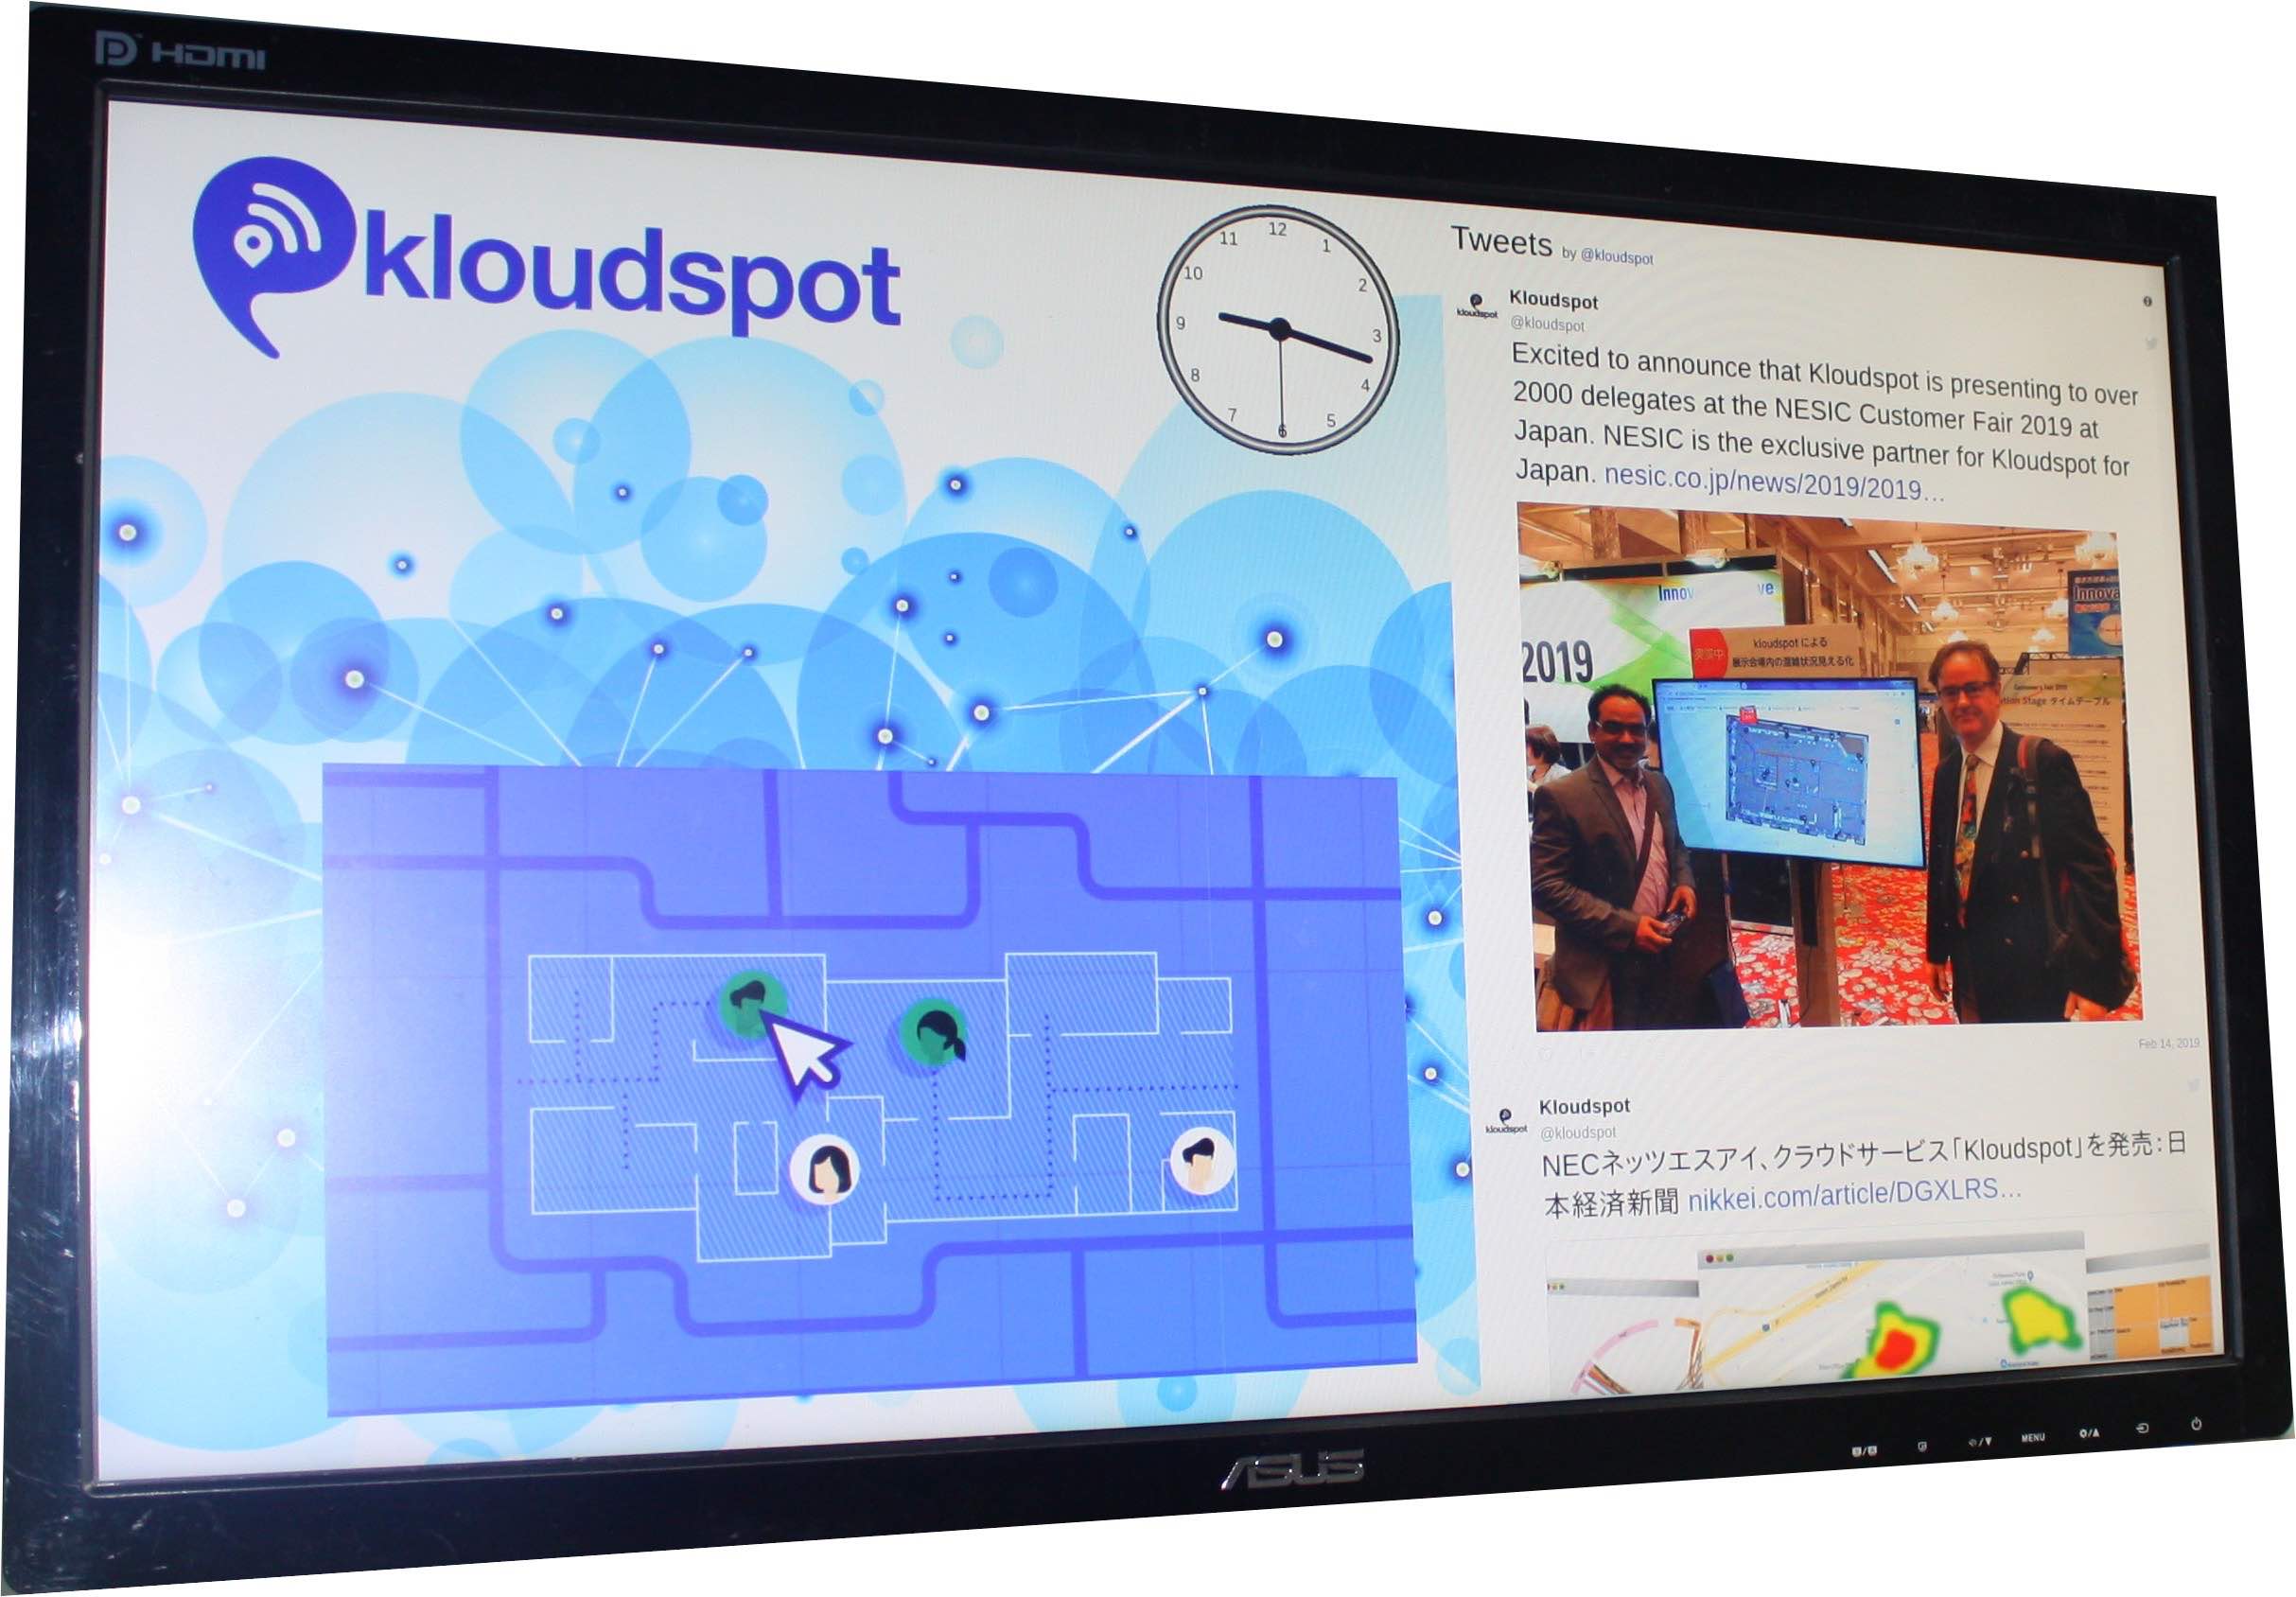
Table of content

Subsections of Templates

Create template

  1. A template defines how resources are displayed on display terminals. A template consists of a number of regions each containing one or more resources.
  2. You must create resources before they can be used in templates.

Create template and add resource

  1. Navigate to DISPLAY TERMINALS > TEMPLATE > Create New.
  1. Then, in the template window that appears, fill in all the fields.

Name: Enter template name

Display Type: Select the display type from the dropdown list. 3 types are available. Ultra HD(4K), Full HD(1080P), HD Ready(720P)

Background Color: Select Background color for terminal.

Priority: Select the priority from the dropdown list.

Orientation: According to the terminal direction of the displayed screen,

Select the orientation. you cannot assign a vertical orientation template to a horizontal orientation display.

Type: Two types are available Regular and Event. To gain a deeper understanding of these two types, refer to the Types of Template section.

3. The next step is to add the region to the template. For that click on Add Region button.

4. You can control the size, background color, and order for each region. You can also define how long each resource is shown in a region.

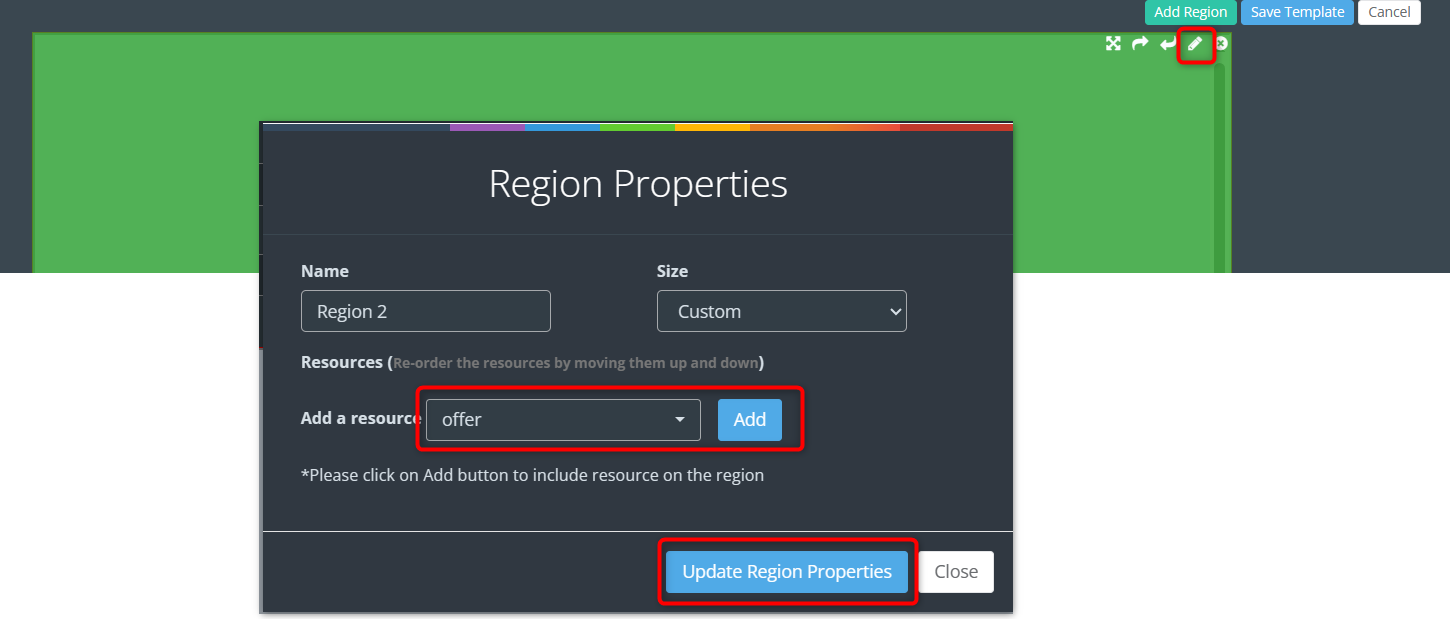
5. To add resources to the region click on the Edit button. Then, in the region property window that appears, select the resource to be added and click the Add button. If necessary, you can add things such as how long each resource should be displayed and how many times it should be displayed. Otherwise, it will show system default settings.

6. After adding enough resources, you can click on the Update Region Properties button.

7. You can drag and change the location of the region as needed.

8. Then Click on the Save Template button. The template is added Successfully. Now you have to add this template to your display terminal for that refer Add Template to Display Terminal section.

9. If you want to create a template group by including multiple templates, refer to the Template Groups section.

Template Groups

  1. A Template Group is a collection of one or more Templates. Templates within a Template Group can be ordered to see the sequence in which the content of each template is displayed.
  2. To create a template group, navigate to DISPLAY TERMINAL > TEMPLATES > Templates Groups > Create New.

3. Then, from the dropdown list, select the templates to add and click Save.

Note: All the Templates within a Template Group must be of the same Orientation as that of the Template Group.