Adding and Managing Display Terminal
-
Having successfully logged into the KloudManage software, you’re now ready to delve into the realm of adding and managing your display terminals. By seamlessly incorporating display controllers into Kloudmanage software, you’ll have the tools to create impactful presentations and engaging displays.
-
For that, navigate to NETWORK DEVICES > Add Network Devices.

-
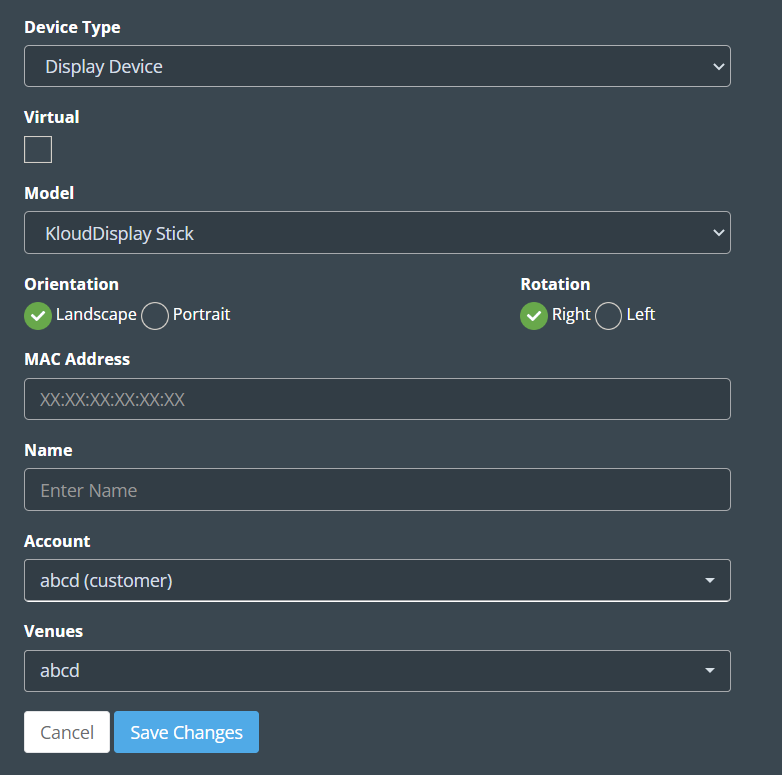
Enter the following in the window that opens and click the Save Changes button.
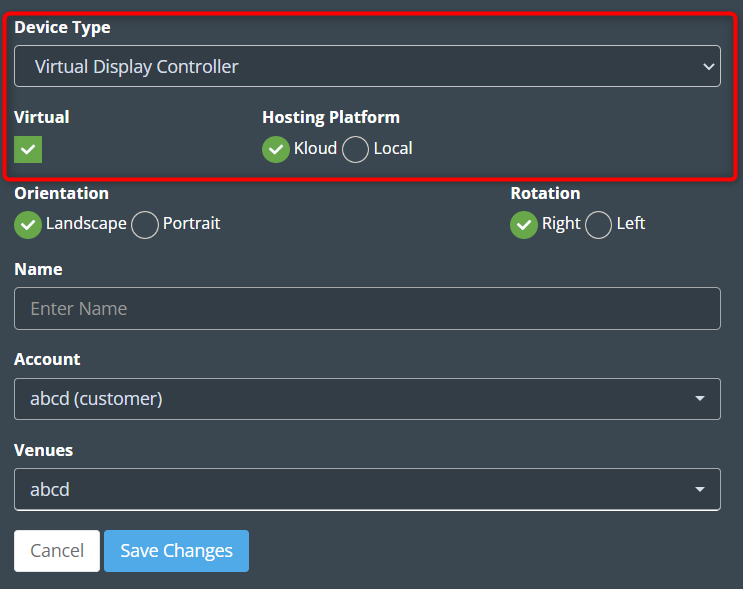
Device Type: Select Display Controller or Combo device (Display + Vision controller) or virtual display controller from the dropdown list.
Model: Select your controller model from the dropdown list.
Orientation: Select Display Orientation.
Rotation: The rotation parameter in display refers to a feature that allows users to adjust the orientation of their screen or visual content. With this parameter, individuals can easily rotate the display to various angles, such as landscape or portrait mode, depending on their preferences or specific needs.
MAC address: Enter the MAC address of your controller.
Name: Give a name for the controller.
Account: Kloudspot provides this information during account creation and it is advised to keep it as is.
Venues: During the account creation process, Kloudspot provides information about the venue. To add a new venue, you can refer to the Venues section, which provides guidelines and instructions for the process.
- If you are selected Virtual Display Controller. Check the Virtual checkbox and select the hosting platform.