Choosing the Right Display Controller
The success of your installation hinges on the compatibility between your chosen display and the controller. The KloudDisplay controller specifications act as a guide to help you make this critical decision. By referring to these specifications, you’ll be empowered to select the ideal controller that aligns with your display’s unique characteristics.
KloudDisplay Device Specification
Up to 1080P
CPU: Intel® Celeron® Processor N4020 , 2 Cores/2 Threads (4M Cache, up to 2.80 GHz)GPU:
GPU: Intel® UHD Graphics 600
Memory: DDR4 4GB (On Board)
Storage: eMMC 64GB (On Board)
Up to 4K
CPU: Intel® Core i3 8th Gen or above
GPU: Intel® UHD Graphics 600
Memory: DDR4 8GB (On Board)
Storage: eMMC 256GB (On Board)
Installing KloudDisplay Software
Once you’ve obtained the suitable controller for your display, the next step is to bring it to life with the KloudDisplay software. We offer two options for this installation:
Combo Device Installation: Transform your display into a comprehensive digital hub by installing both KloudDisplay and KloudVision. This dynamic duo will unlock a world of possibilities for your visual projects.
Standalone KloudDisplay Installation: If your project requires a dedicated display solution, you can choose to install only KloudDisplay. This streamlined approach focuses solely on optimizing your display performance.
For detailed step-by-step instructions on how to execute these installations, consult the Installation document. This comprehensive guide will provide you with the clarity you need to navigate the installation process effortlessly.
Connecting Display Terminal to Controller
After successfully installing the KloudDisplay software on your controller, it’s time to connect your display terminal for an exciting visual experience. For detailed guidance, consult the following steps.
- Installation involves three steps:
- Power: connect the supplied power cable.
- HDMI: connect the supplied HDMI cable between the Kloud Display unit and a suitable display.
- Network. This can be done in two ways.
Wired Connection
-
Connect an ethernet cable and power on the Kloudspot controller.
-
Ensure that the ethernet cable doesn’t supply power (POE). This may damage the Kloud Display.

Wireless Connection
In order to set up a connection to a wireless network, you will need a 2.4GHz WiFi network with a known SSID and password.
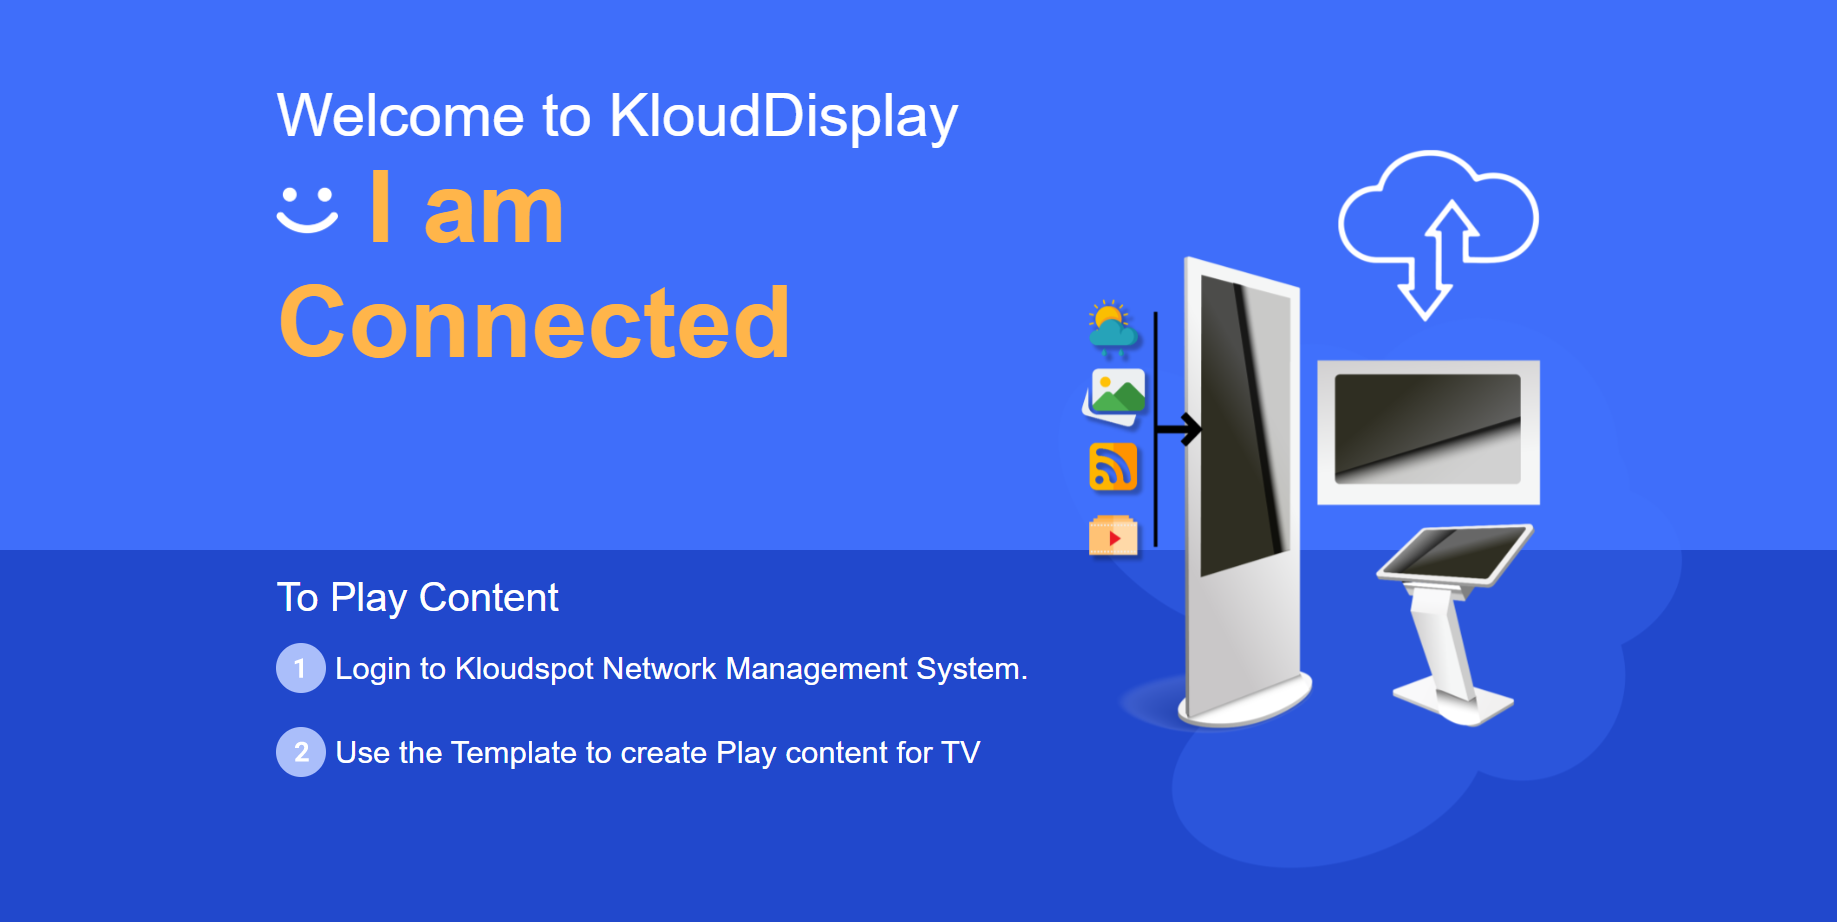
- Power on the KloudDisplay unit.
- Then wait until the screen below is shown.

-
Connect a phone or laptop to the .klouddisplay network using kloudspot as a password.
-
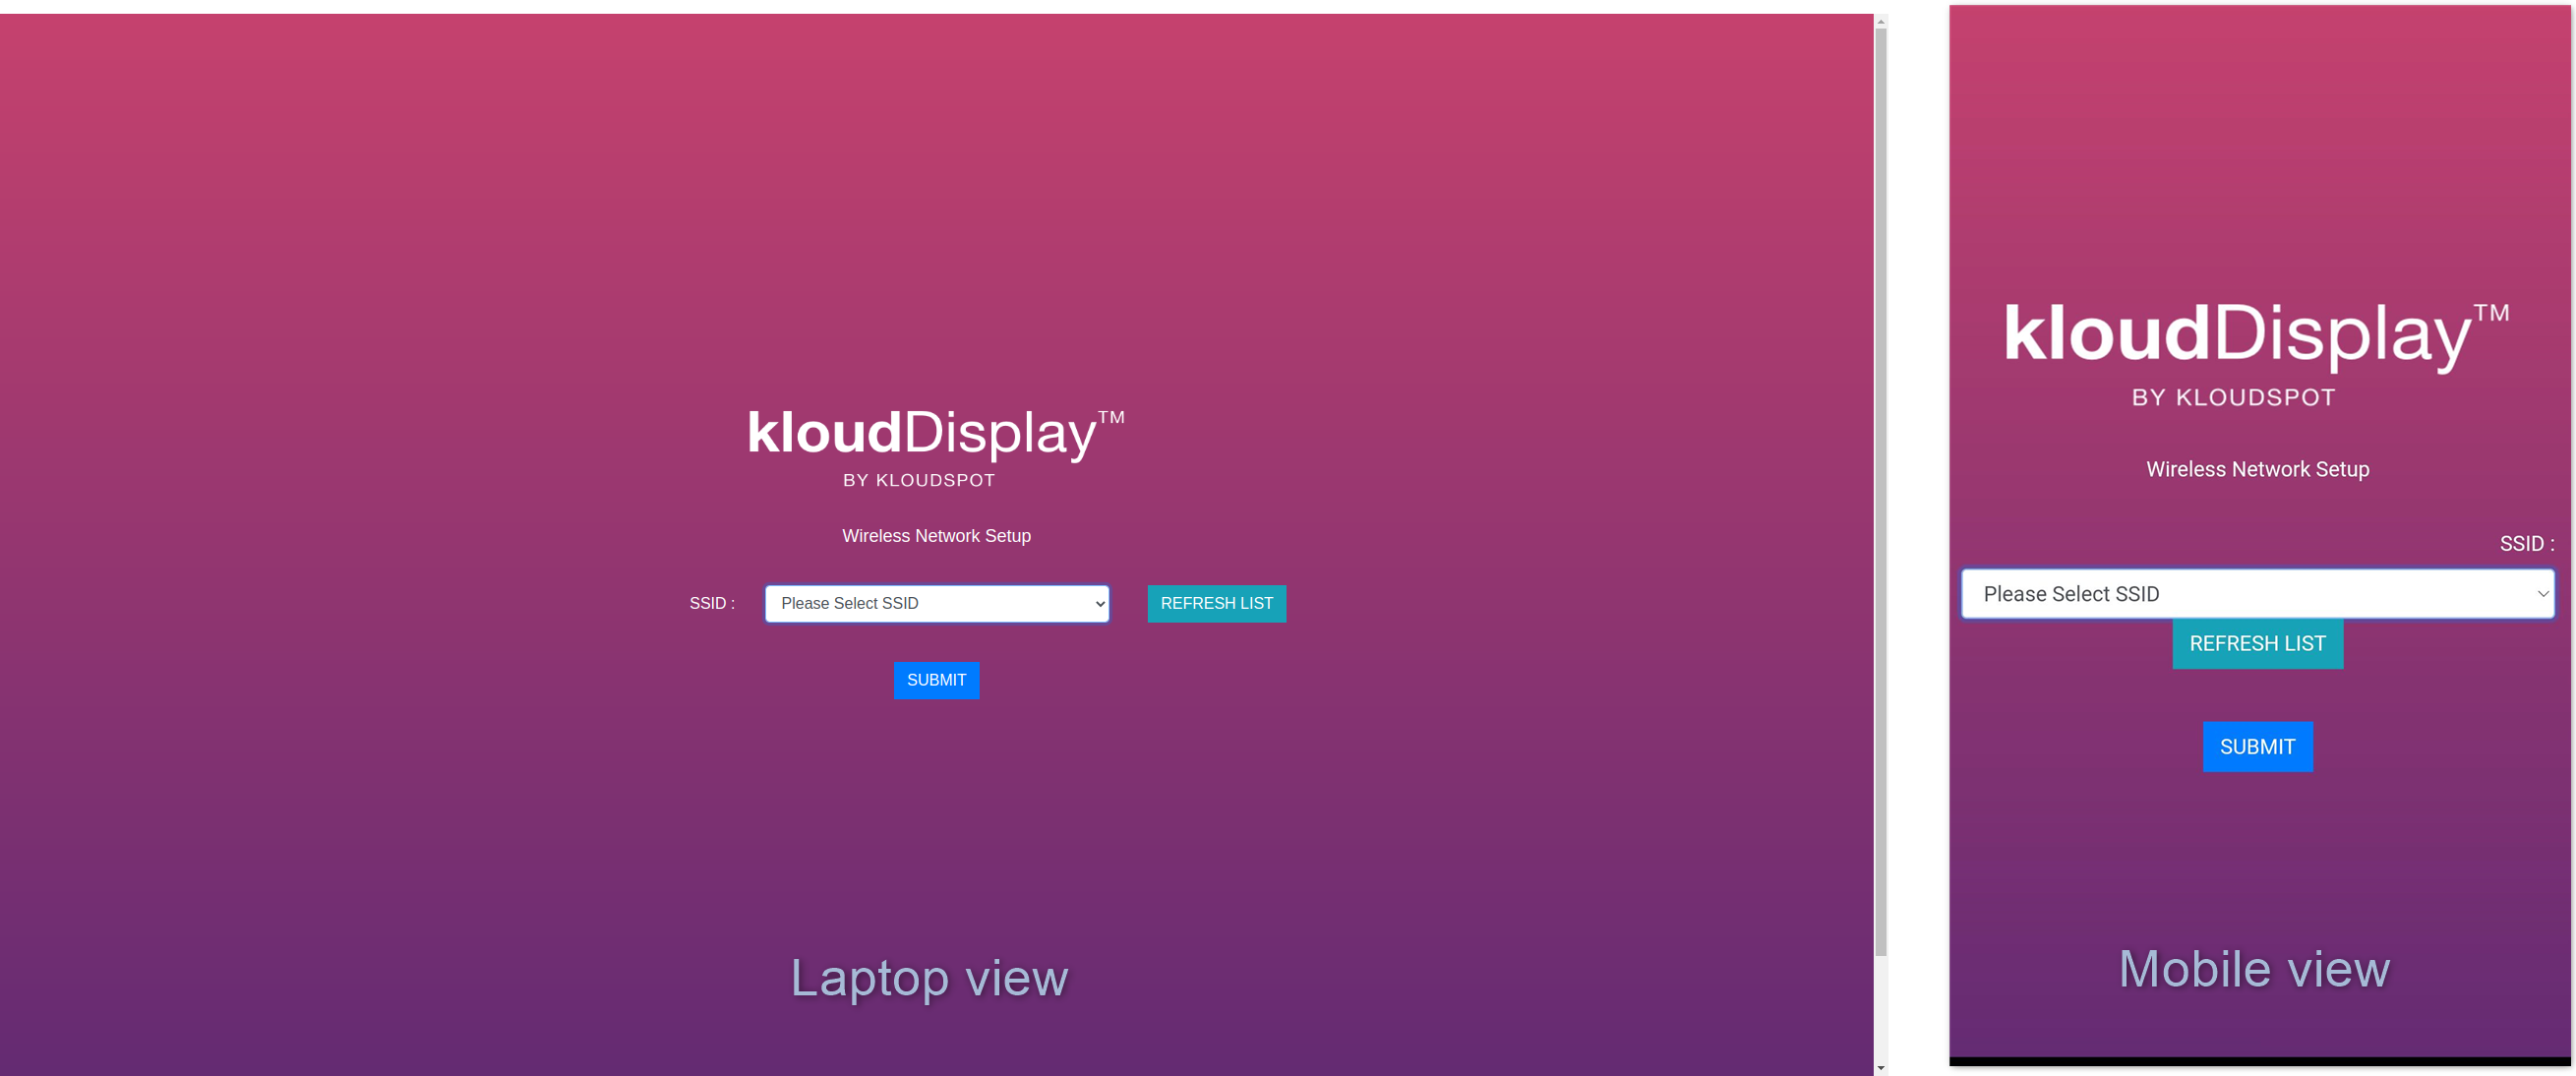
Open a browser on your phone or laptop and go to http://kd.kloudspot.com.
-
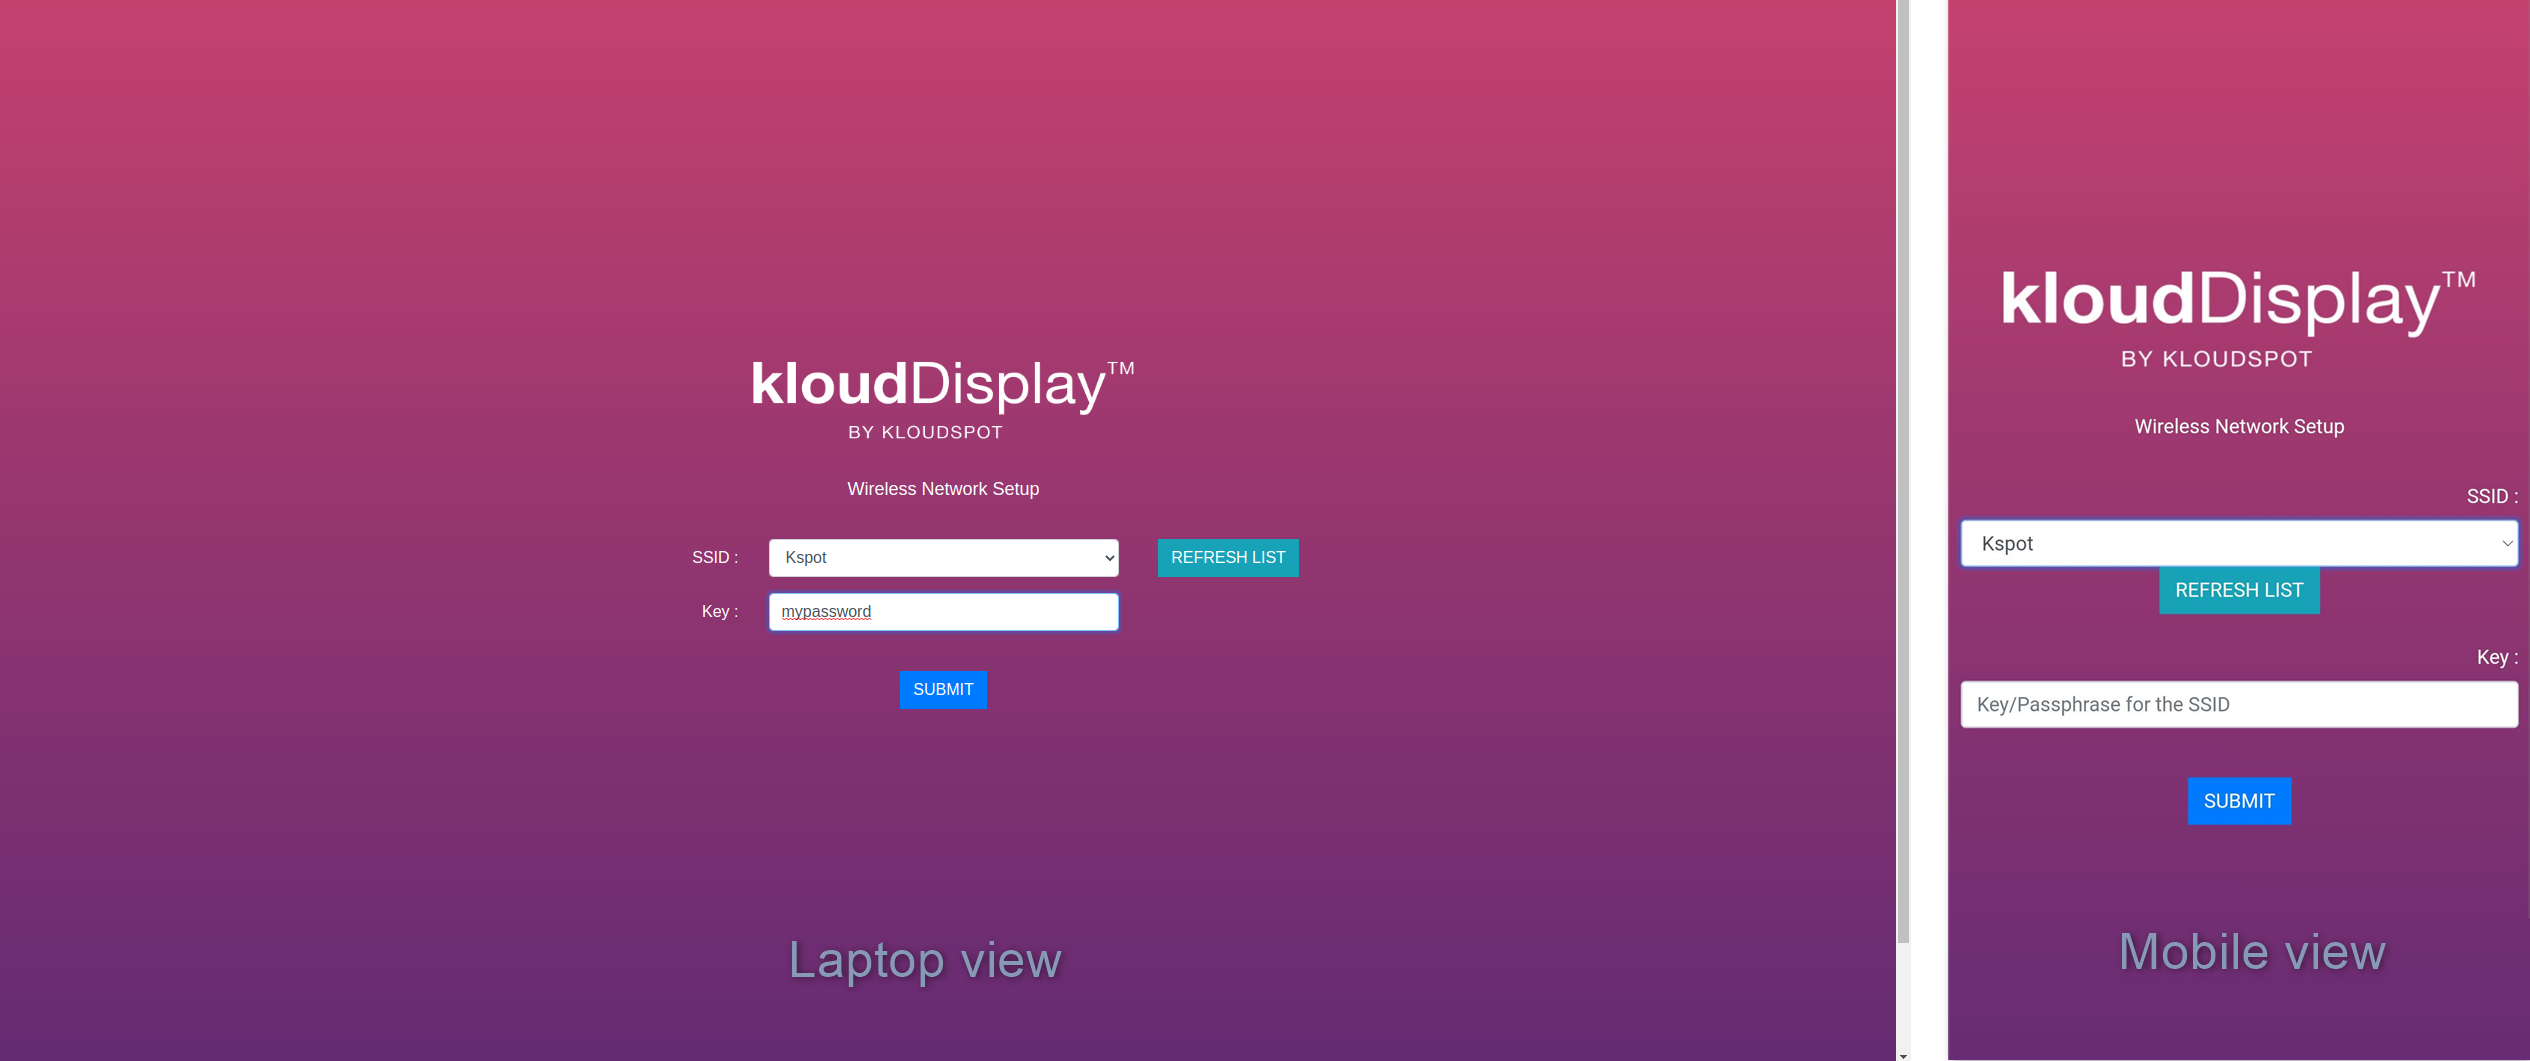
Provide the WiFi network connection details (SSID name and password) that you want to the KloudDisplay to connect to.

- Click SUBMIT.

-
The KloudDisplay will reset in a few seconds and connect to the WiFi network you entered.
-
In order for you to manage a display it will need to be allocated to your account.
-
Once linked to the display controller, proceed to log in to the Kloud management software and customize the display according to your preferences. For guidance, consult the KloudDisplay user manual.