Connecting Display Terminal to Controller
After successfully installing the KloudDisplay software on your controller, it’s time to connect your display terminal for an exciting visual experience. For detailed guidance, consult the following steps.
- Installation involves three steps:
- Power: connect the supplied power cable.
- HDMI: connect the supplied HDMI cable between the Kloud Display unit and a suitable display.
- Network. This can be done in two ways.
- Wired
- Wireless
Wired Connection
-
Connect an ethernet cable and power on the Kloudspot controller.
-
Ensure that the ethernet cable doesn’t supply power (POE). This may damage the Kloud Display.
Wireless Connection
In order to set up a connection to a wireless network, you will need a 2.4GHz WiFi network with a known SSID and password.
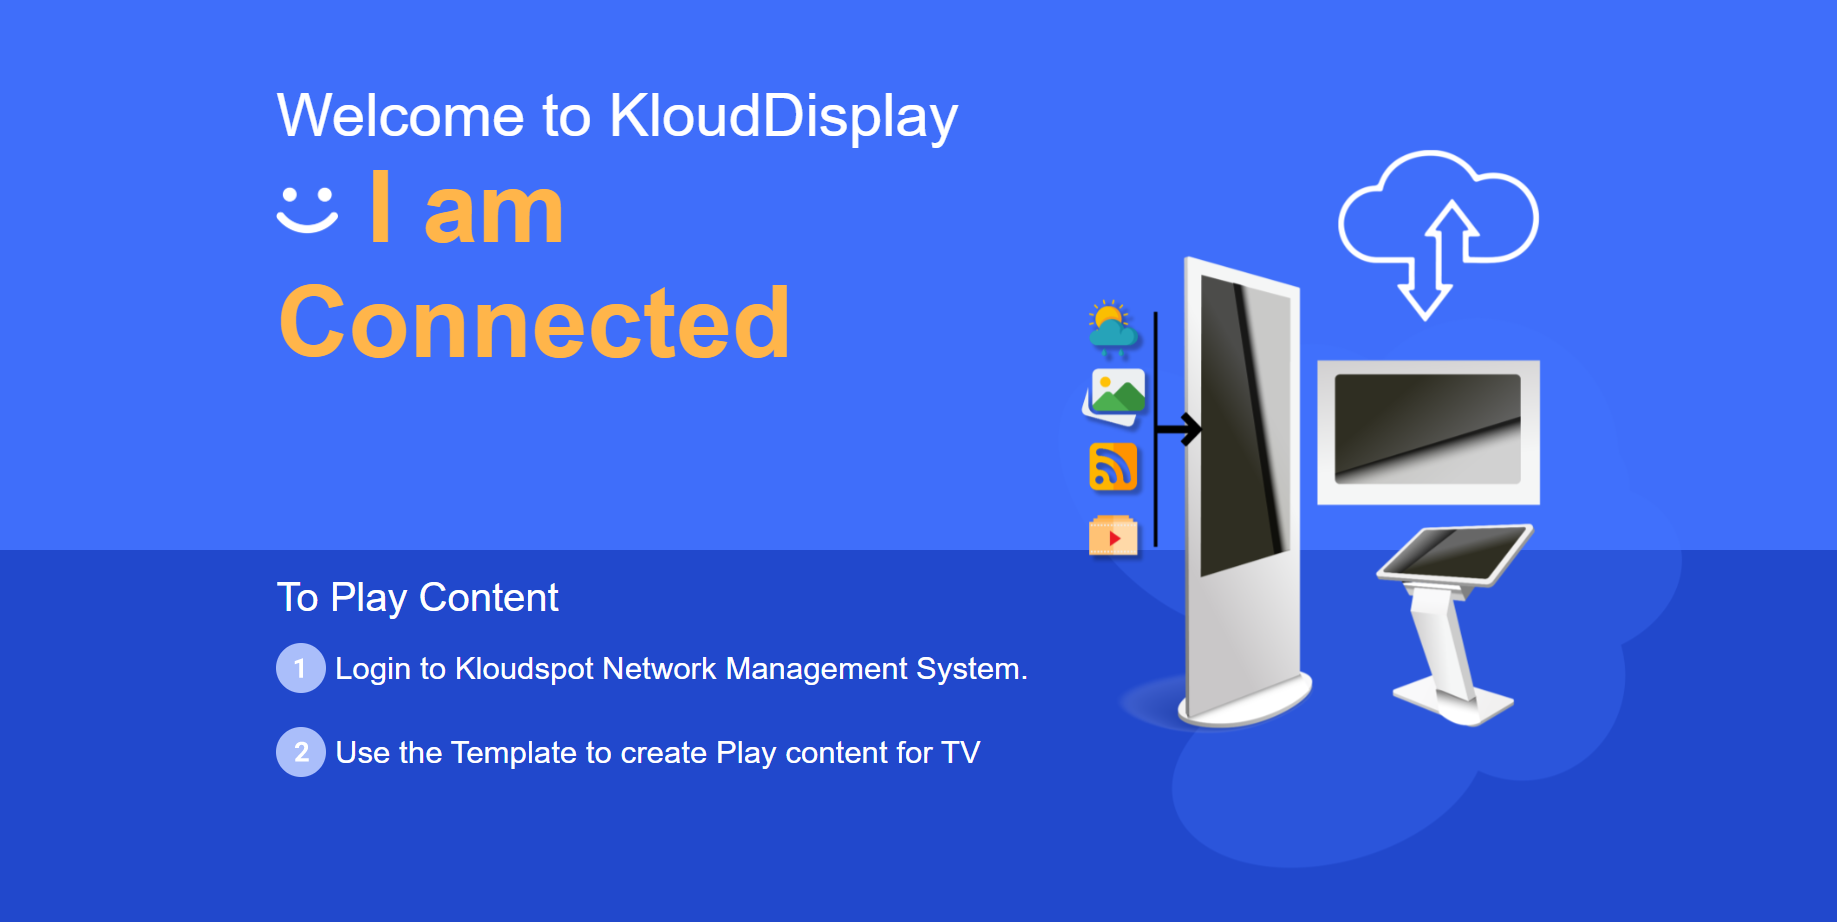
- Power on the KloudDisplay unit.
- Then wait until the screen below is shown.

-
Connect a phone or laptop to the .klouddisplay network using kloudspot as a password.
-
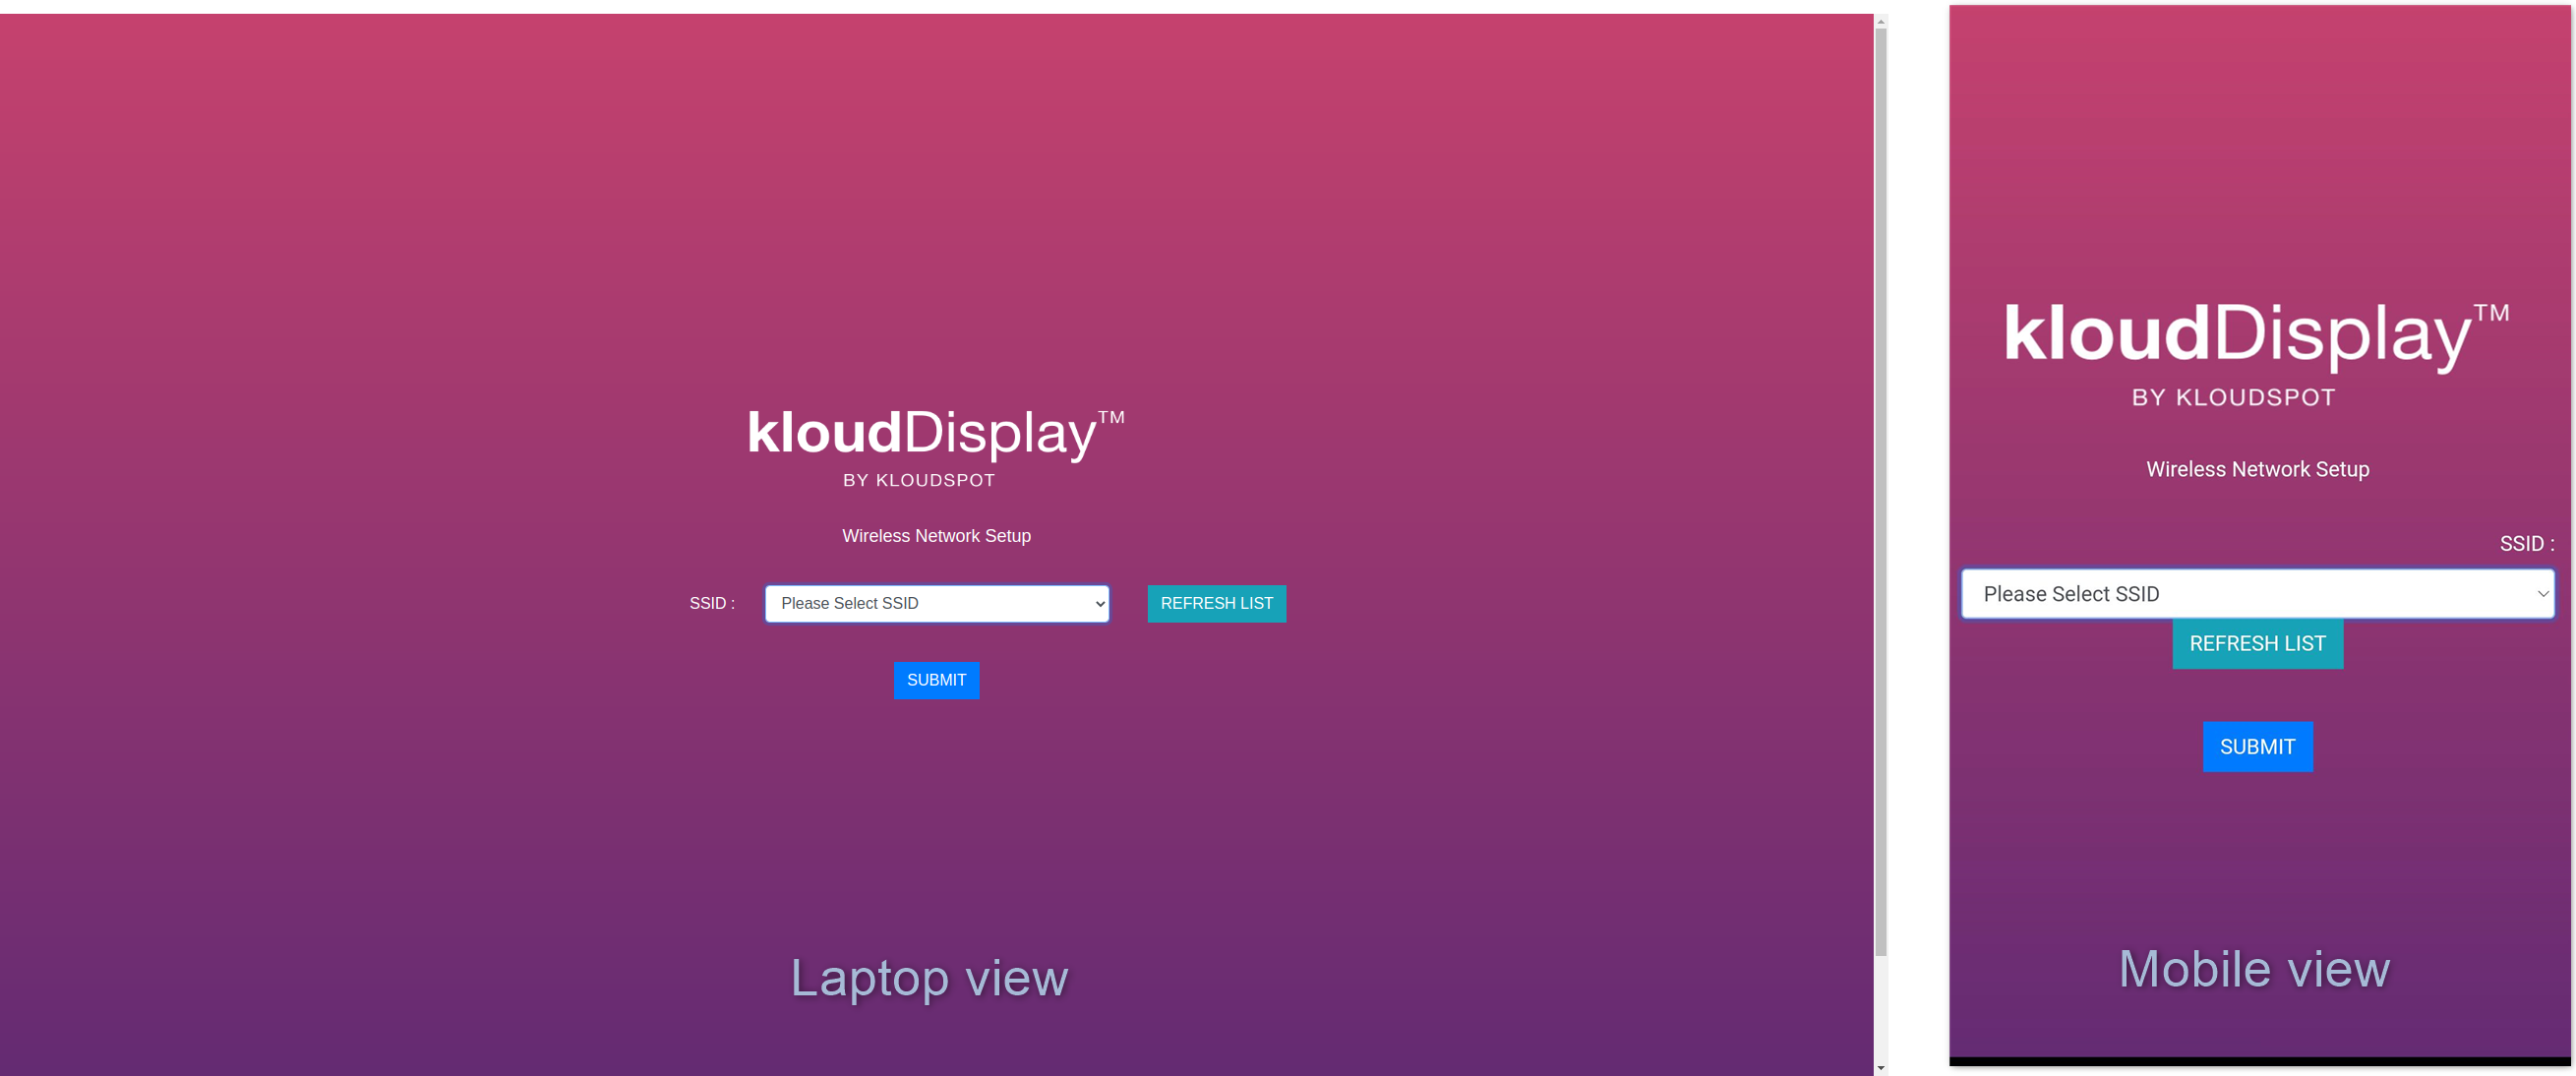
Open a browser on your phone or laptop and go to http://kd.kloudspot.com.
-
Provide the WiFi network connection details (SSID name and password) that you want to the KloudDisplay to connect to.
- Click SUBMIT.
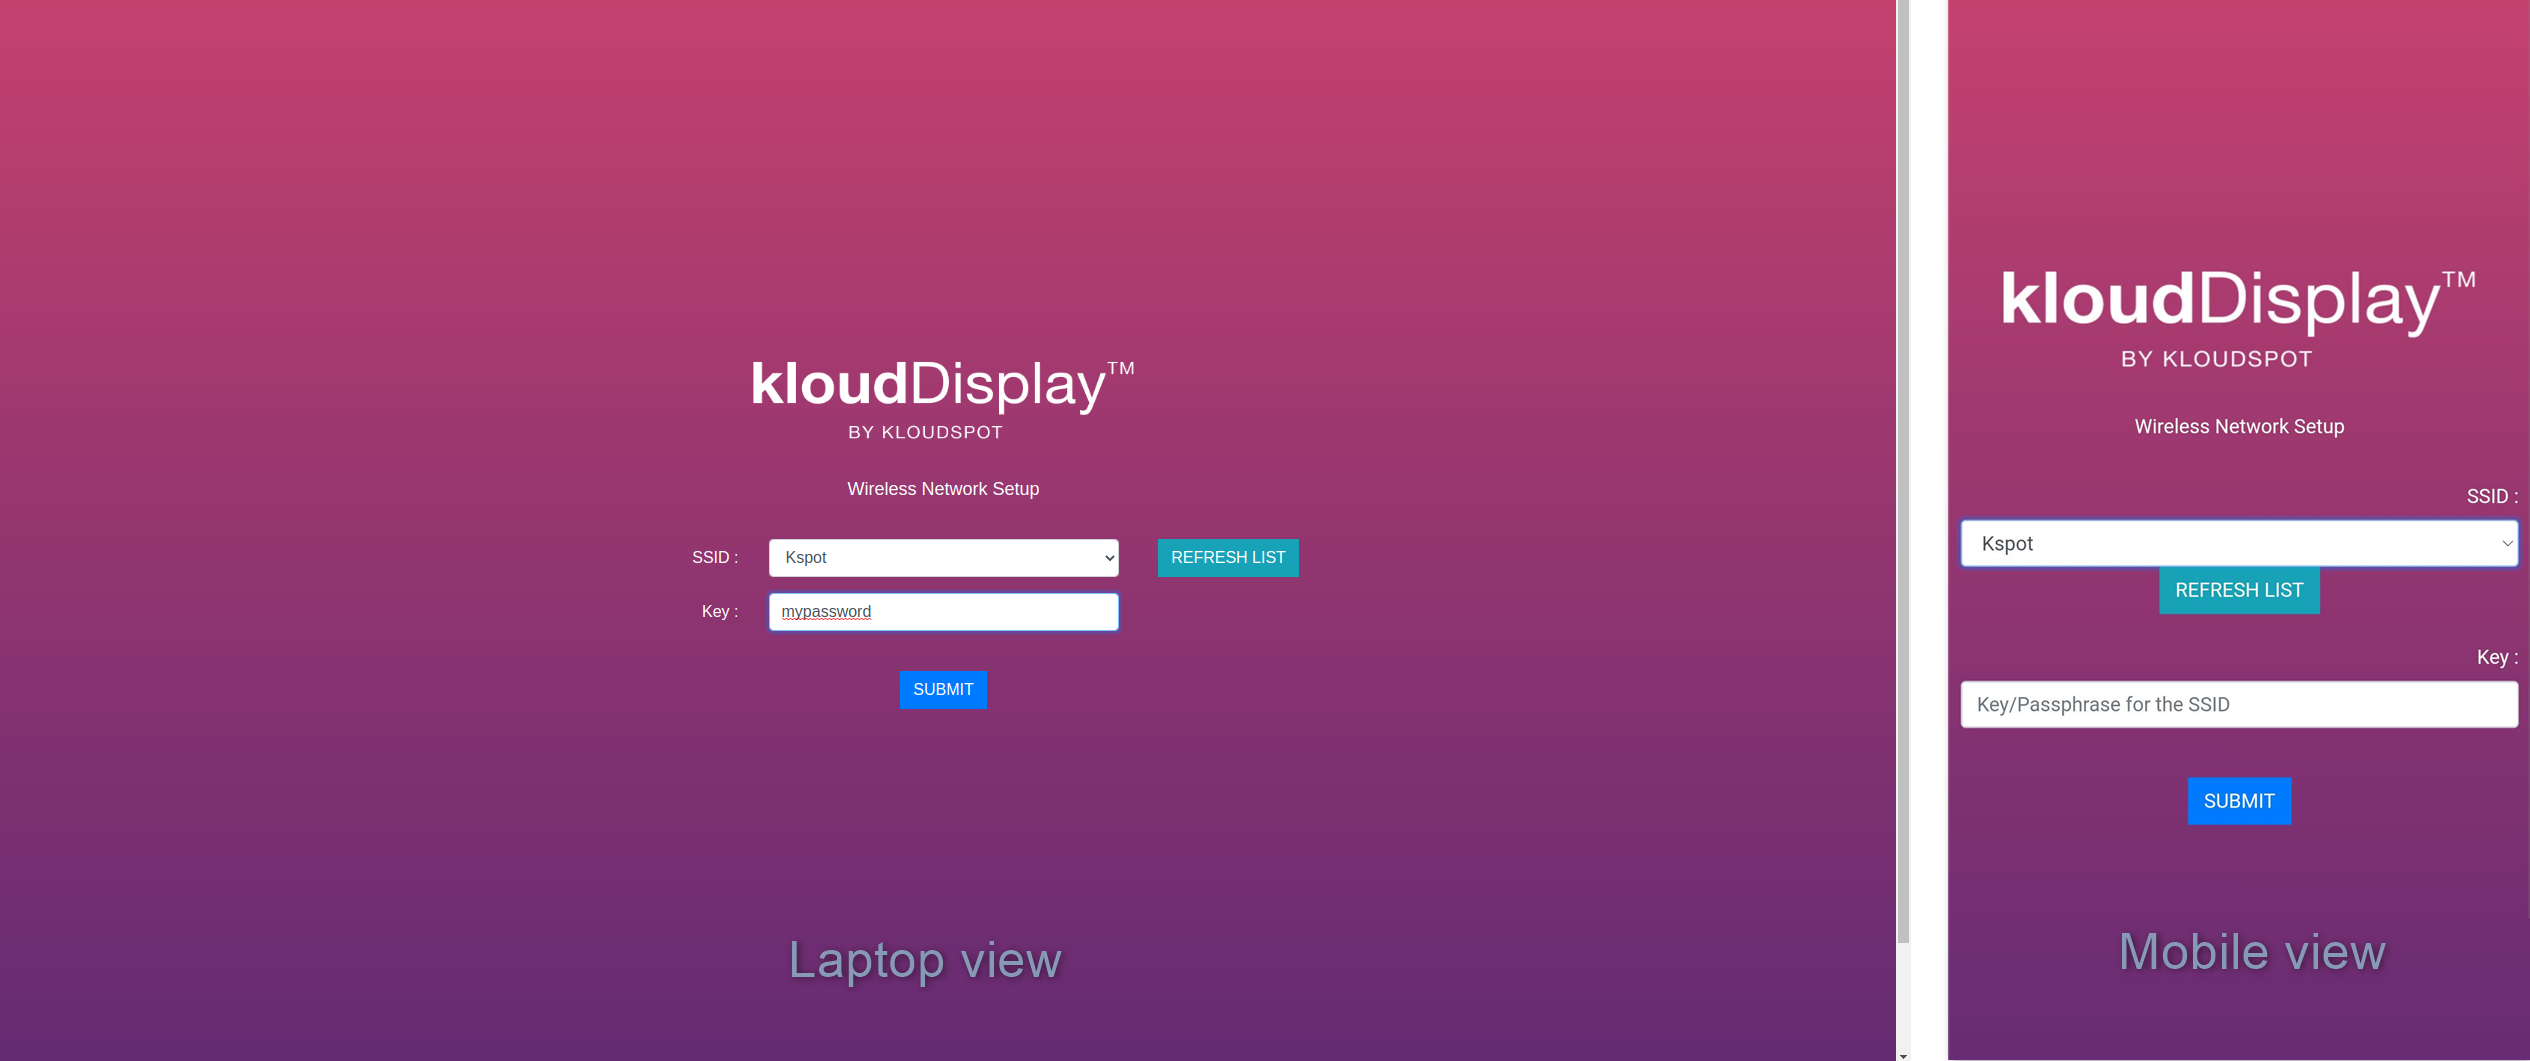
-
The KloudDisplay will reset in a few seconds and connect to the WiFi network you entered.
-
In order for you to manage a display it will need to be allocated to your account.
-
Once linked to the display controller, proceed to log in to the Kloud management software and customize the display according to your preferences. For guidance, consult the KloudDisplay user manual.